Self-Hosted AI SaaS Stack - How I Built an AI Mockup Engine for Print on Demand
AI Mockup Generator for Print on Demand
Sebastien
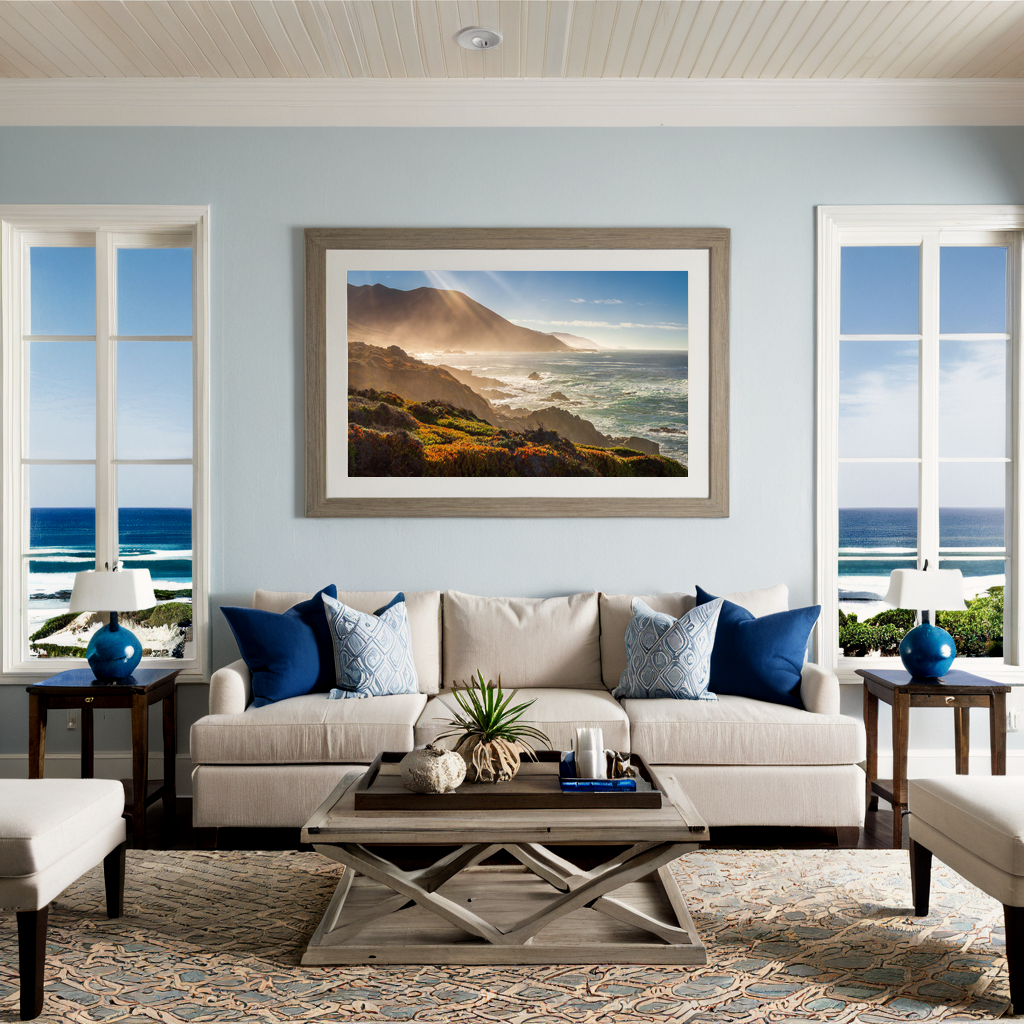
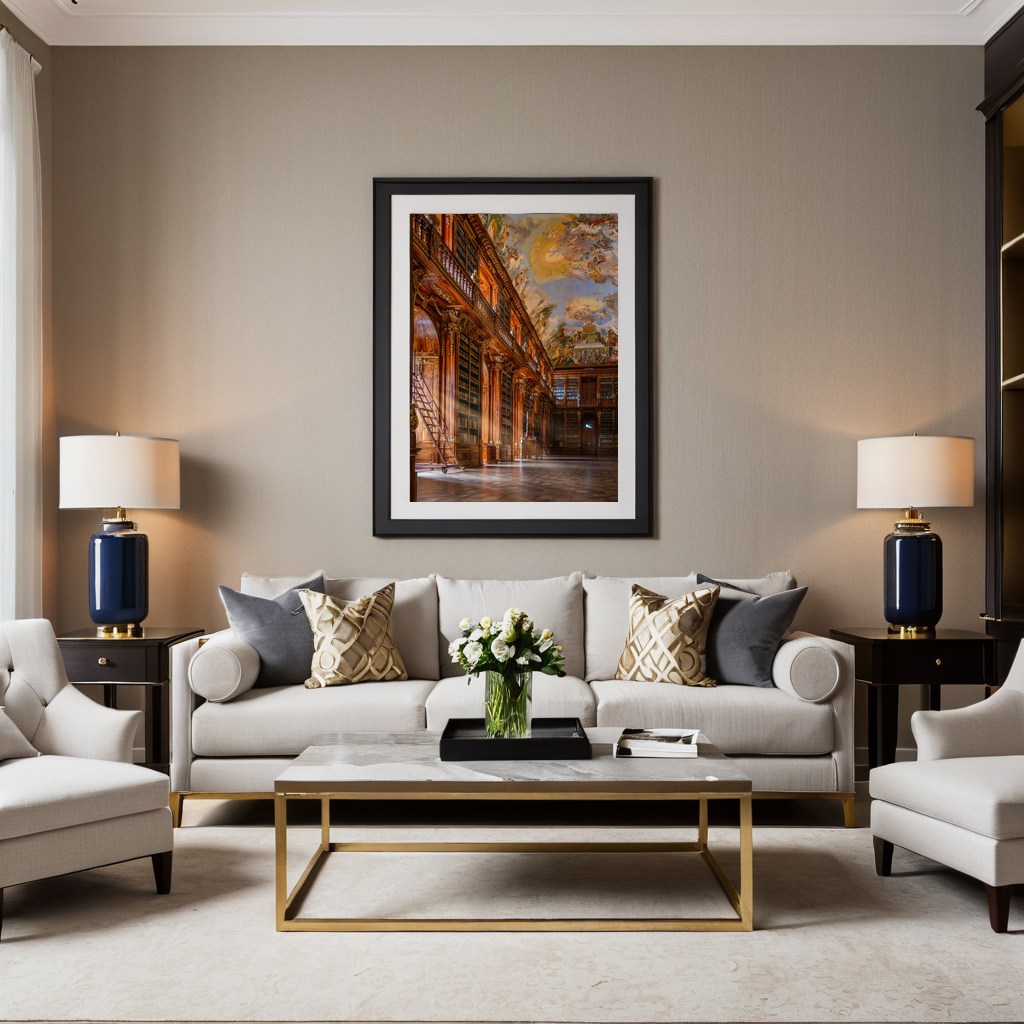
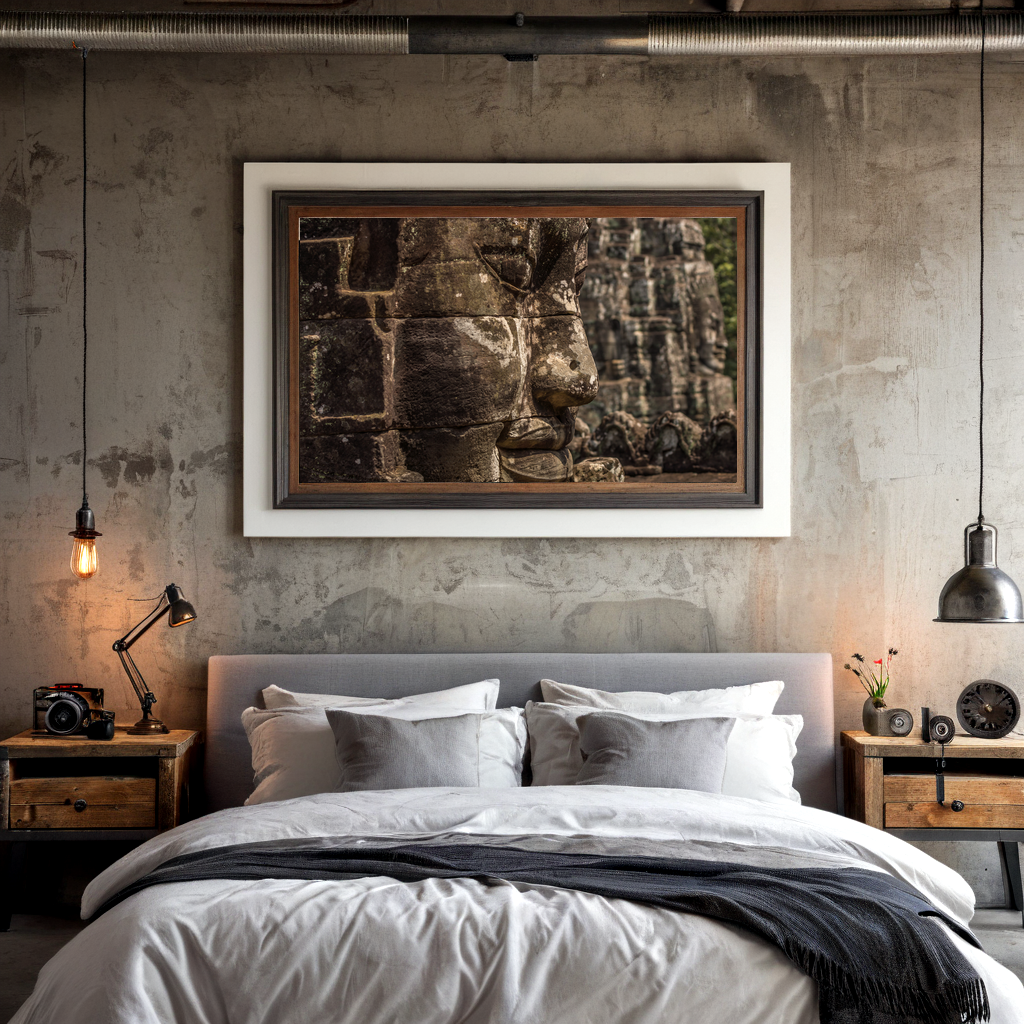
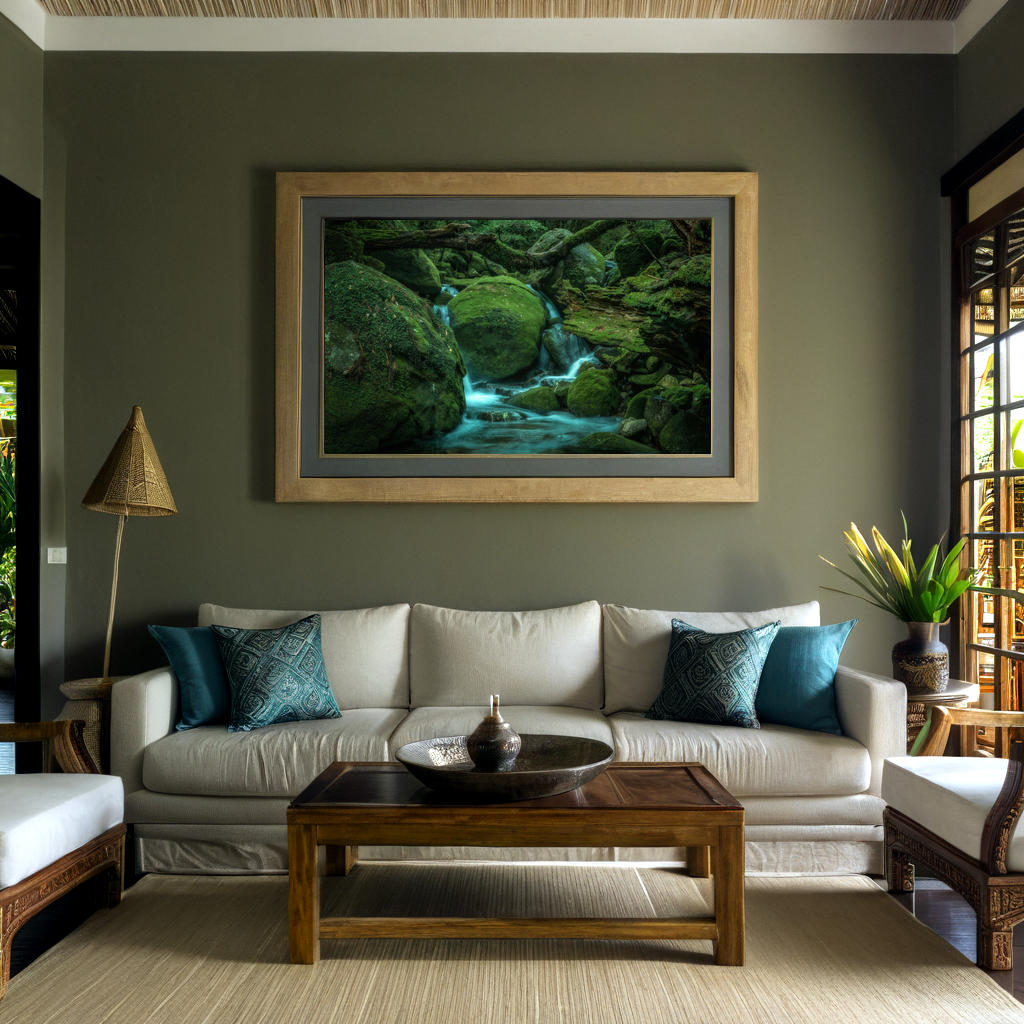
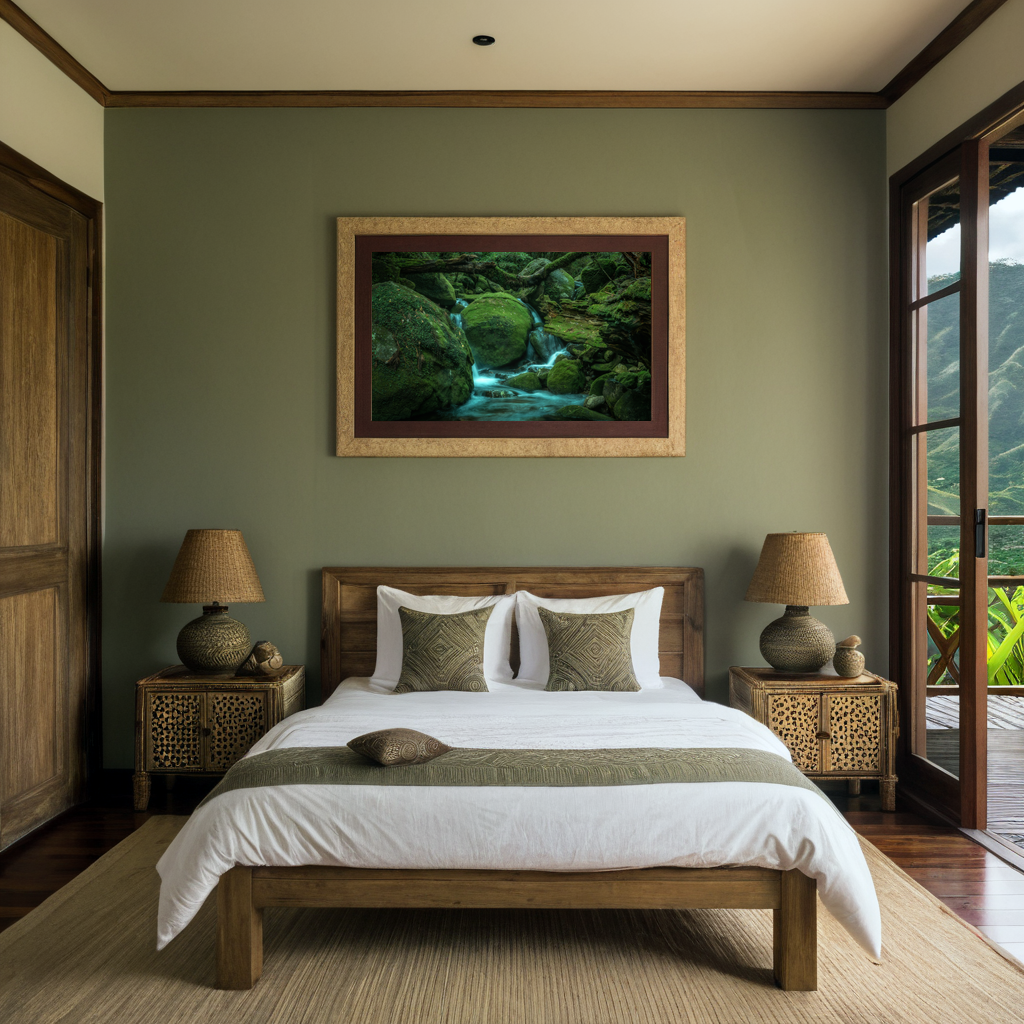
Stop using the same basic Print On Demand (POD) mockups as everyone else. Discover how Sebsvisual’s AI Mockup Generator creates unique, high-end realistic product scenes in seconds for a fraction of the cost of PSD templates or professional staging.
Automated mockup creation
AI Mockup Generator
Best mockup tool for etsy seller
Frame and room generator
Online wall art mockup
Introduction
I will explain in this blog post how I build the infrastructure running my online Sebsvisual AI Print Wall Art
I have essentially built my own private SaaS to run Sebsvisual. While the front end is on Etsy and WordPress, the entire ‘service’ layer from database management to AI processing is a custom-built, self-hosted stack. Most creators pay hundreds of dollars a month for Zapier, Airtable, and Midjourney. I’ve built a ‘Zero-Subscription’ SaaS that handles all of this on a Raspberry Pi and my own GPU.
It may come as a surprise, but the core infrastructure behind the Sebsvisual AI Mockup Generator runs almost entirely on a self-hosted stack. Even more surprising: I am not a software developer. With only a foundational understanding of code, I designed and deployed a production-ready AI image generation system using open-source tools, containerization centered on a low-power Raspberry Pi 5 hardware.
This article explains the guiding principles, architecture, hardware choices, and software stack that power the Sebsvisual AI Generator. The objective is not to claim perfection, but to demonstrate that robust AI-driven services can be built pragmatically, transparently, and cost-effectively using self-hosting principles.
In this article, I will not explain step by step how to set-up this stack, the information about each of the components are widely available online but I will explain in details the concept of the stack and provide the docker-compose and configuration file of the Sebsvisual stack for easy deployment on your own. Please note that the provided information are valide within my set-up and at the date I worked on it. Open-source services tend to evolve very quickly.
Material
I use for this set-up a Raspberry Pi 5 with 16GB of RAM as an orchestrator and low power always on platform. For the heavier computing hungry tasks such as running AI image generation model, I use my desktop computer (equipped with 64GB of RAM and a GeForce 3080 with 10GB of VRAM). This two devices are connected to my residential network and access the internet through my ISP Routeur. I do not have a fix IP nor I am able to freely open ports on the routeur (I am overcoming this issue by chaneling all my traffic through Cloudflare tunnel)
[Option 1] Raspberry Pi 5 with SD Card storage - Material List
| Image | Designation | Link | Comments |
|---|---|---|---|
| Raspberry Pi 5 – 16GB | 8GB RAM can be a bottleneck when running multiple Docker containers; 16GB provides comfortable headroom. | ||
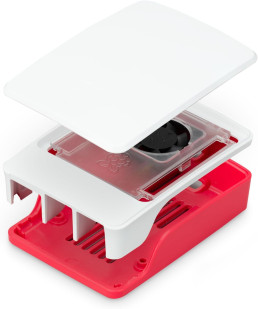
| Raspberry Pi 5 – Official case and cooling fan | |||
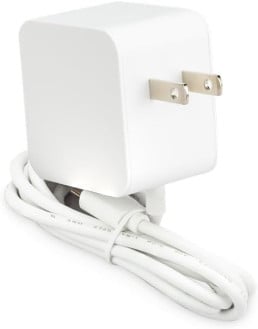
| Raspberry Pi 5 – Official power supply 27W | |||
| MicroSD Memory Card – 128GB Sandisk Extreme Plus |
Recommended speed class: C10, U3, V30, A2 Memory size as per your requirements (Min 32GB, Max 2TB) |
[Option 2] Raspberry Pi 5 with an SSD M.2 HAT Drive storage - Material List
| Image | Designation | Link | Comments |
|---|---|---|---|
| Raspberry Pi 5 – 16GB | 8GB RAM can be a bottleneck when running multiple Docker containers; 16GB provides comfortable headroom. | ||
| Raspberry Pi 5 – Official case and cooling fan | |||
| Raspberry Pi 5 – Official power supply 27W | |||
| MicroSD Memory Card – 128GB Sandisk Extreme Plus |
Recommended speed class: C10, U3, V30, A2 Memory size as per your requirements (Min 32GB, Max 2TB) |
Product Designation
Product Links
Comments
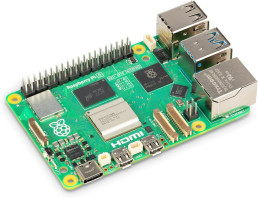
Raspberry Pi 5 - 16GB
8GB RAM can be a bottleneck when running multiple docker containers; 16GB provides comfortable headroom.
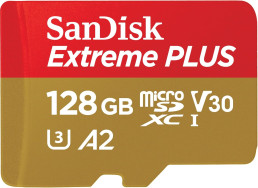
MicroSD Memory Card - 128GB
Sandisk Extreme Plus
Recommended speed class: C10, U3, V30, A2
Memory size as per your requirements (Min 32GB, Max 2TB)
Services
Access
Category
Sub-Domain
Information and Use Cases

n8n
Automation
n8n
Workflow automation tool used to connect different apps and create complex logic-based tasks. n8n is the brain and engine of what is happening behind the sebsvisual AI Mockup generator. It orchestrate visually without typing code the different actions to execute the workflows
⭐🔗 Official n8n website | 🔗 GitHub | 🔗 DockerHub


Ntfy
Automation
ntfy
A simple service that allows you to send push notifications to your phone/desktop via HTTP.
Services
Category
Access
Sub-Domain
Information and Use Cases

Nocodb
Productivity
nocodb
Turns your databases into a smart spreadsheet similar to Airtable for easy and visual data management. Provide an API HTTP Endpoint to be used as database backend for your application.
Personal use cases: Backend Database for my application that I am able to visually navigate into, Data automation with API Call from my n8n workflow. All kind of personal and ordered data (Replace Excel for all kind of List: List of Ideas, To-Do List…)
🔗 Official nocodb website | 🔗GitHub | 🔗 DockerHub

Excalidash
Whiteboard
excalidash
A virtual whiteboard for sketching diagrams, wireframes, and visual brainstorming. Used for visual note taking. Excalidash is a repository build on top of the Excalidraw whiteboard that add persistent storage, a dashboard to go through your whiteboards and live collaboration.
🔗 GitHub

Siyuan
Notes
postiz
All-in-one social media scheduling and management platform to automate content distribution on your social netowrk: X, instagram,Facebook,Pinterest…


Homepage
Dashboard
home
A highly customizable dashboard that acts as the front door to all the self-hosted services. Display a homepage with shortcuts to all my self hosted services
🔗 Official homepage website | 🔗 GitHub | 🔗 DockerHub
Services
Category
Access
Sub-Domain
Information and Use Cases

Cloudflared
Network
N/A
Creates a secure tunnel between your local network and Cloudflare without opening router ports.
🔗 Cloudflare zero trust | 🔗 Github | 🔗 DockerHub

Postgres
Database
N/A
The primary relational database used to store structured data for your various applications.

MongoDB
Database
N/A
A NoSQL document database used by apps that require flexible, JSON-like data storage.

MariaDB
Database
N/A

Redis
Database
N/A
An in-memory data store used primarily for caching and improving application performance.

SeaweedFS
S3 Storage
s3
Turns your databases into a smart spreadsheet similar to Airtable for easy and visual data management. Provide an API HTTP Endpoint to be used as database backend for your application.
Personal use cases: Backend Database for my application that I am able to visually navigate into, Data automation with API Call from my n8n workflow. All kind of personal and ordered data (Replace Excel for all kind of List: List of Ideas, To-Do List…)
🔗 Official nocodb website | 🔗GitHub | 🔗 DockerHub
Services
Category
Access
Sub-Domain
Information and Use Cases

Pgadmin
DB ADMIN
pgadmin
A web-based administration tool specifically for managing PostgreSQL databases.
Mongo Express
DB ADMIN
mongoexpress
An interactive web-based interface for viewing and editing your MongoDB collections.
🔗 Official mongodb website | 🔗 GitHub | 🔗 Docker

PhpMyAdmin
DB ADMIN
phpmyadmin
SeaweedFS UI
DB ADMIN
seaweedfs
The visual file and settings manager for browsing and managing files stored within your SeaweedFS clusters.
🔗 Official seaweedfs website | 🔗 GitHub | 🔗 DockerHub
Services
Category
Access
Sub-Domain
Information and Use Cases

Portainer
container
postiz
A graphical user interface for managing Docker containers, images, networks, and volumes. Used for debugging docker issues
🔗 Official portainer website | 🔗 GitHub | 🔗 DockerHub

Codeserver
container
postiz
A web-based VS Code instance allowing you to code in your browser from any device. Used on this stack to update the docker-compose files essentially and configuration files
🔗 Official Coder website | 🔗 GitHub | 🔗 DockerHub

Bezsel
Monitoring
postiz
A lightweight, self-hosted dashboard for monitoring server stats like CPU, RAM, and disk usage.
🔗 Official bezsel website | 🔗 GitHub | 🔗 DockerHub

Tugtainer
Update
postiz

Velld
Backup
postiz
Services
Category
Access
Sub-Domain
Information and Use Cases

Wordpress
Website
/
The core CMS used to power the sebsvisual website and blog content.

Opnform
Forms
form
Open-source form builder. Allow to create complex forms and embed them into the sebsvisual wordpress pages. Avoid the need of additional Freemium/Paid Wordpress plugins
🔗 Official opnform website | 🔗 GitHub | 🔗 DockerHub

Your POD Print Designs Deserve Better than Basic Mockups
AI Mockup Generator for Print on Demand
Sebastien
Stop using the same basic Print On Demand (POD) mockups as everyone else. Discover how Sebsvisual’s AI Mockup Generator creates unique, high-end realistic product scenes in seconds for a fraction of the cost of PSD templates or professional staging.
Automated mockup creation
AI Mockup Generator
Best mockup tool for etsy seller
Frame and room generator
Online wall art mockup
If you are running a Print on Demand (POD) business or a creative shop, you know the “Mockup Trap.” You spend hours perfecting a design, only to realize you have three equally frustrating choices to show it off on your marketplacce or website listings:
- The “Default” Trap: Use the basic, sterile mockups provided by your Print On Demand (POD) supplier that look exactly like 10,000 other stores and are very basics.
- The “PSD” Time-Suck: Buy a $20 Photoshop template and spend 45 minutes wrestling with “Smart Objects,” for a results that looks like all others listing on the internet
- The “Studio” Money-Pit: Pay for professional staging, lighting, and photography just to see if a design will even sell.
At sebsvisual, we believe there is a fourth way. Our AI Wall Art Room Mockup Generator is designed to give you the professional and realistic look without the “high-end studio” invoice or the Photoshop headache.
1. Stand Out from the "White Wall" Crowd
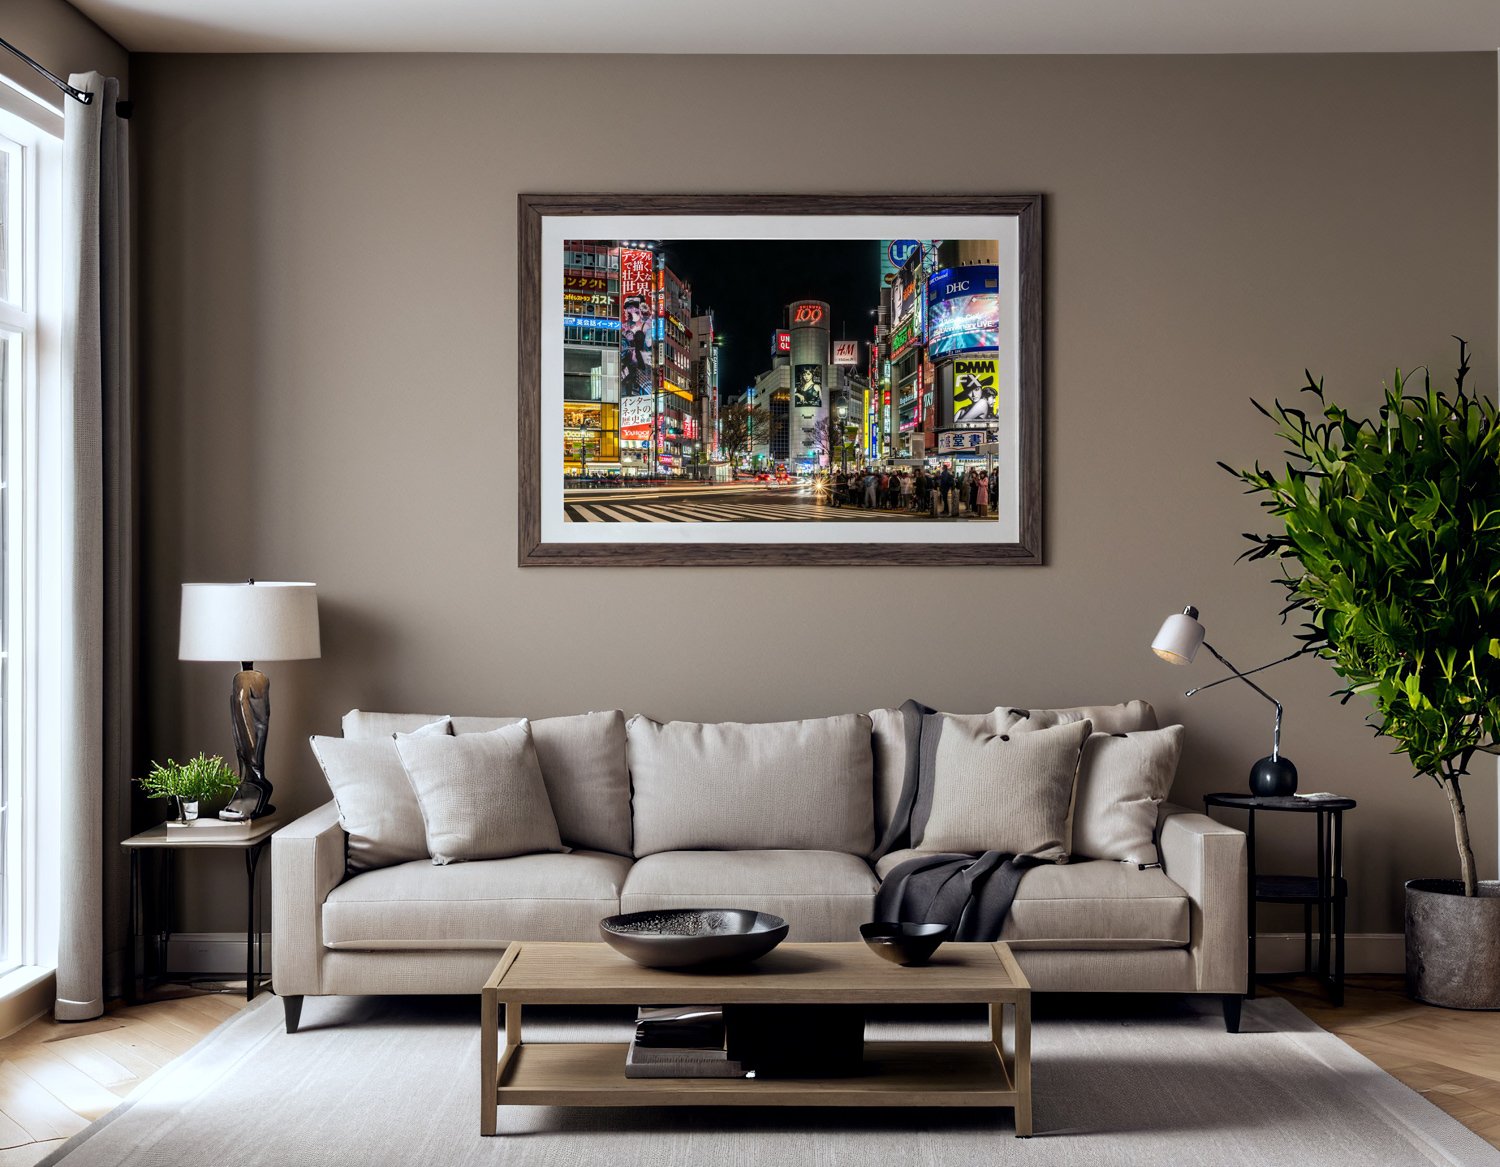
Most Print-On-Demand POD mockups are… fine. But “fine” doesn’t stop the scroll on Instagram or Etsy. When every competitor is using the same flat framed pictures on a gray or bricks background, your shop starts to look like a commodity.
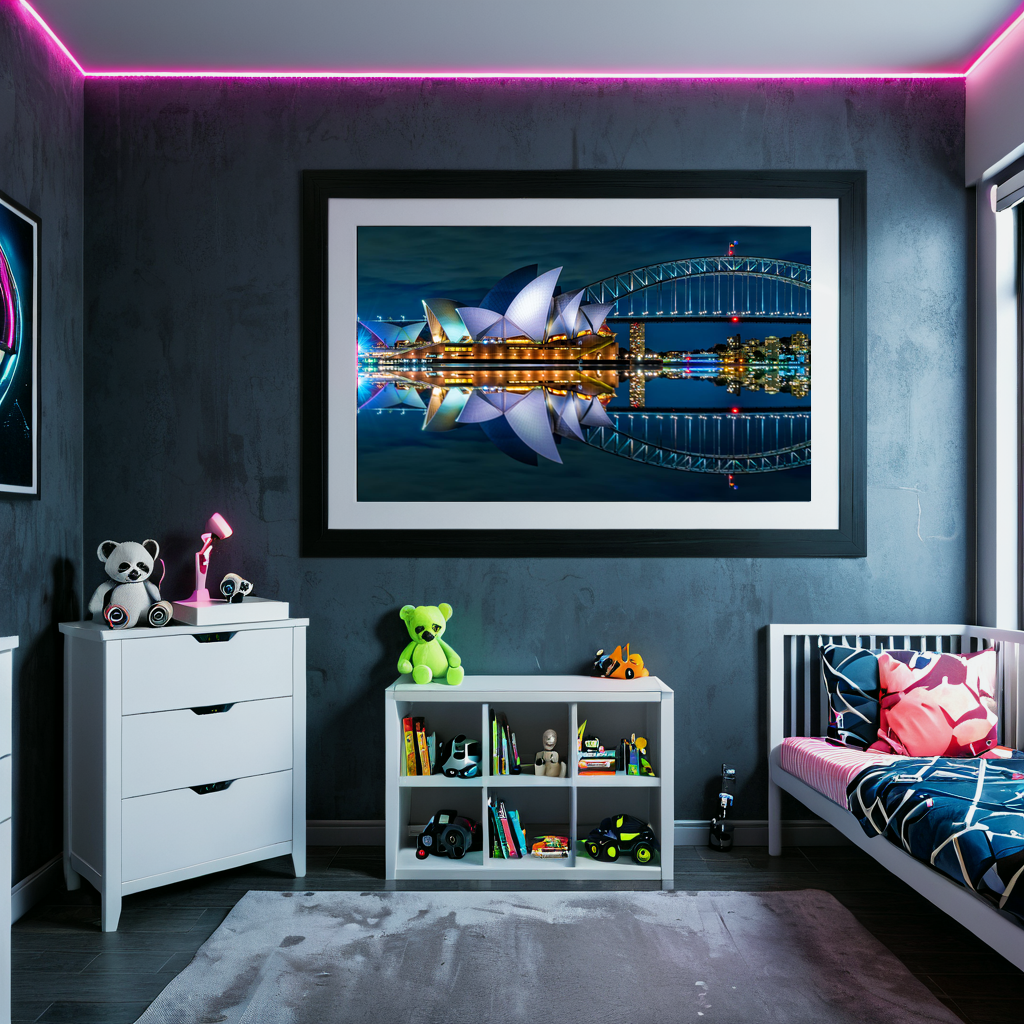
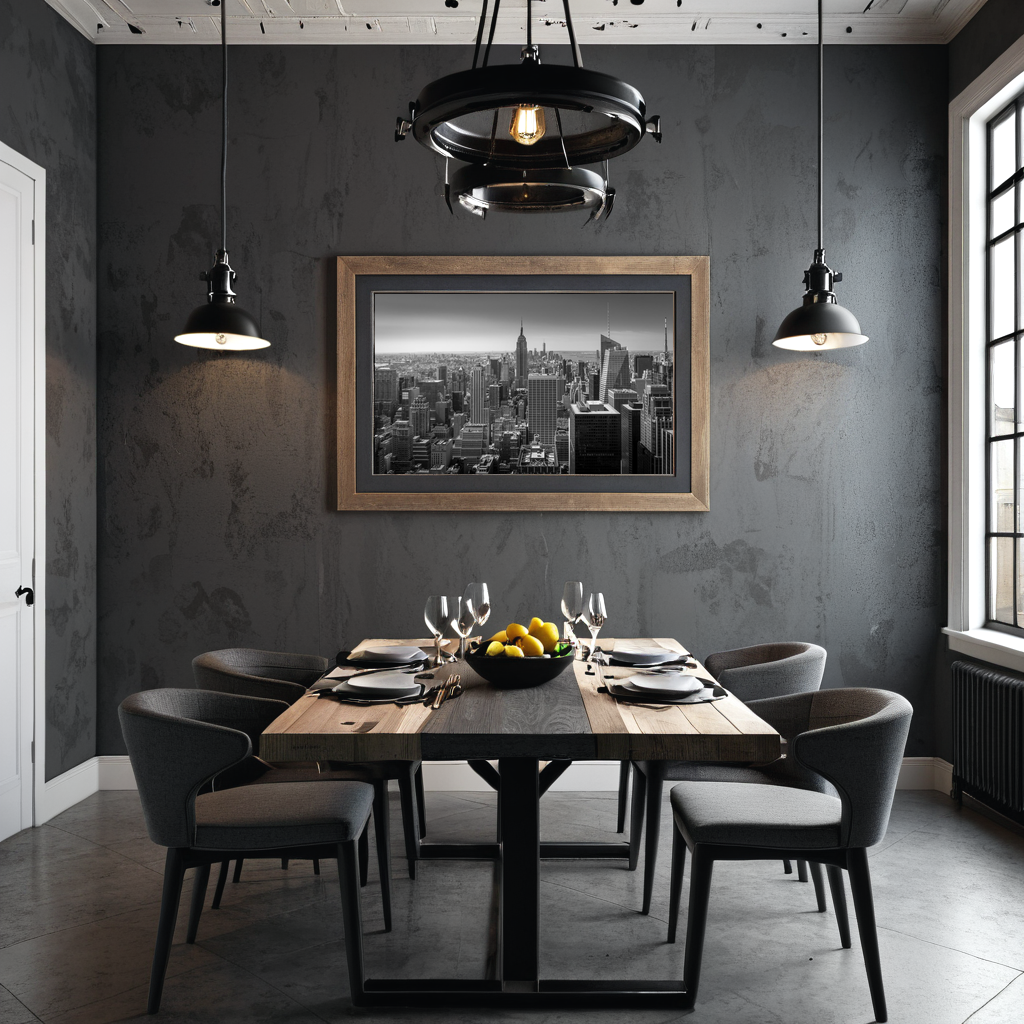
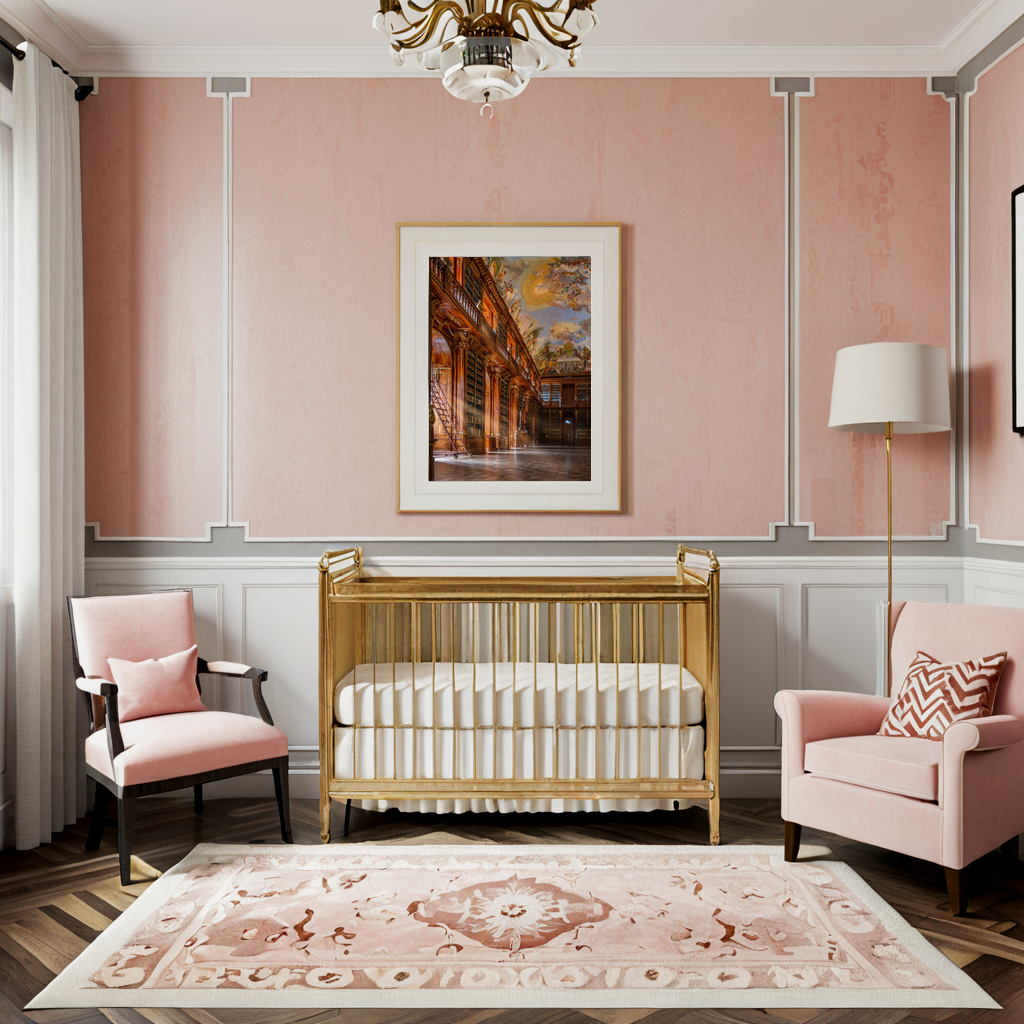
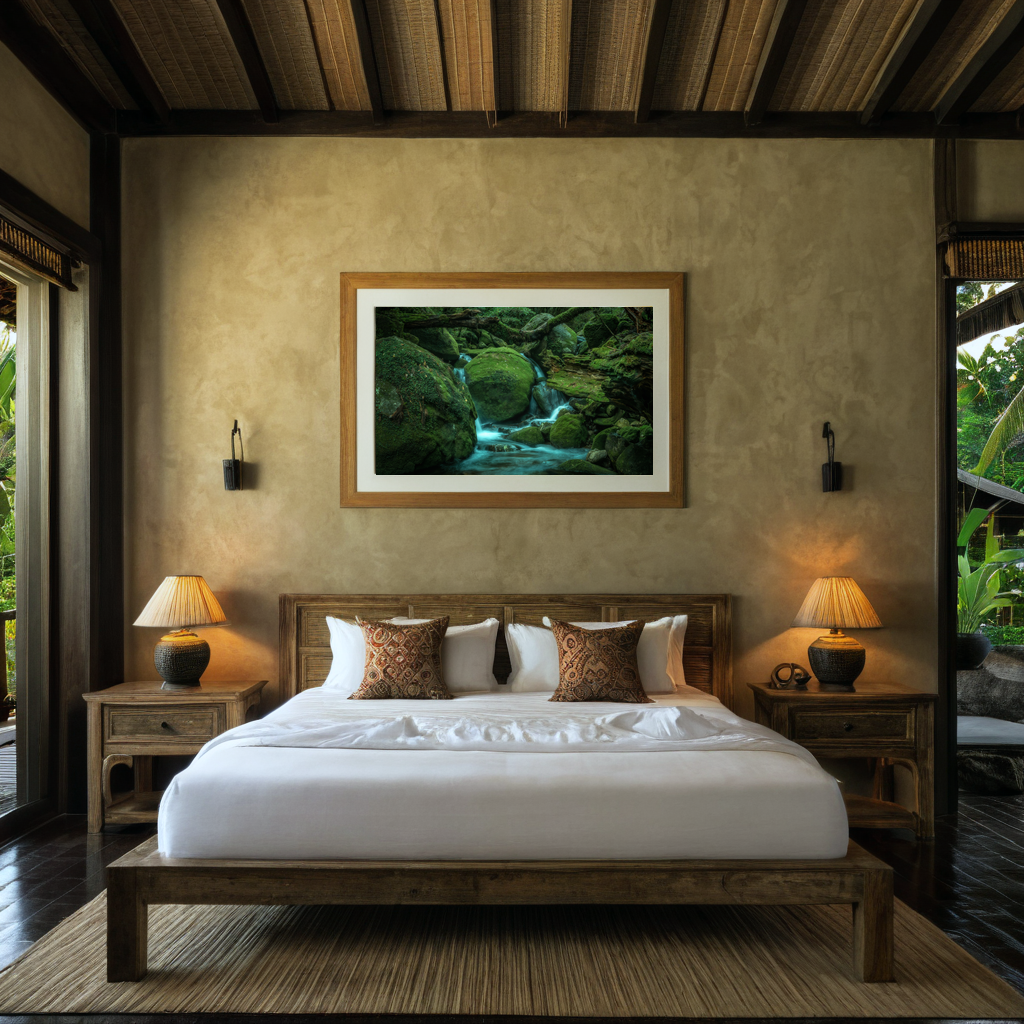
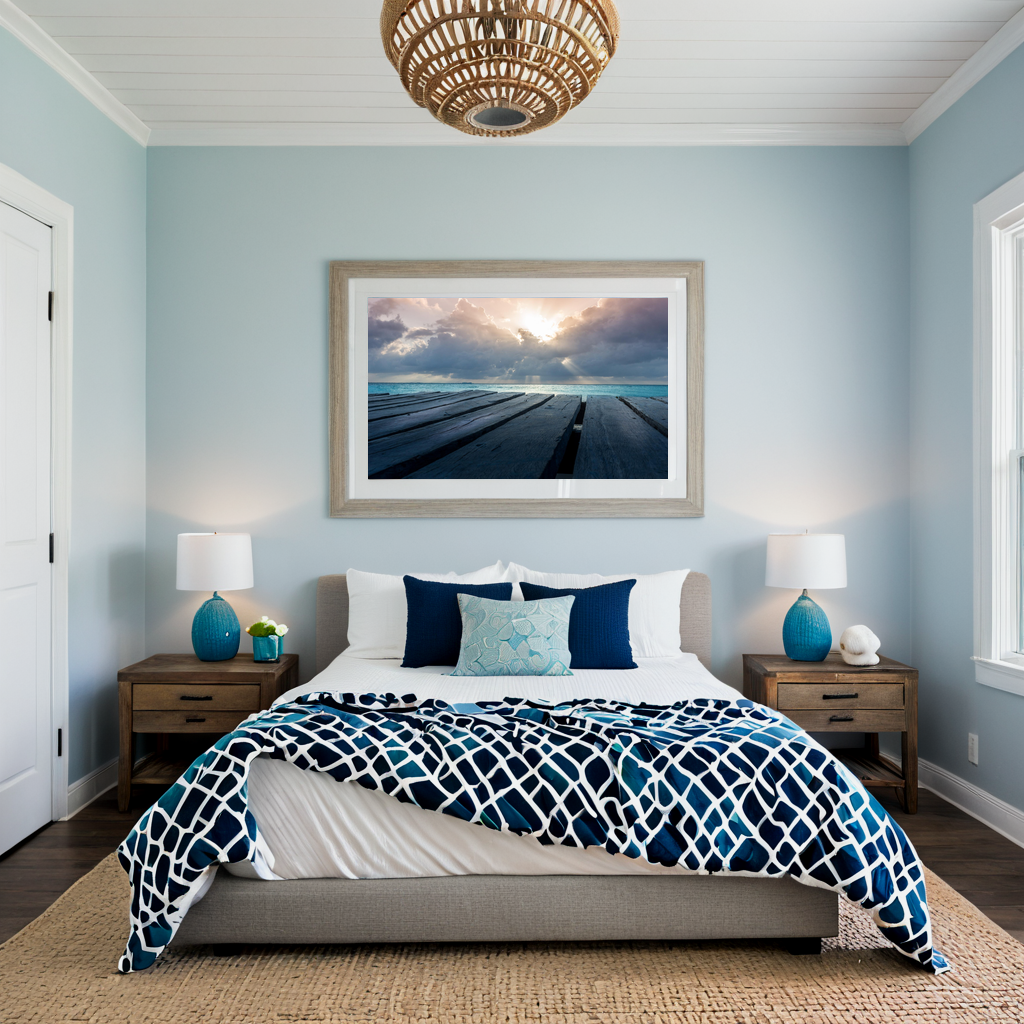
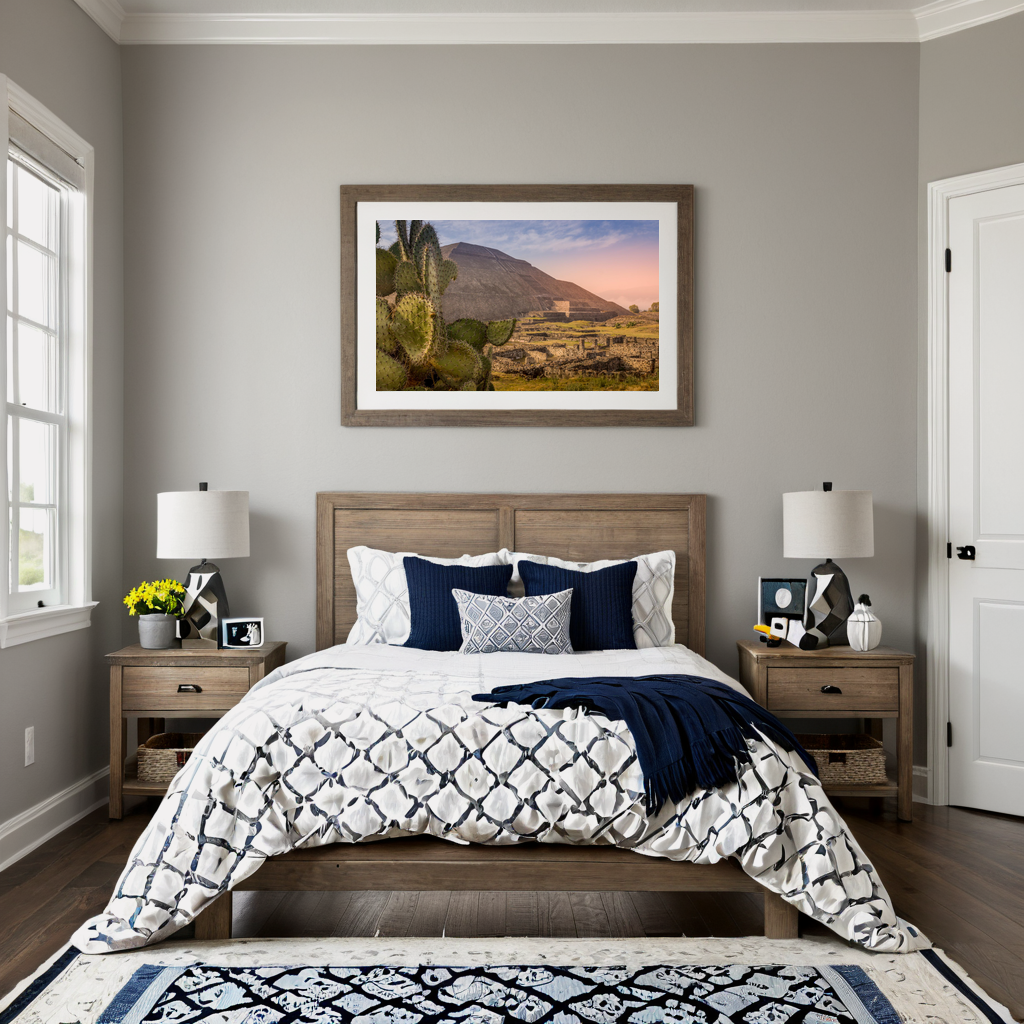
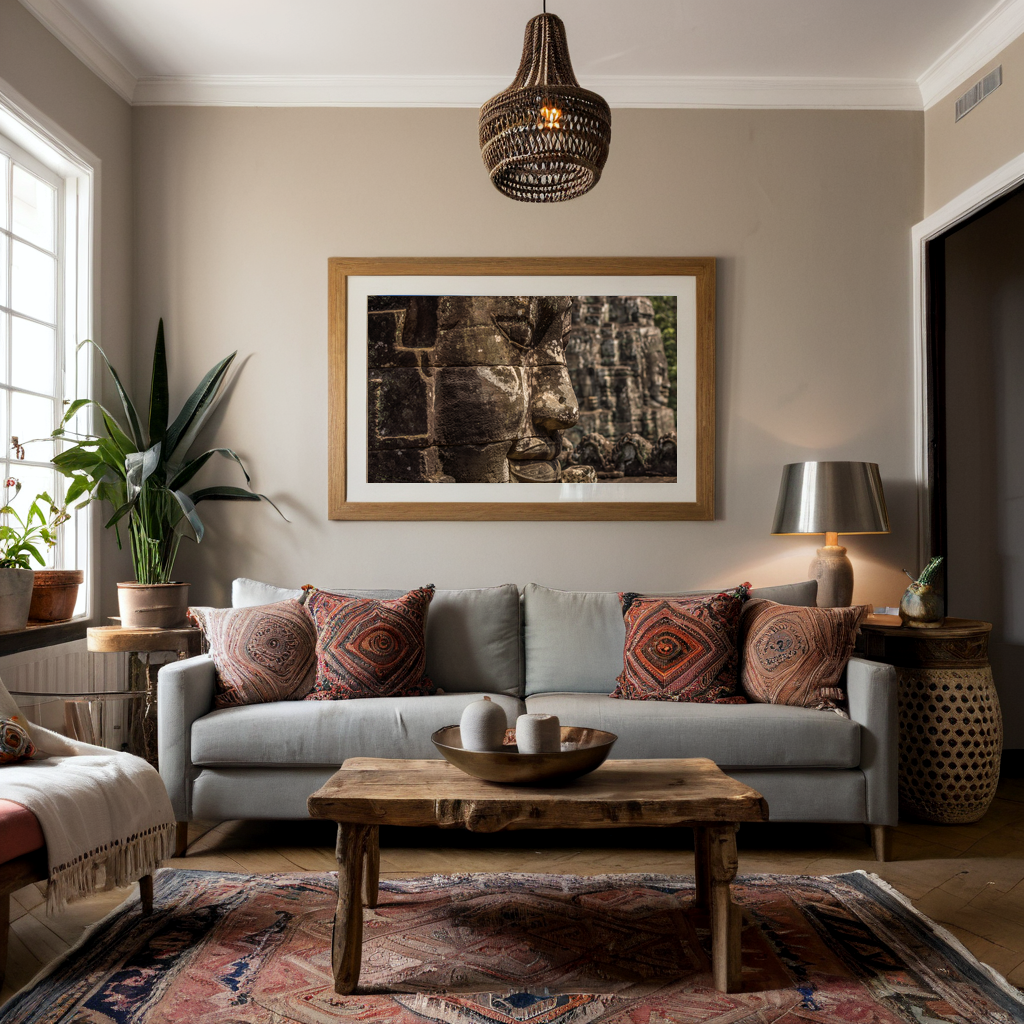
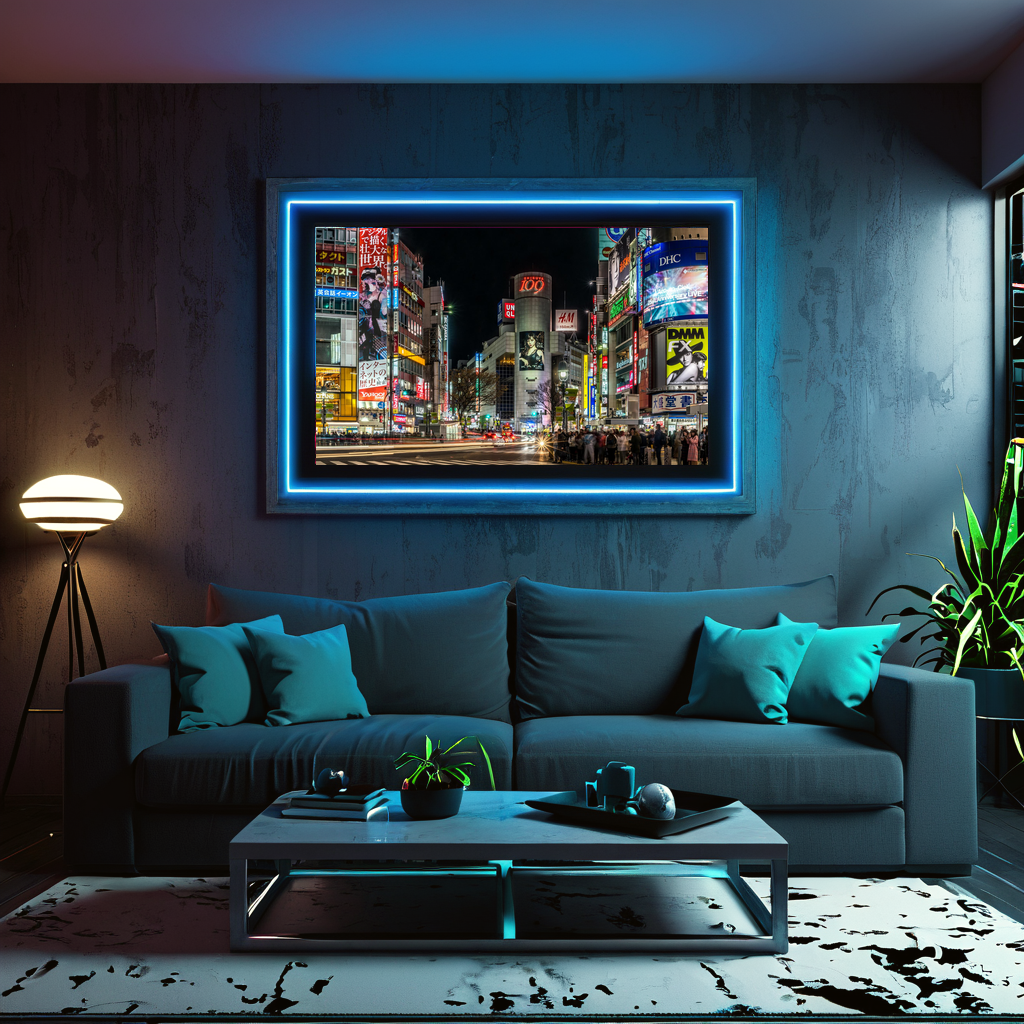
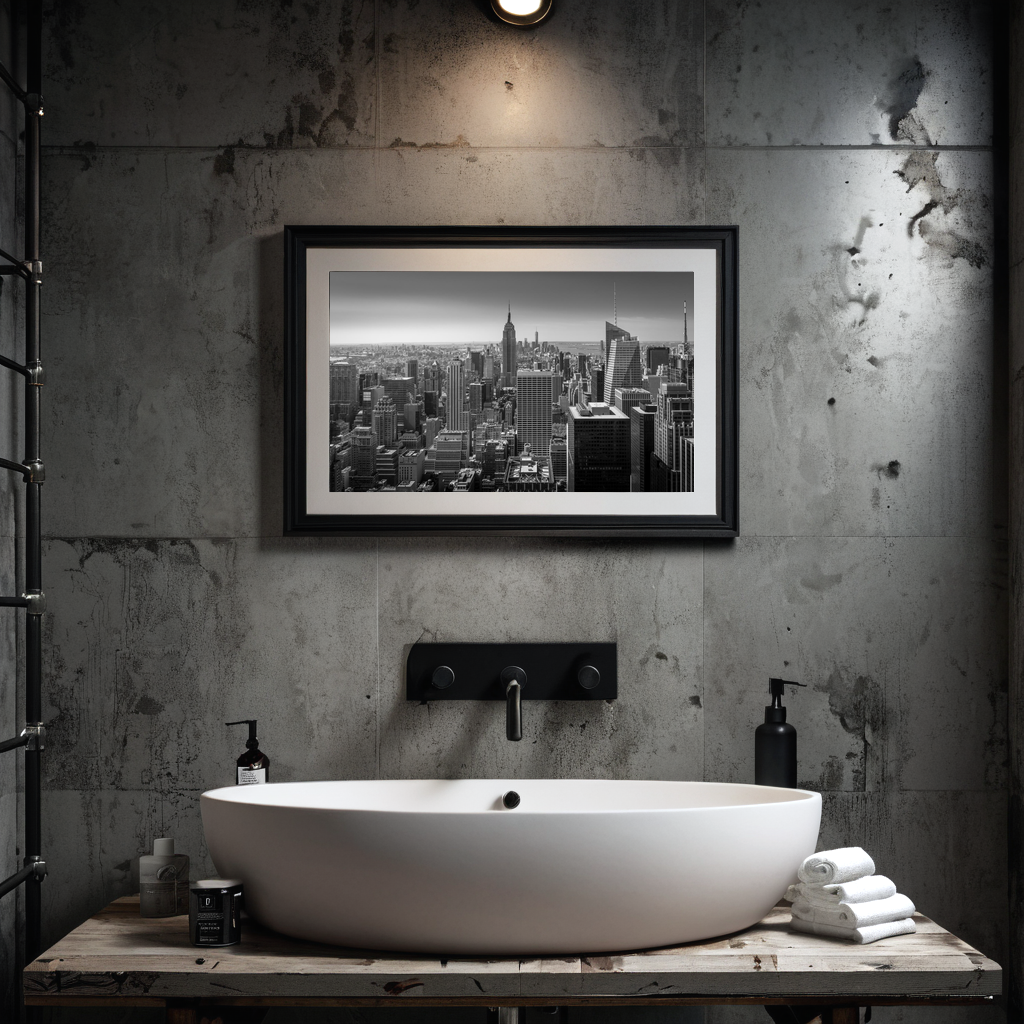
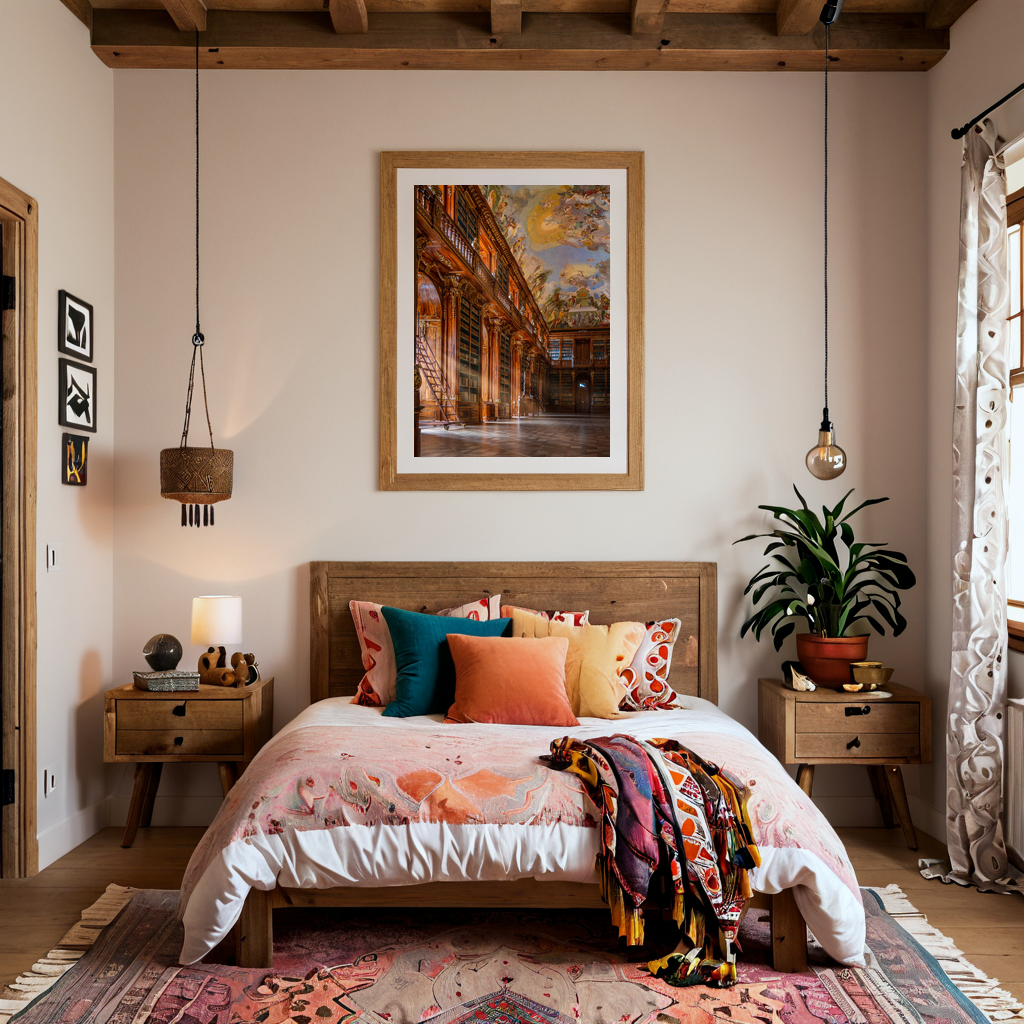
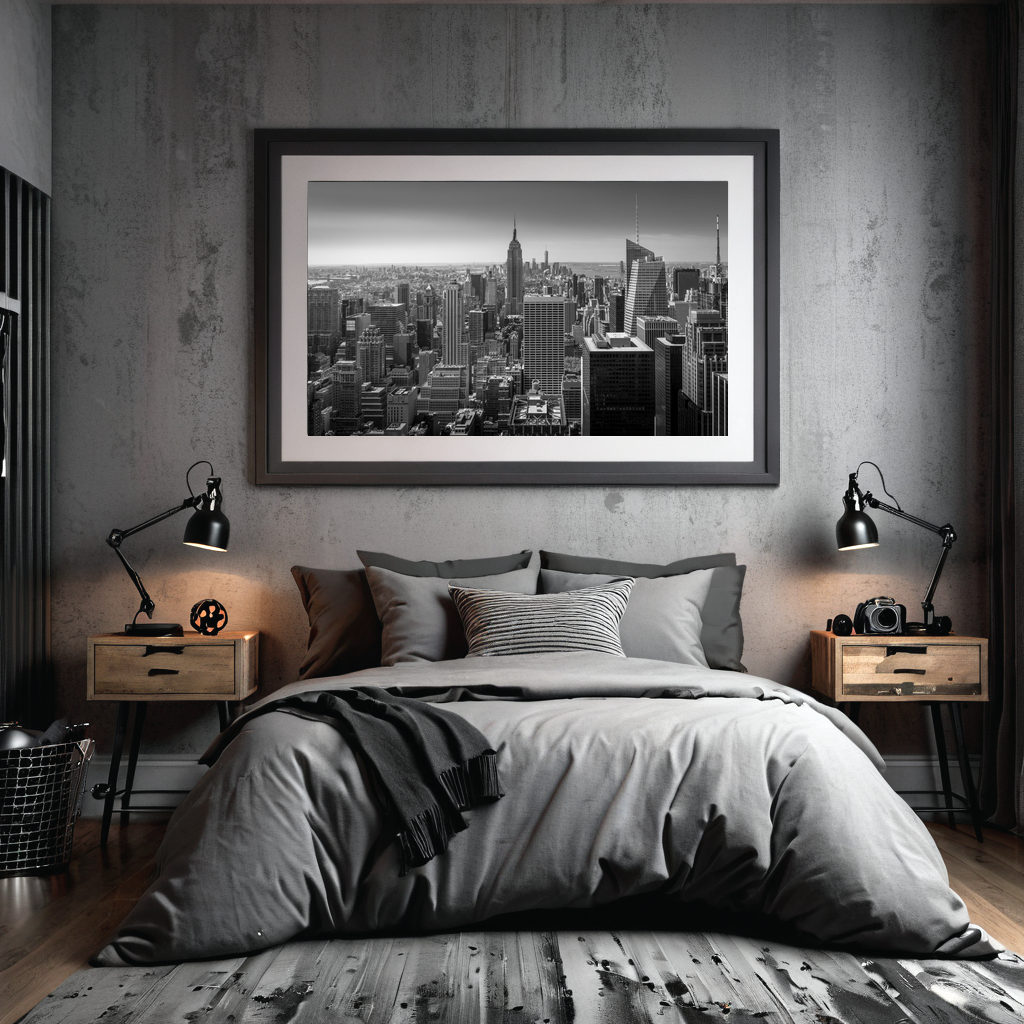
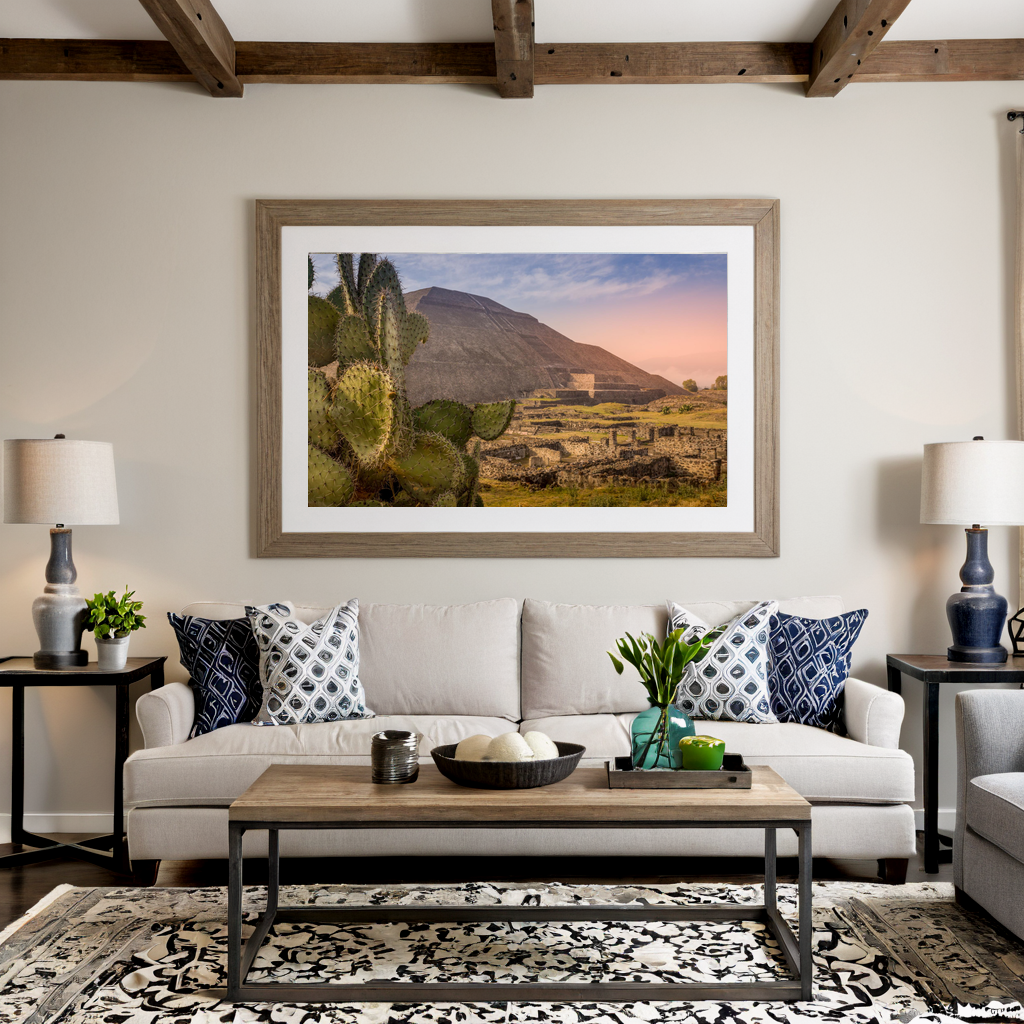
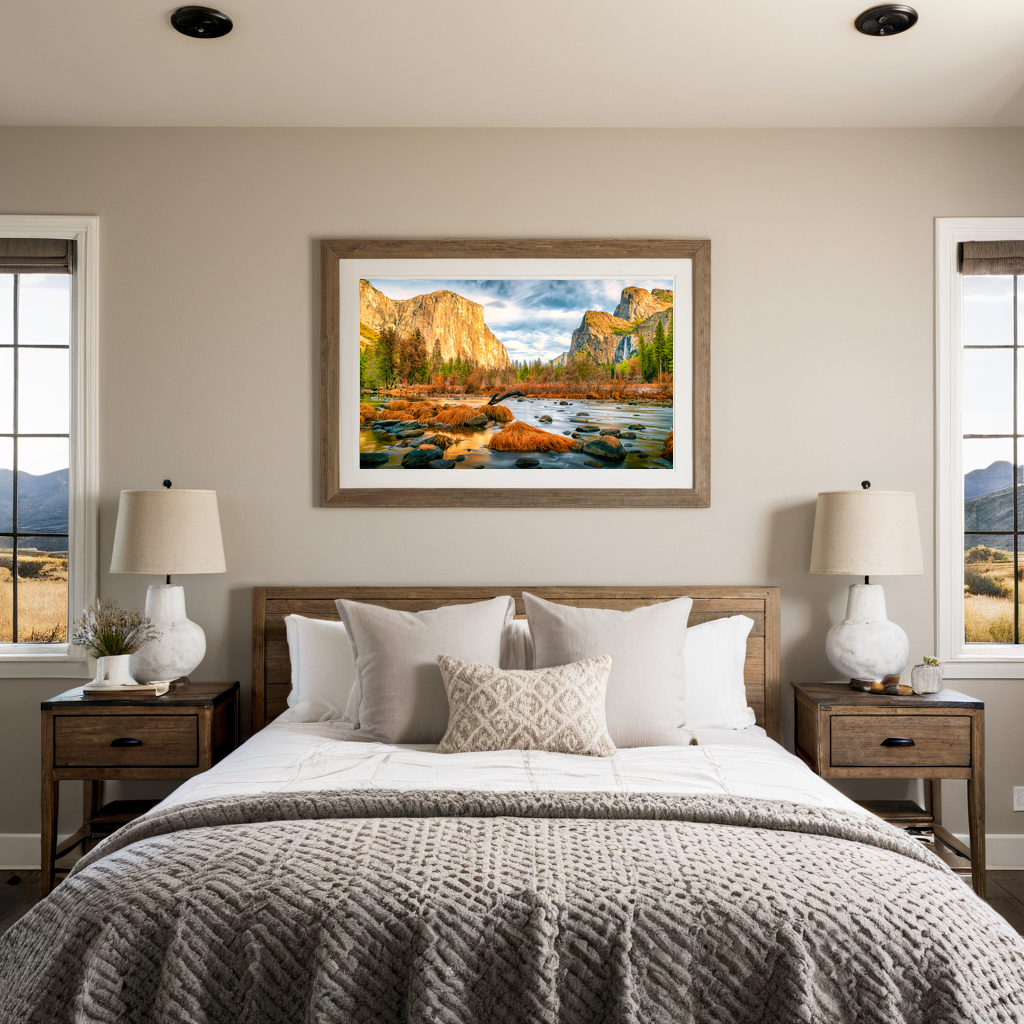
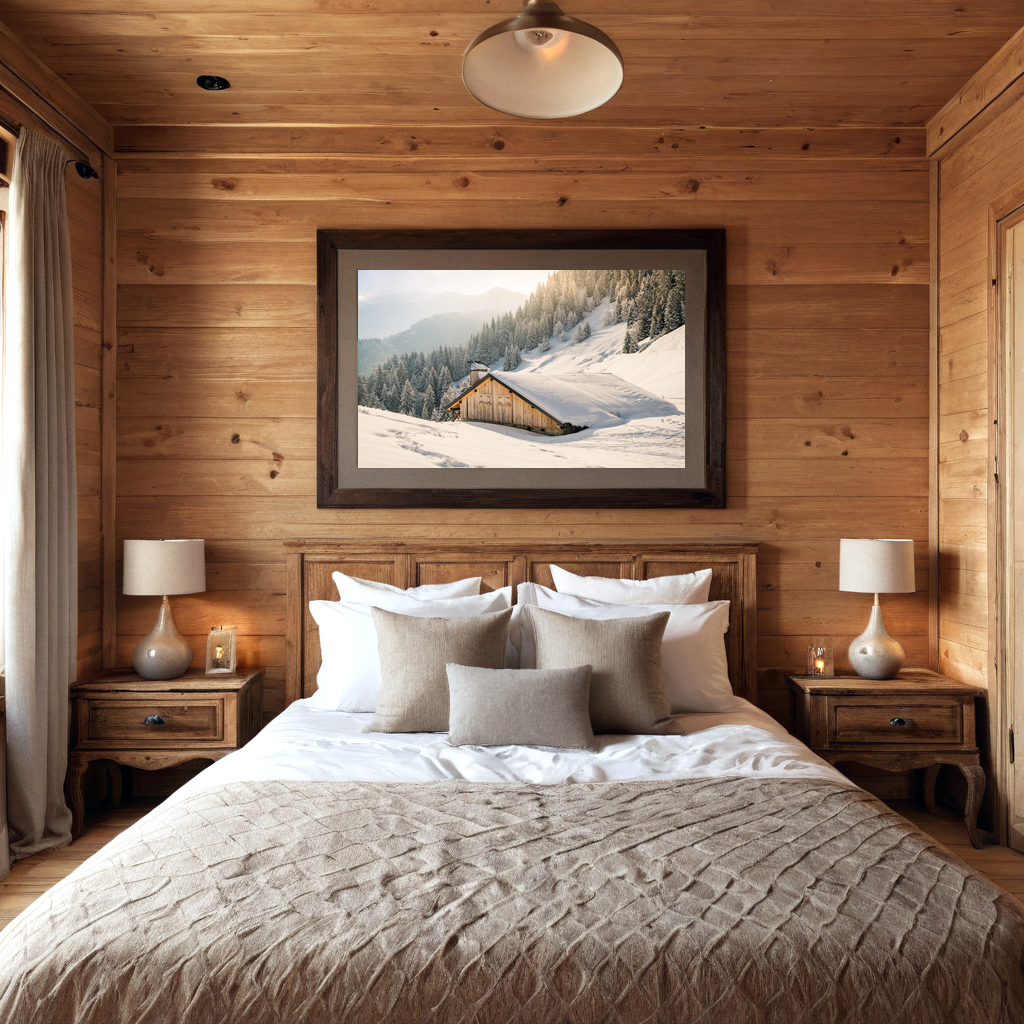
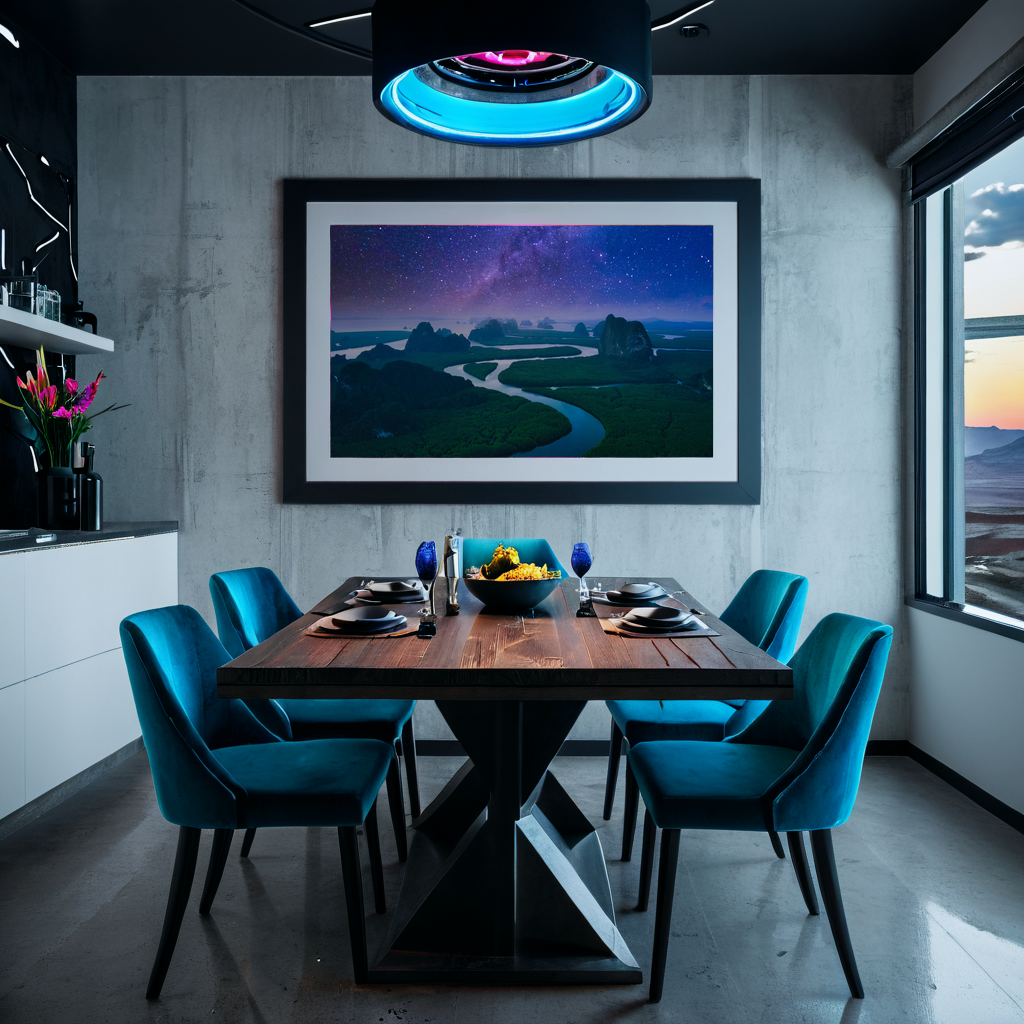
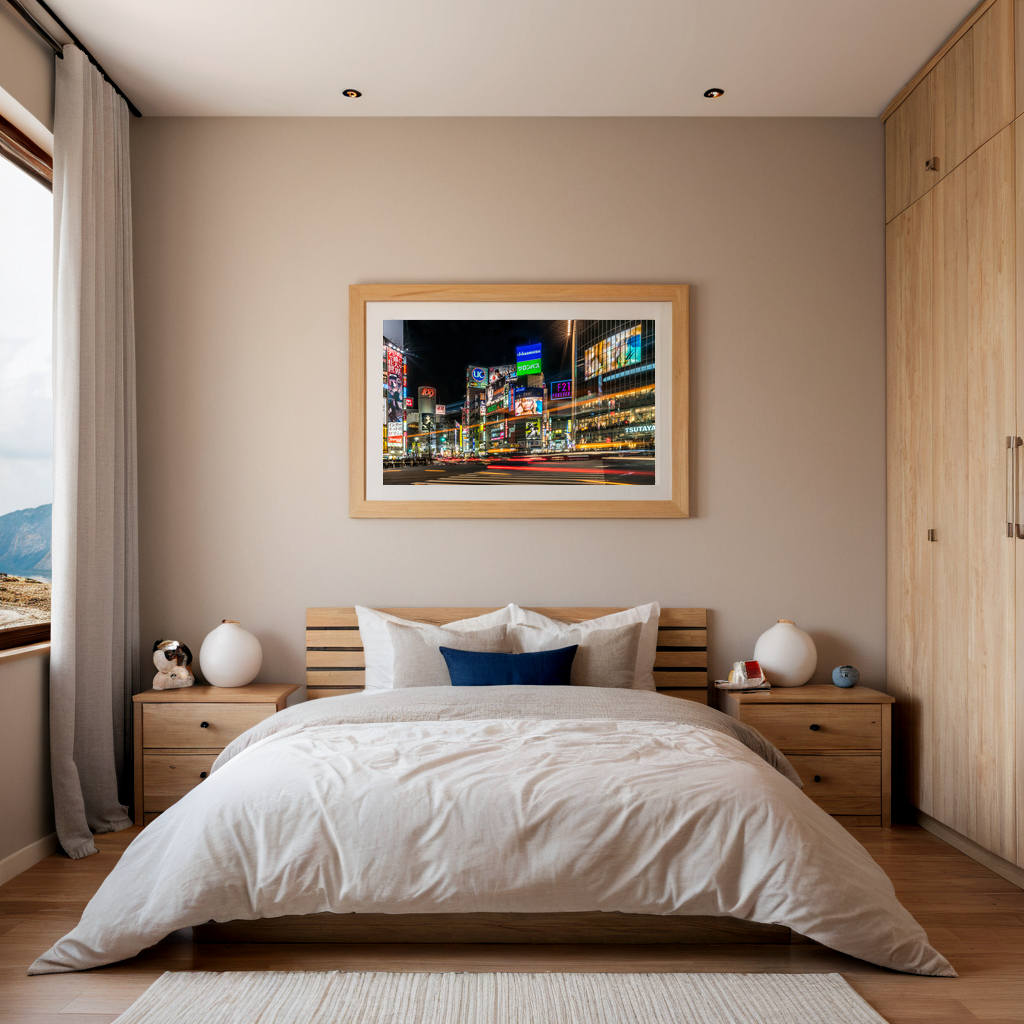
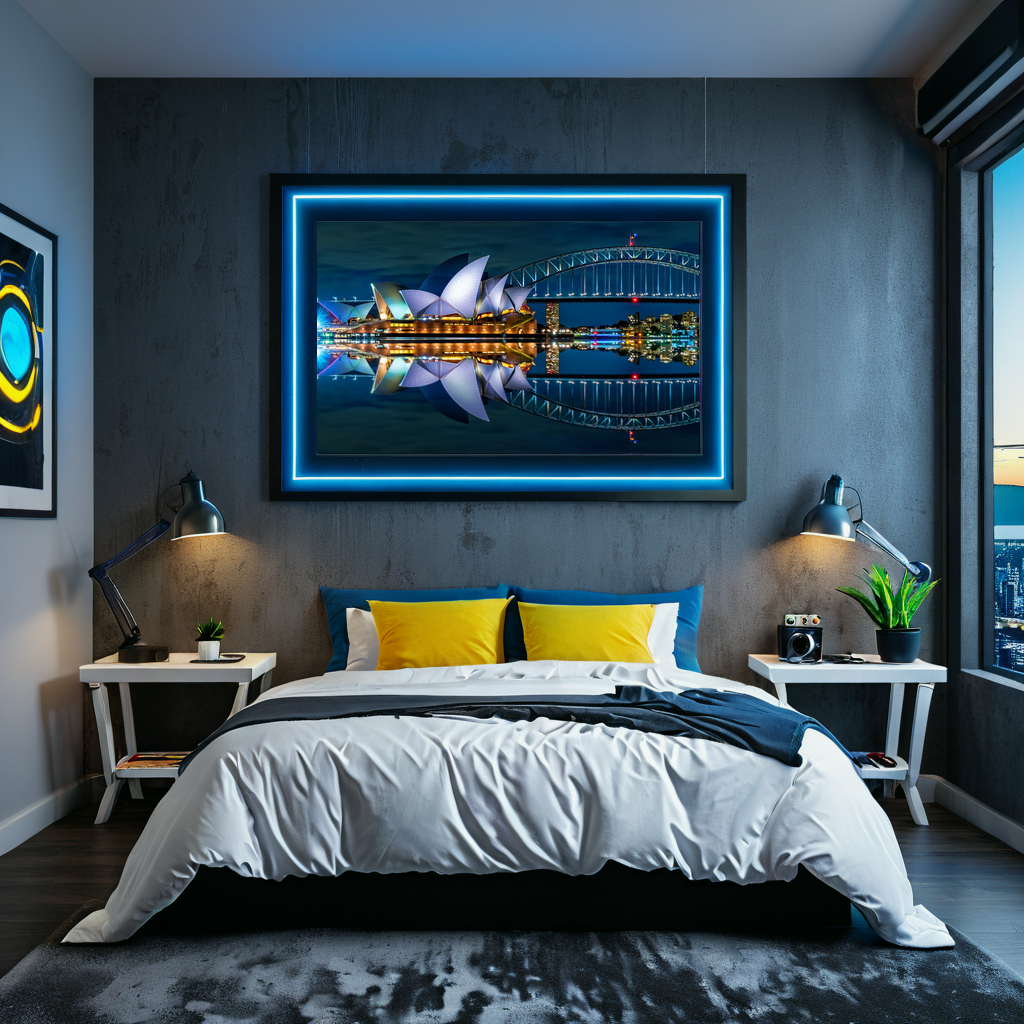
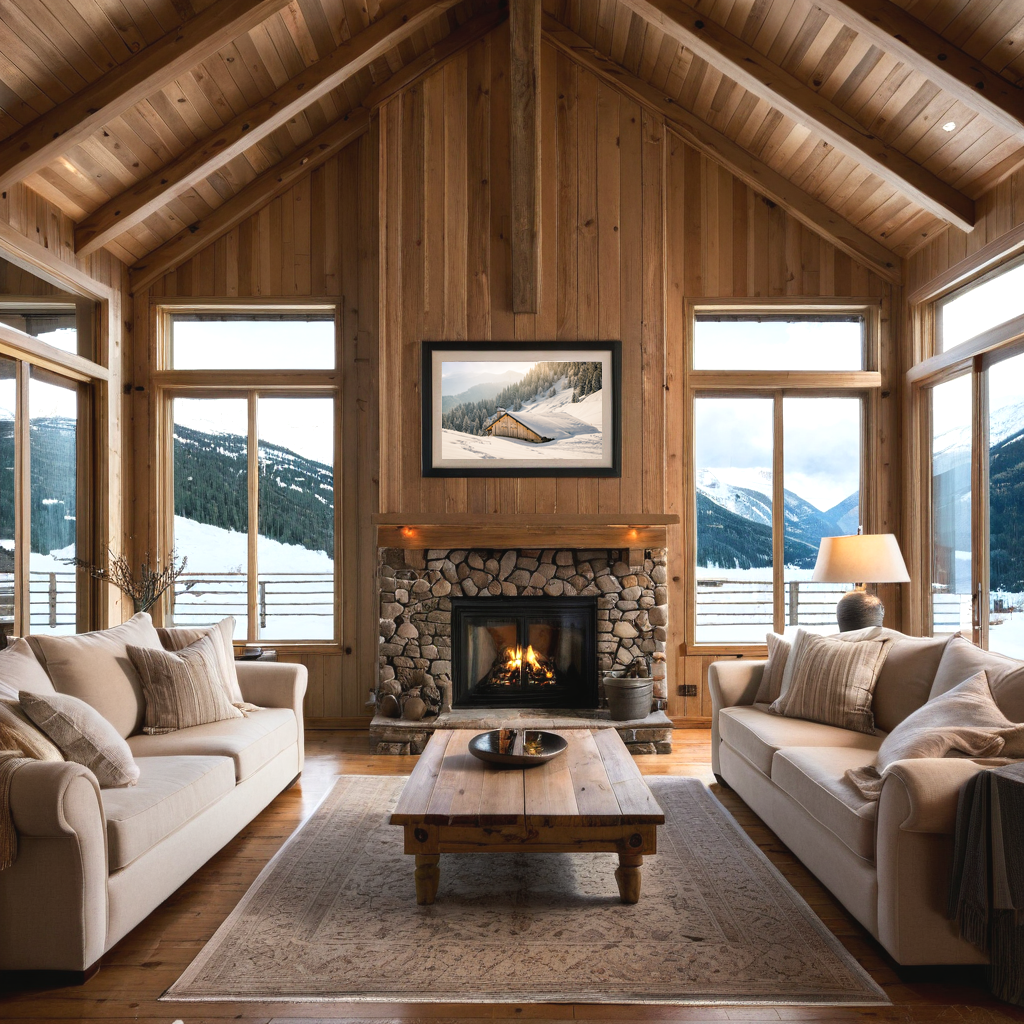
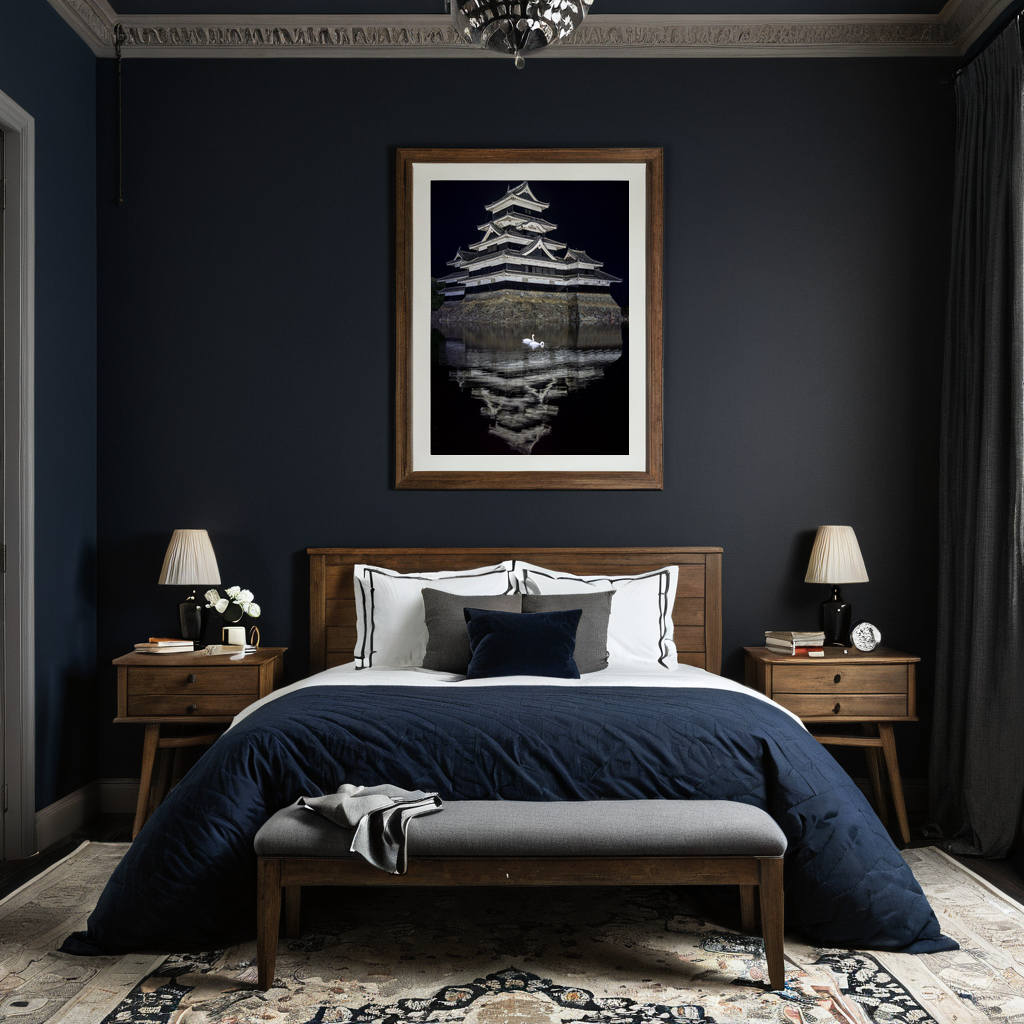
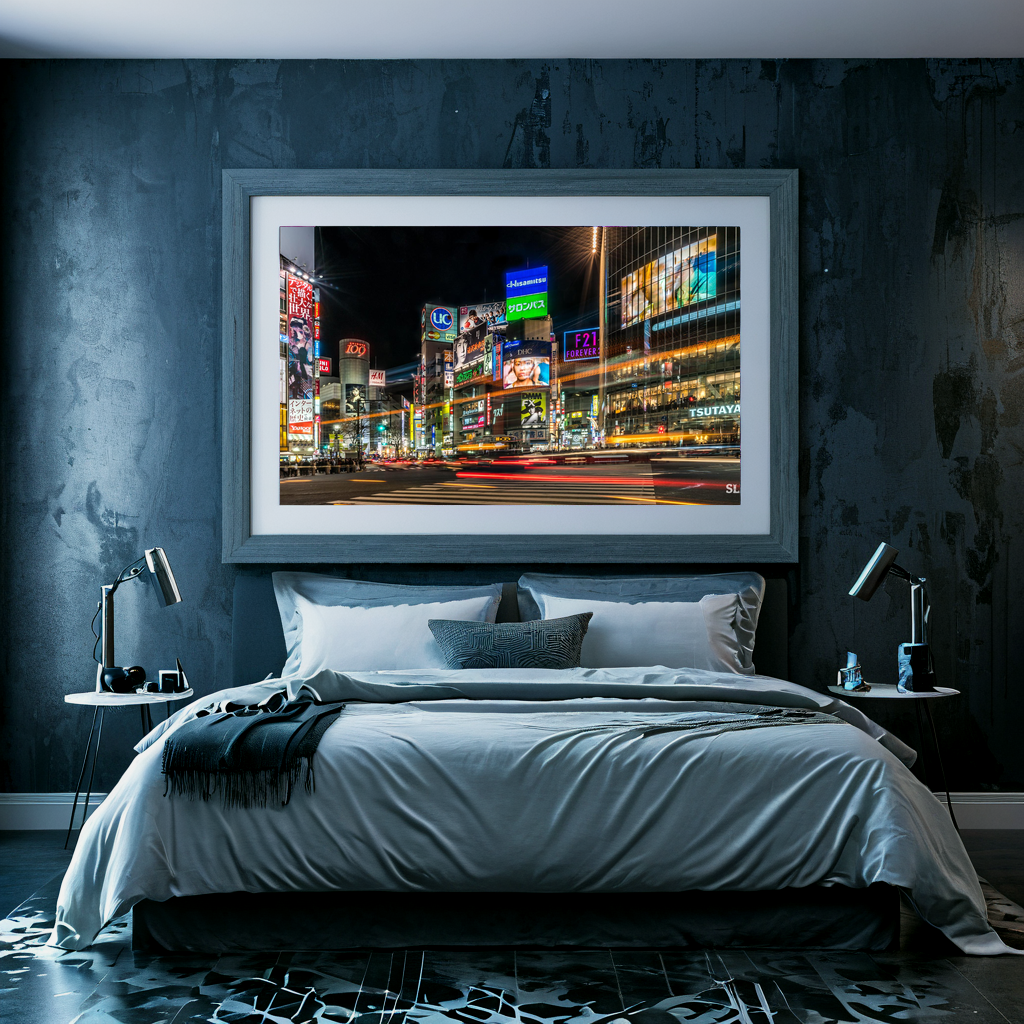
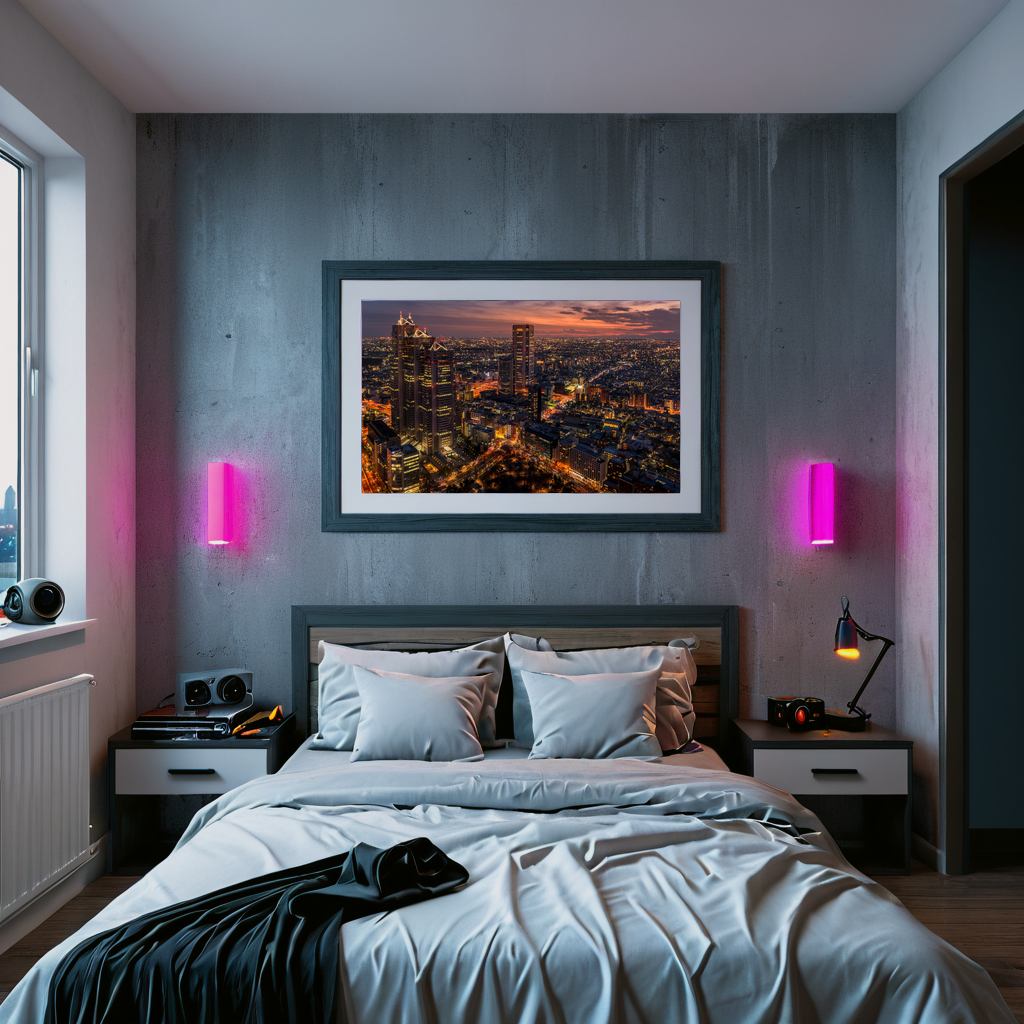
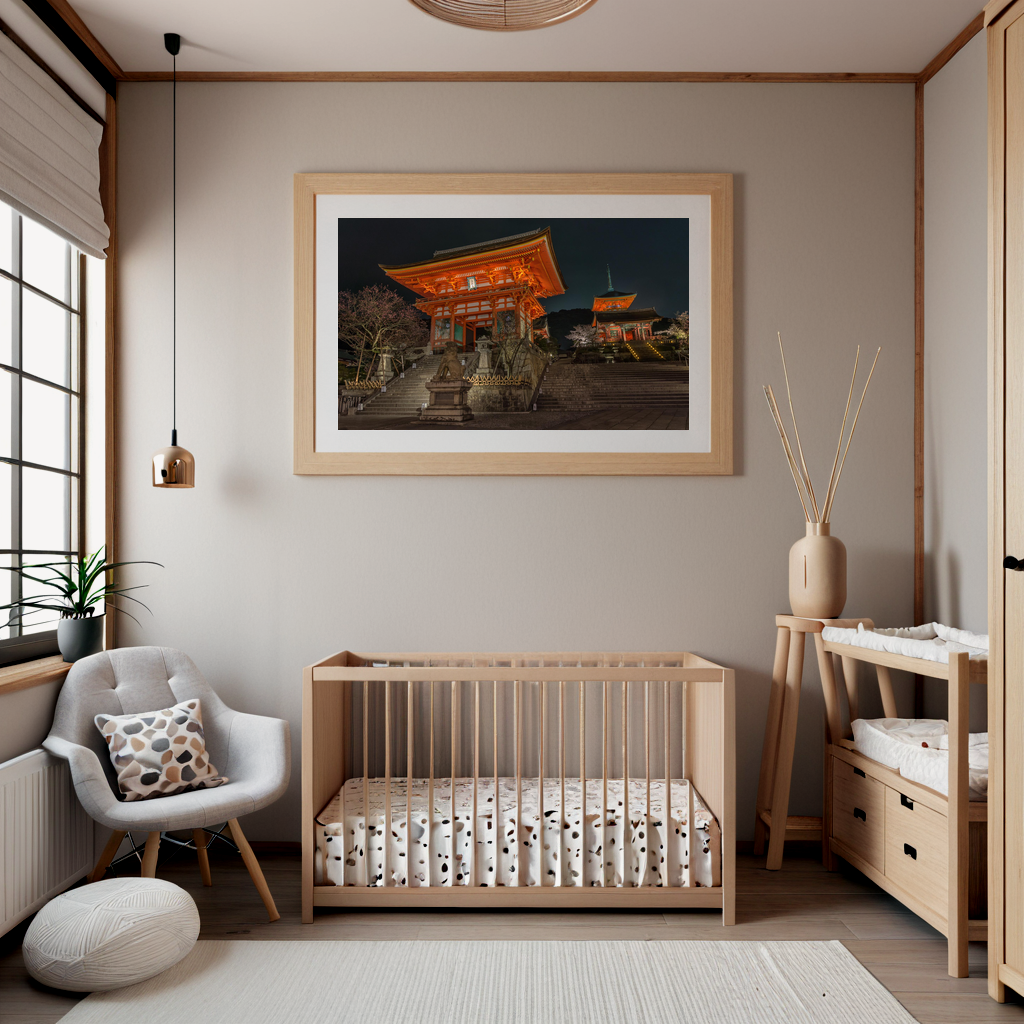
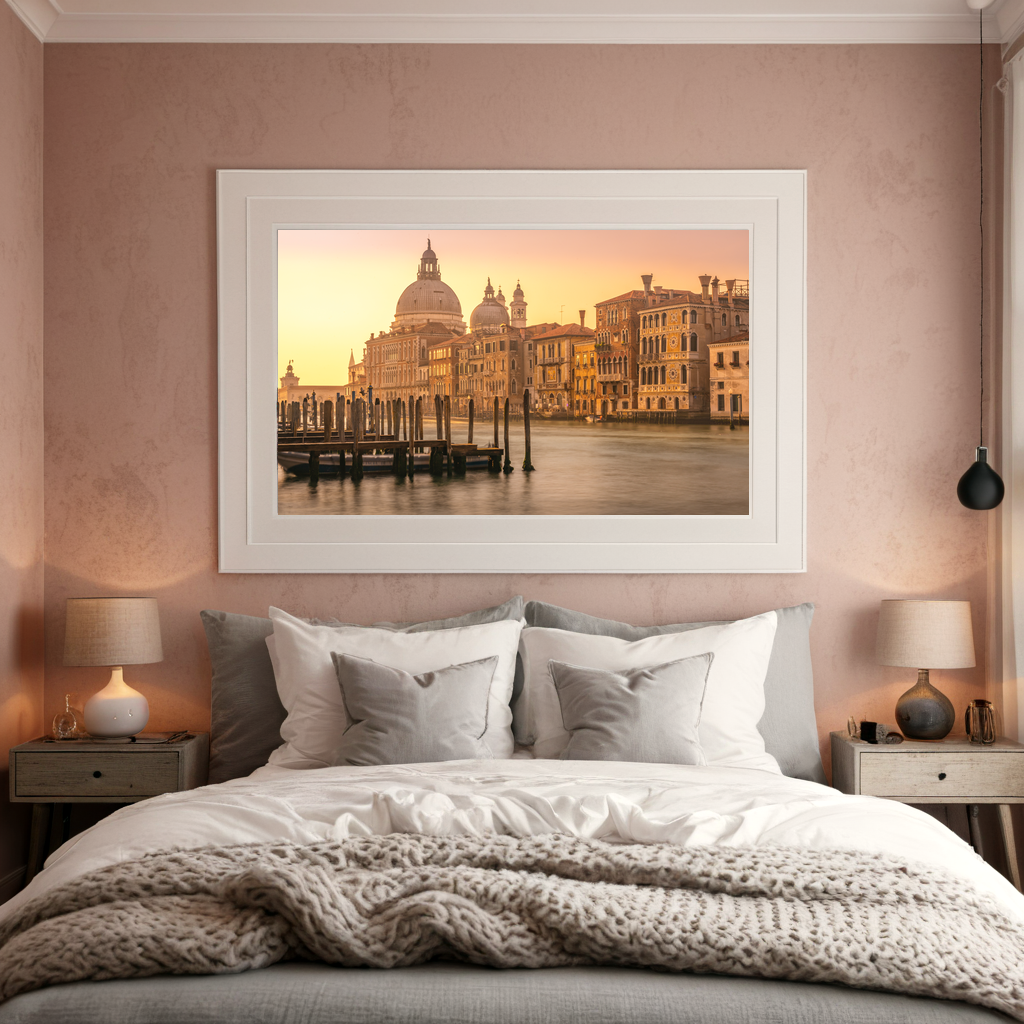
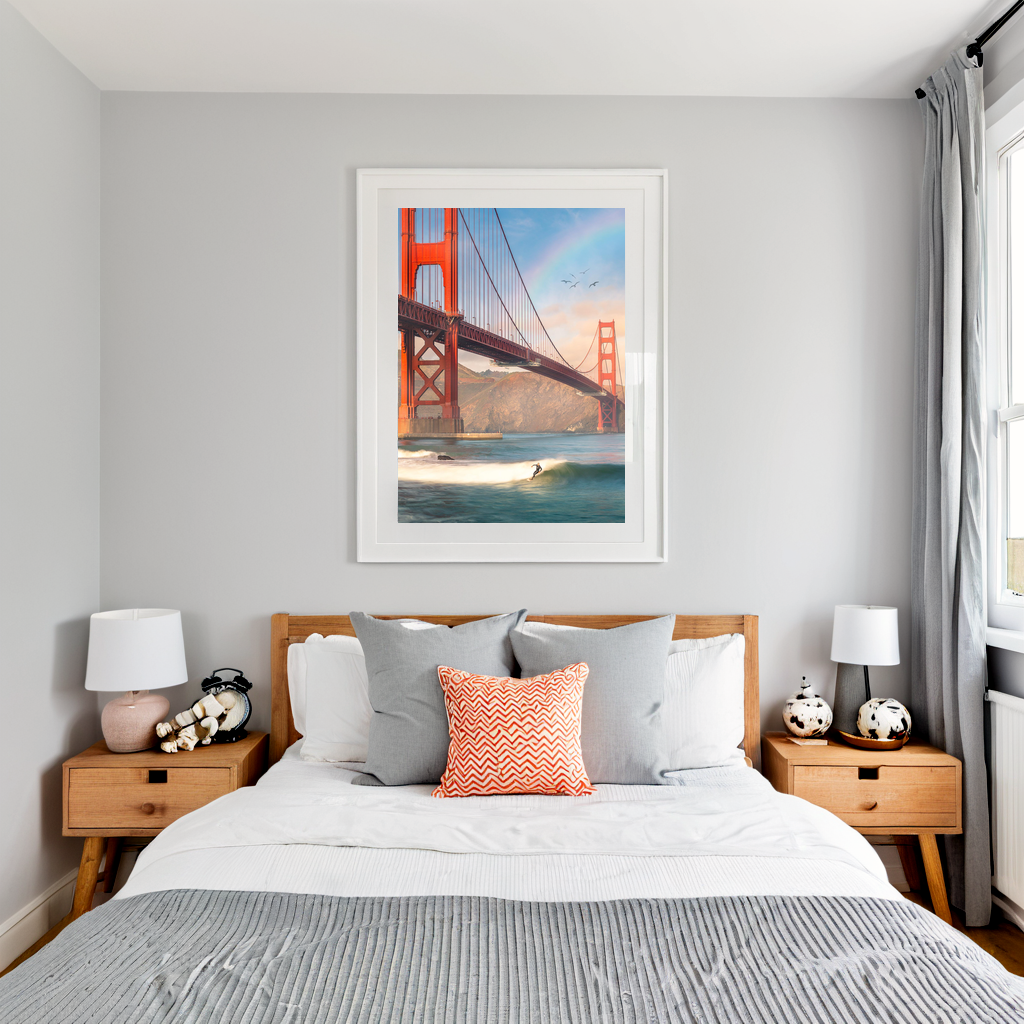
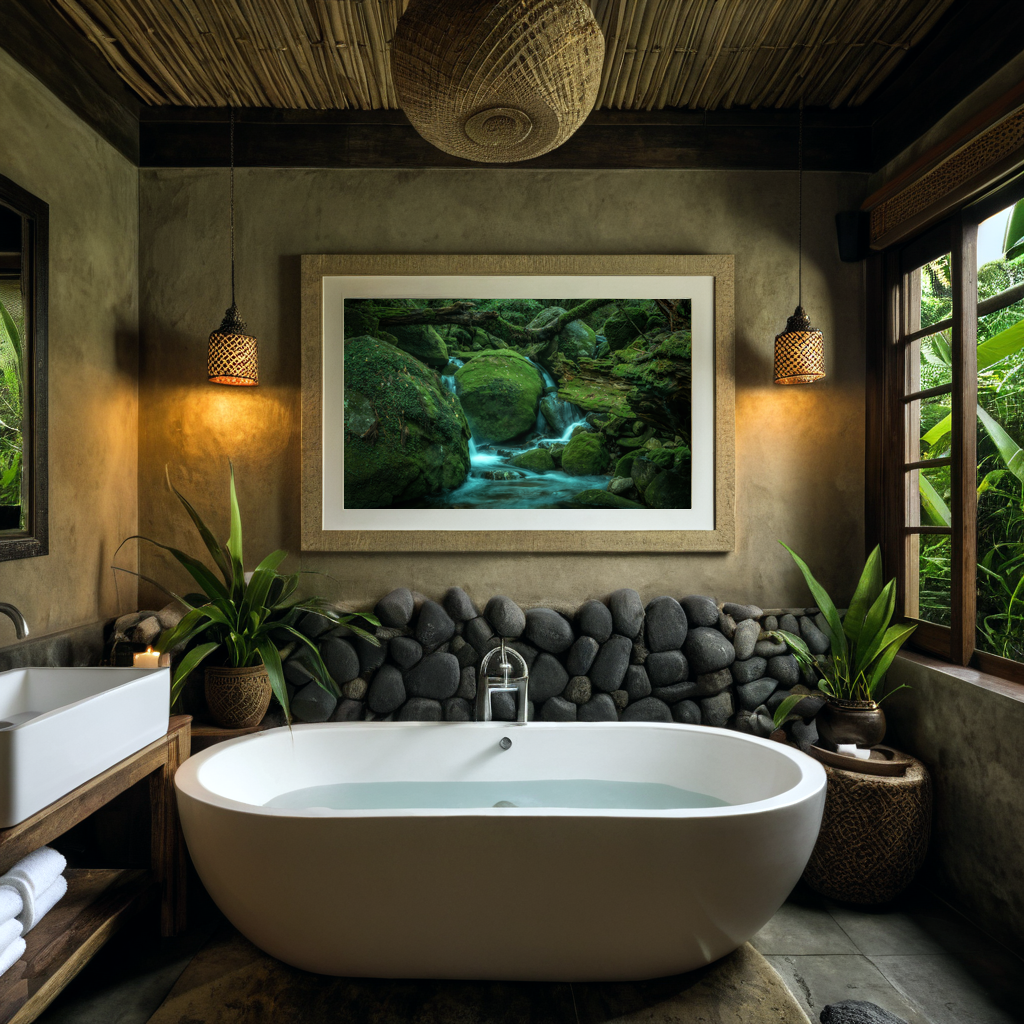
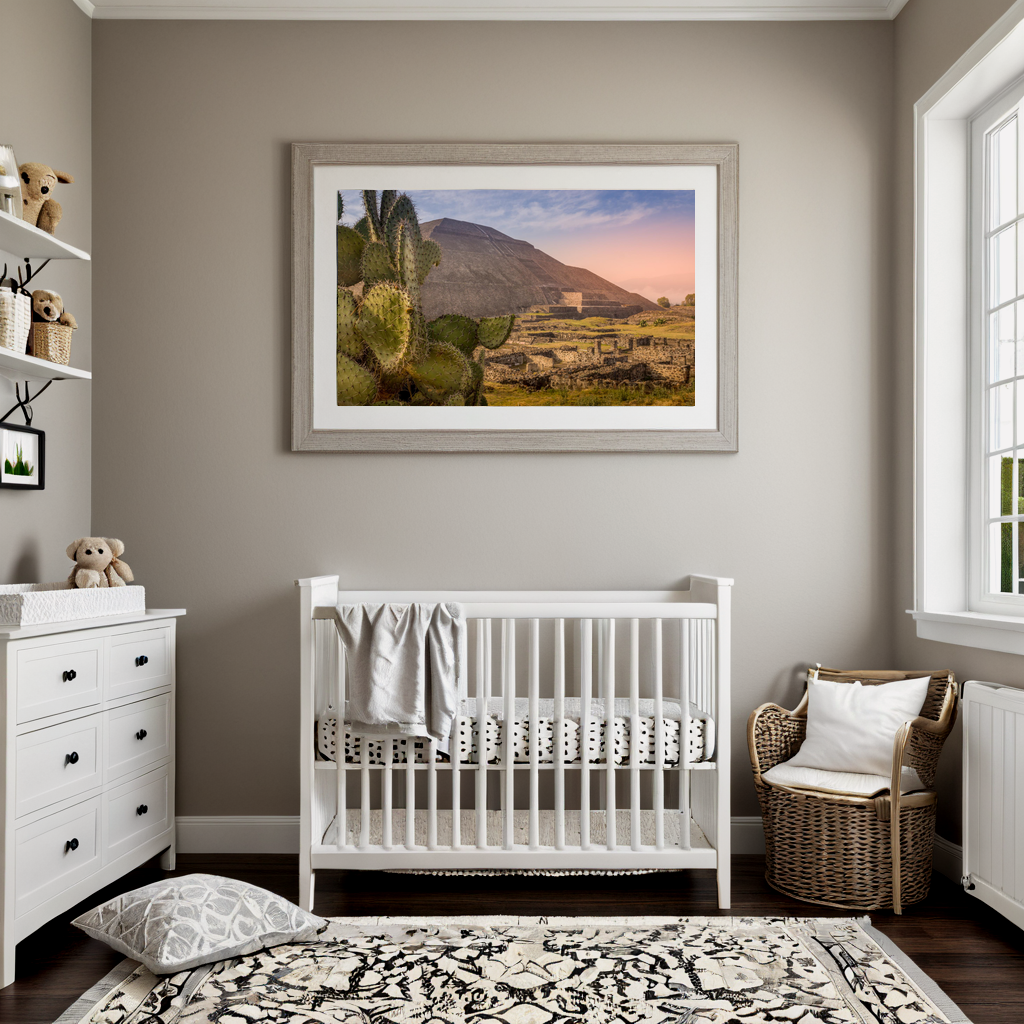
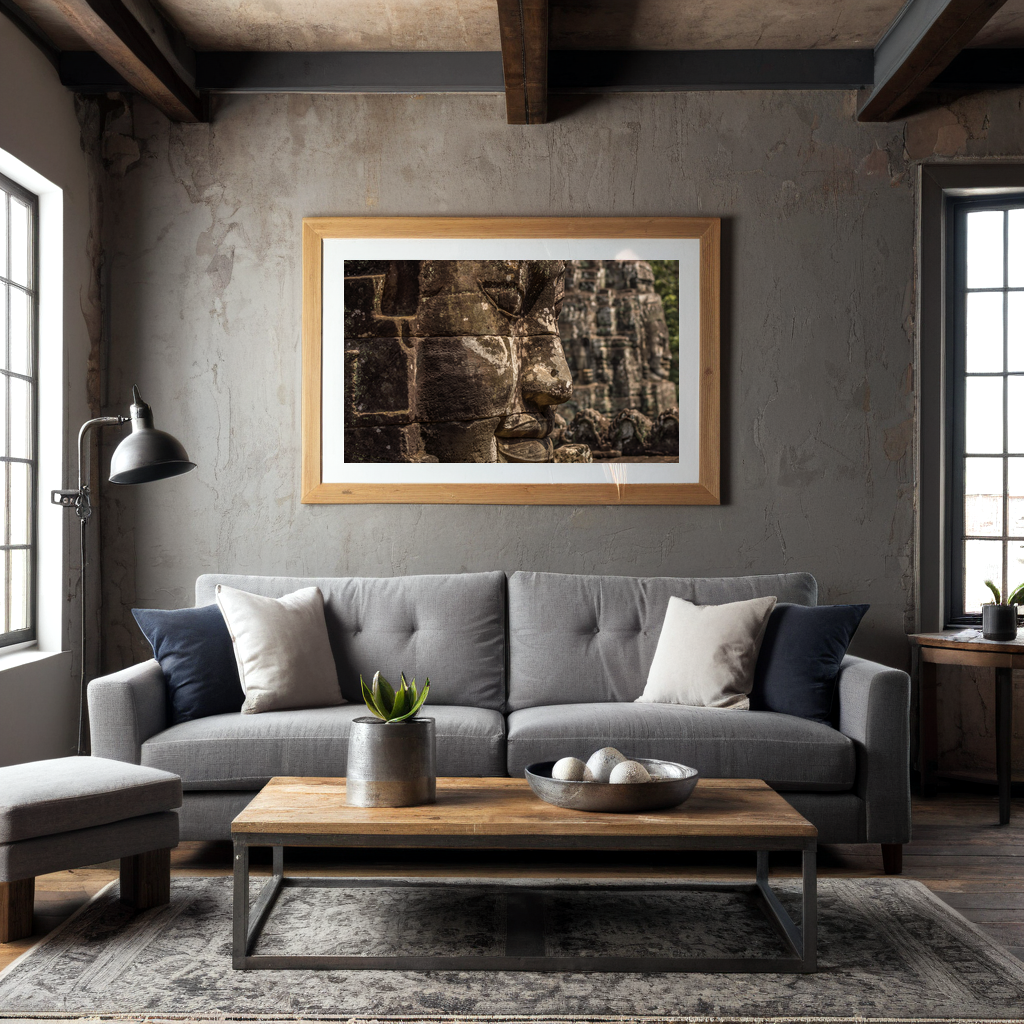
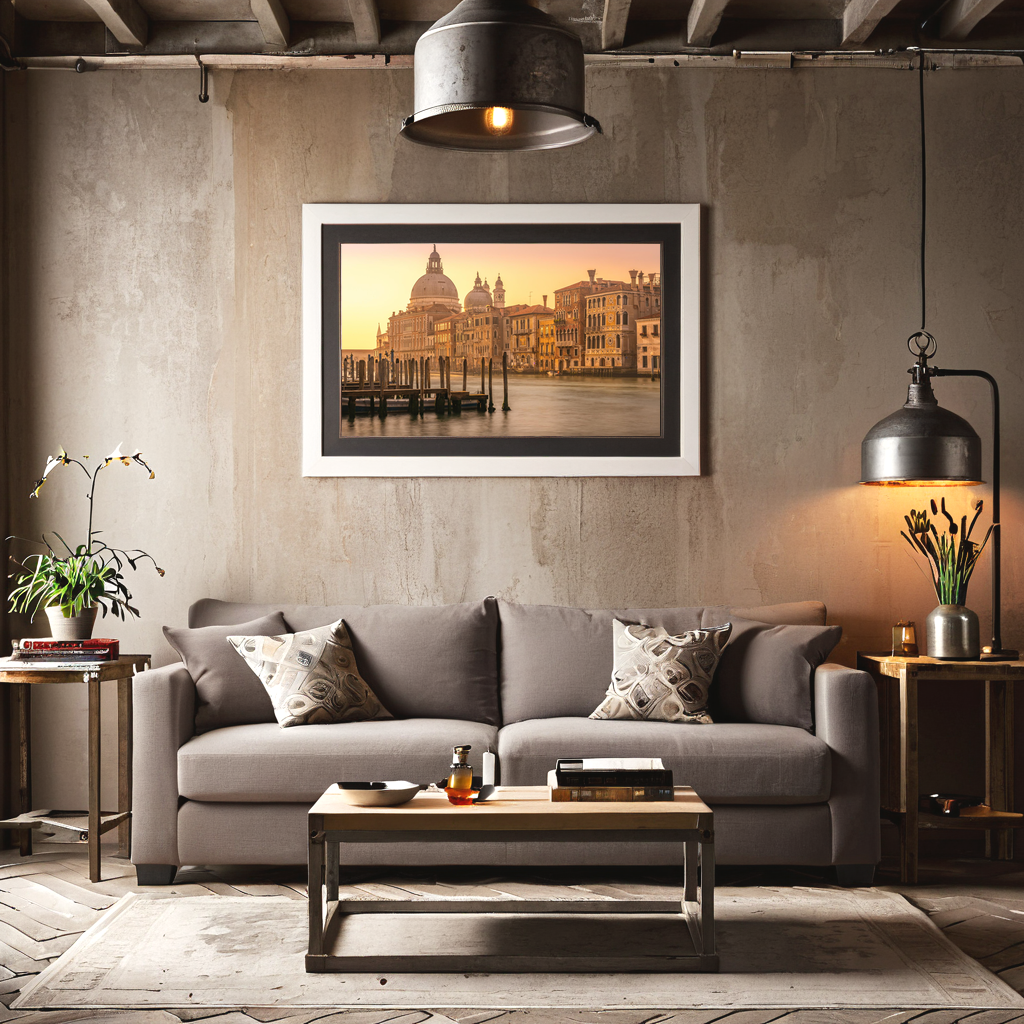
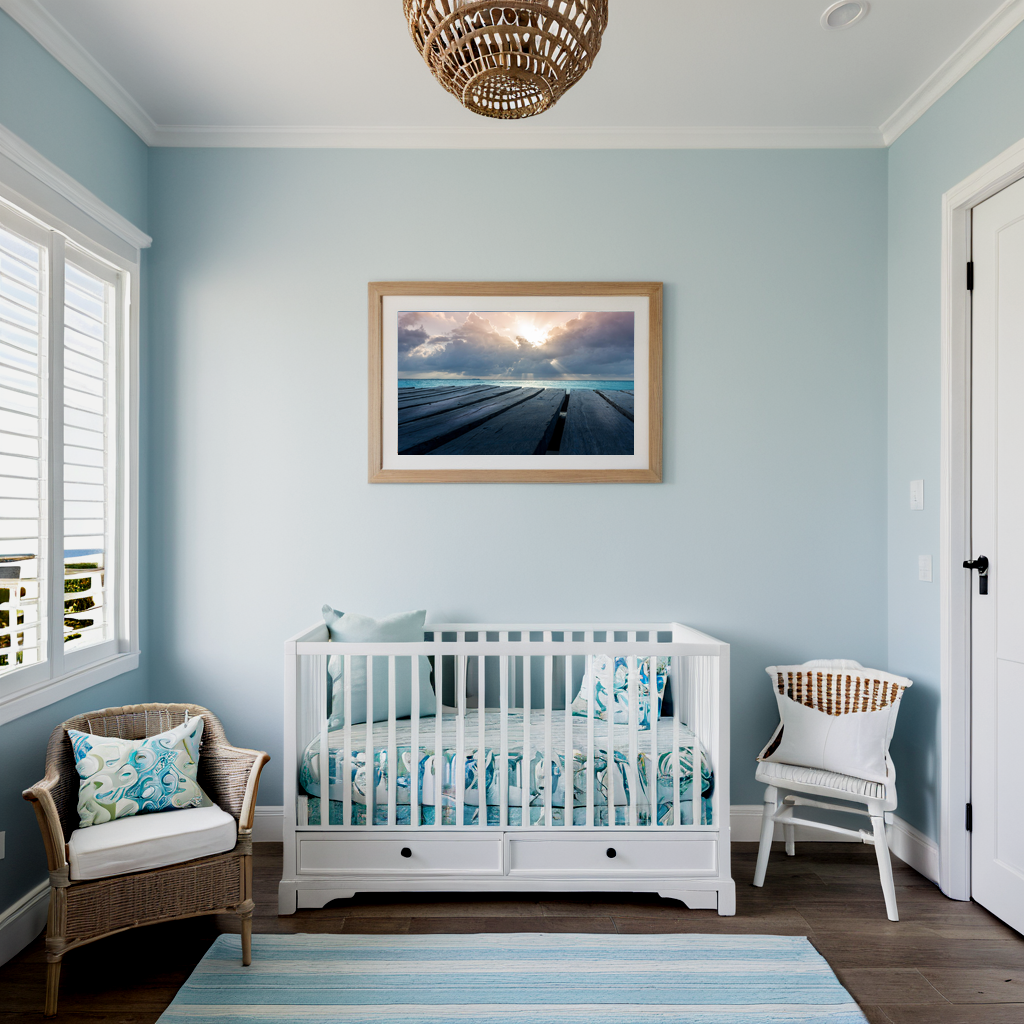
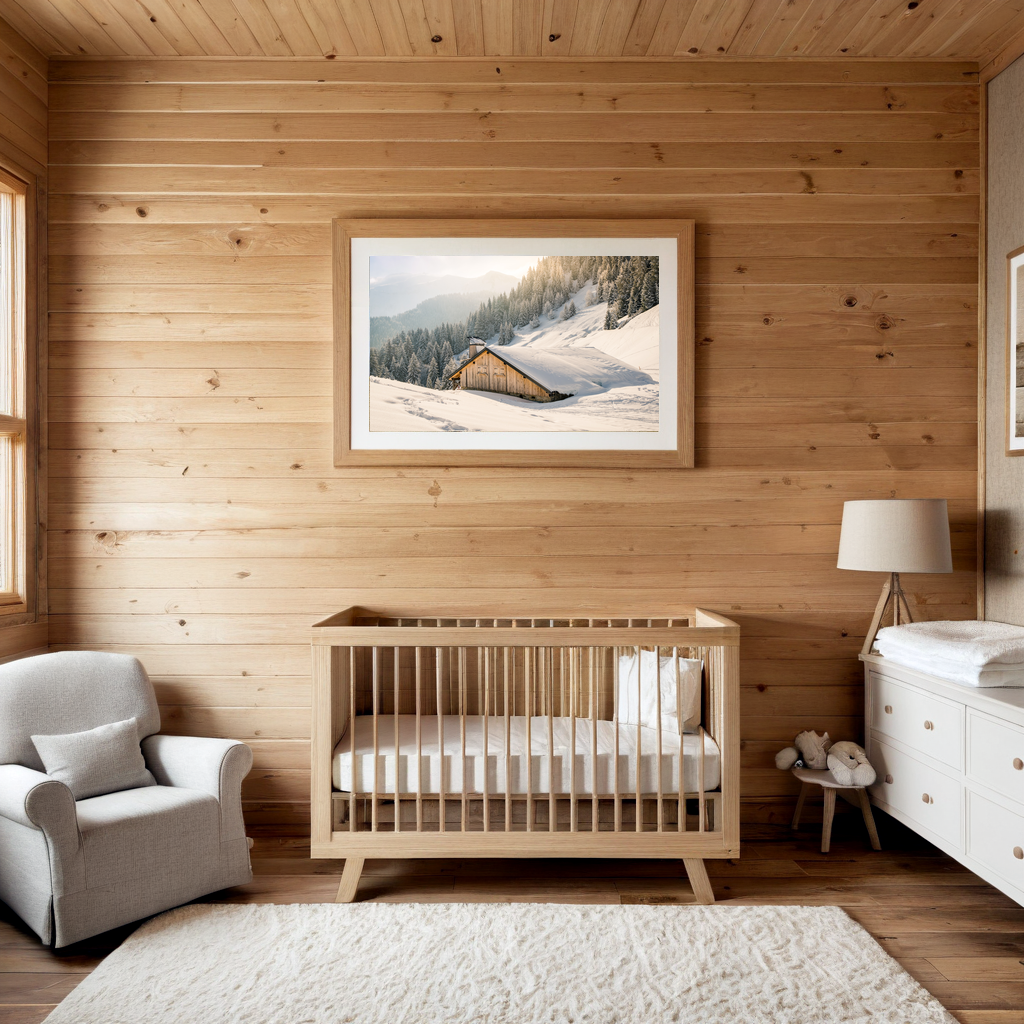
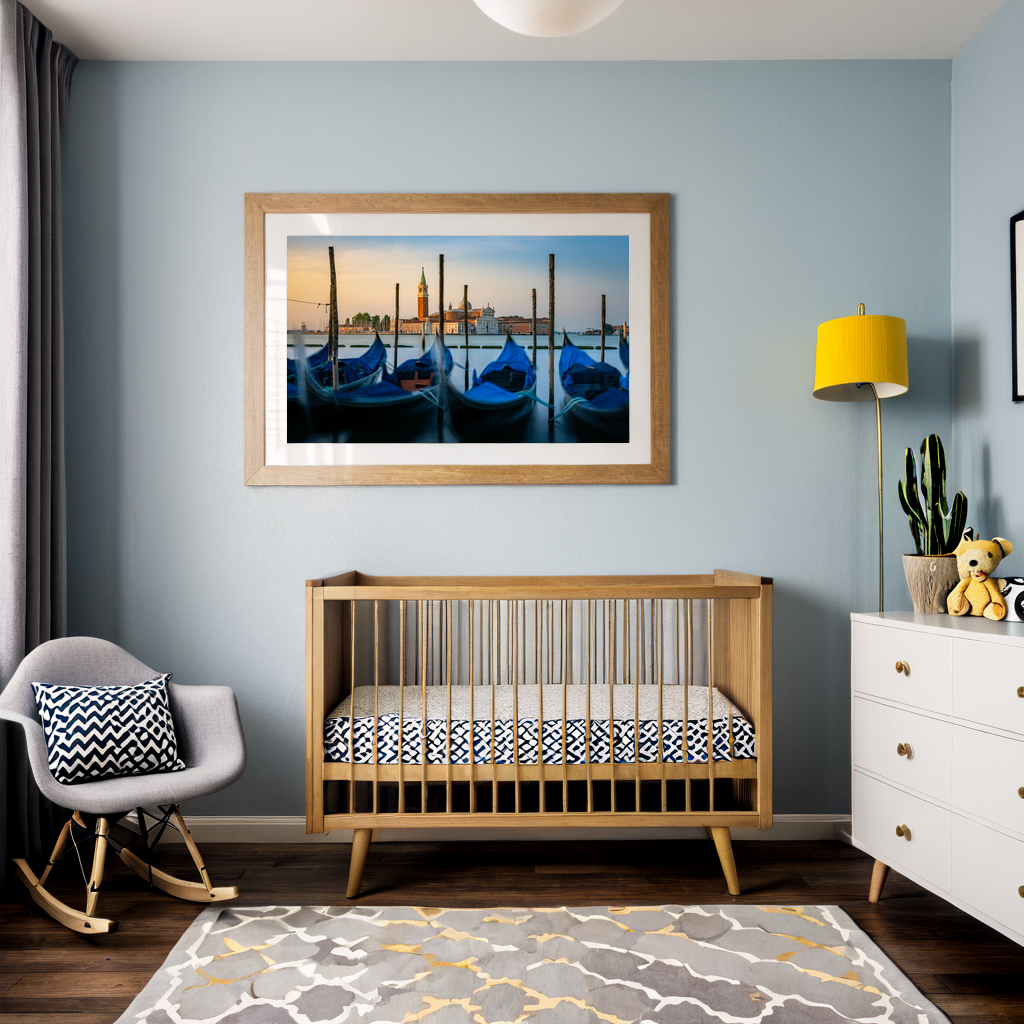
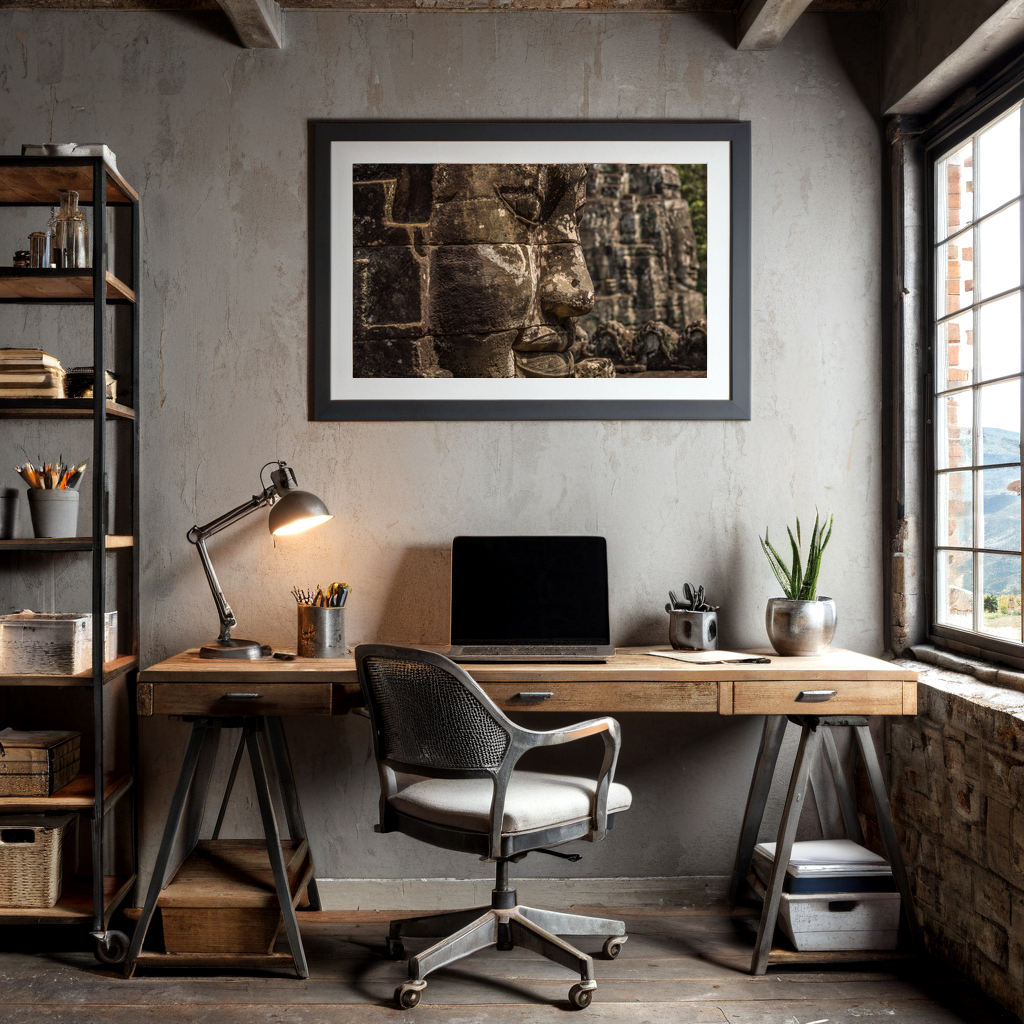
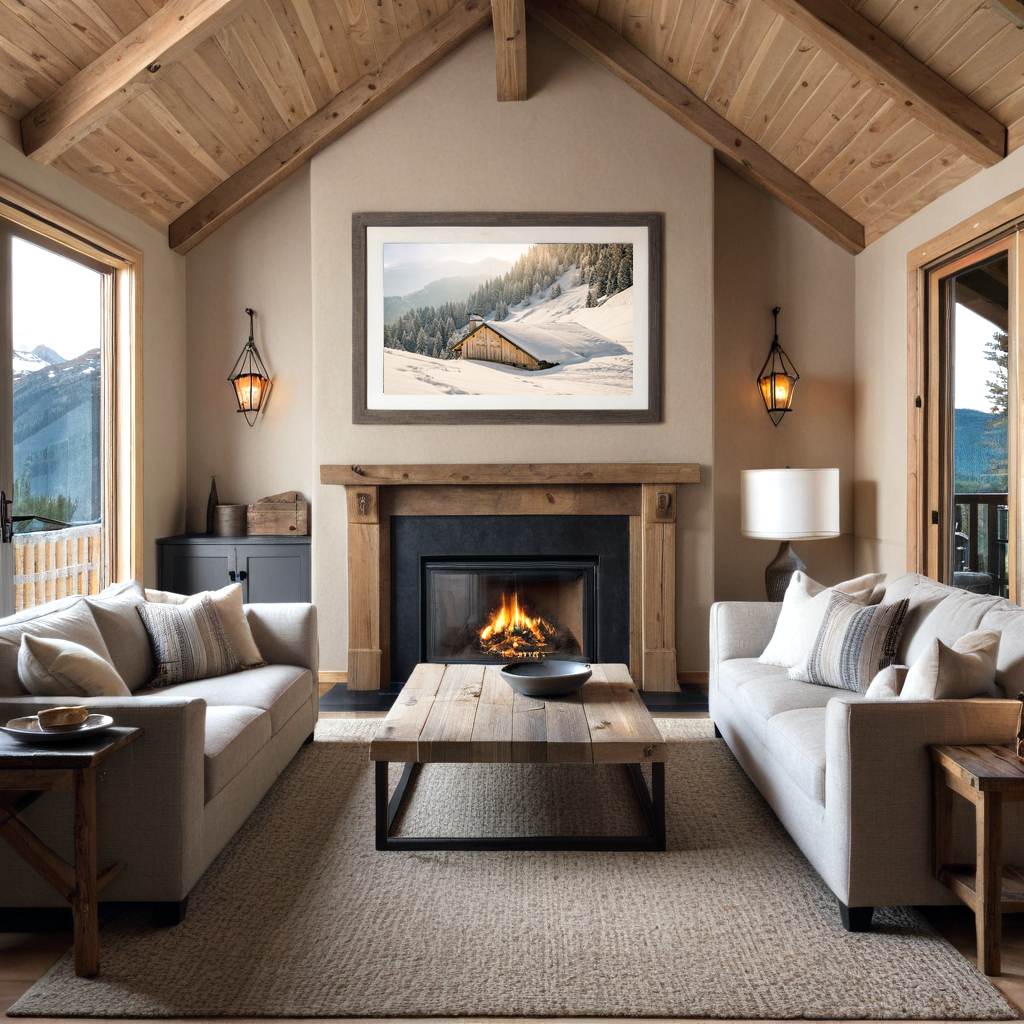
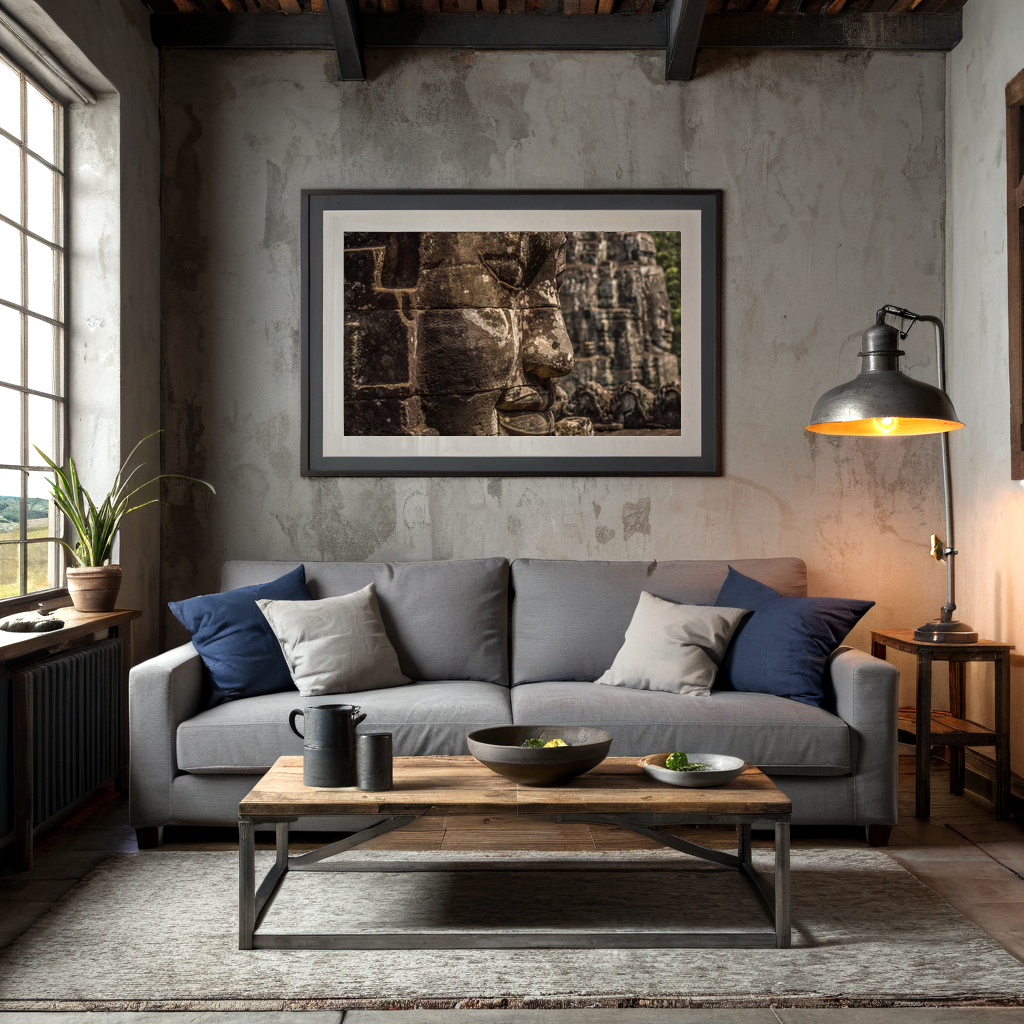
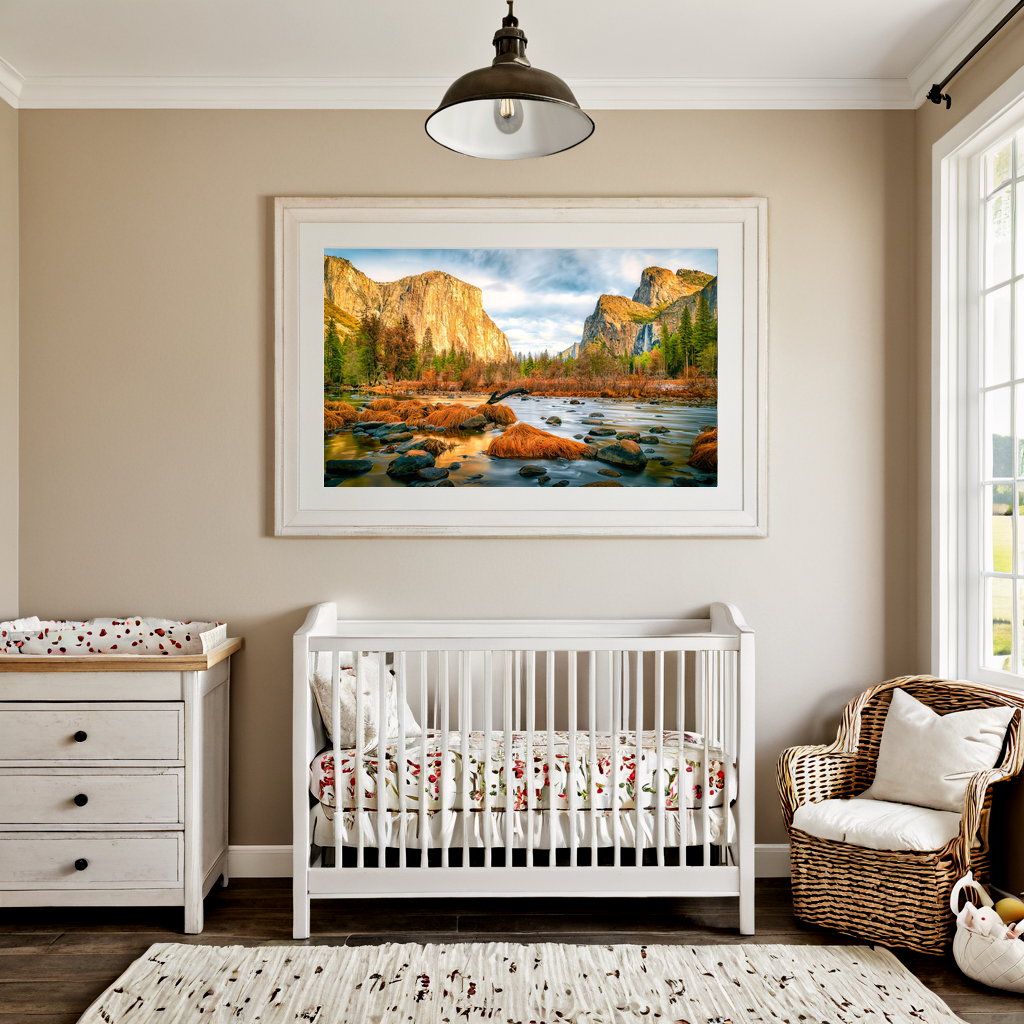
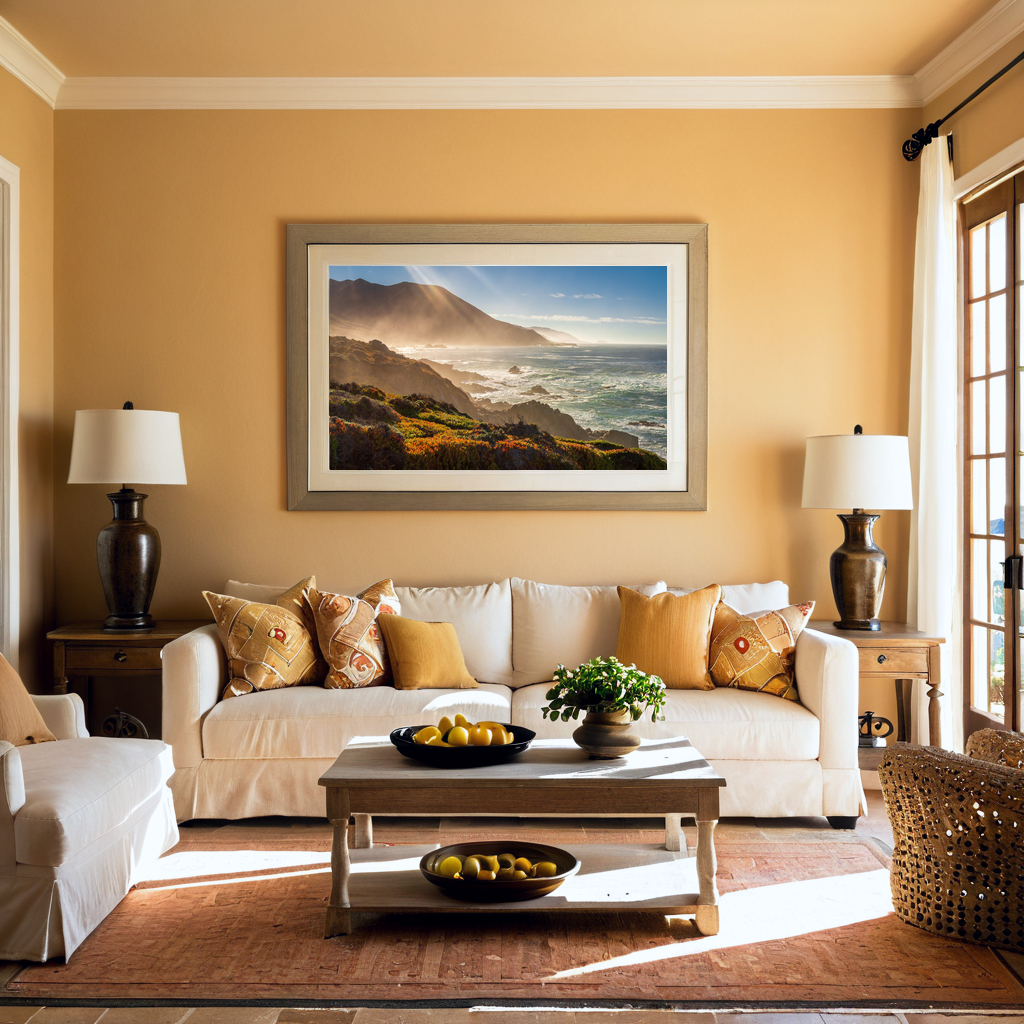
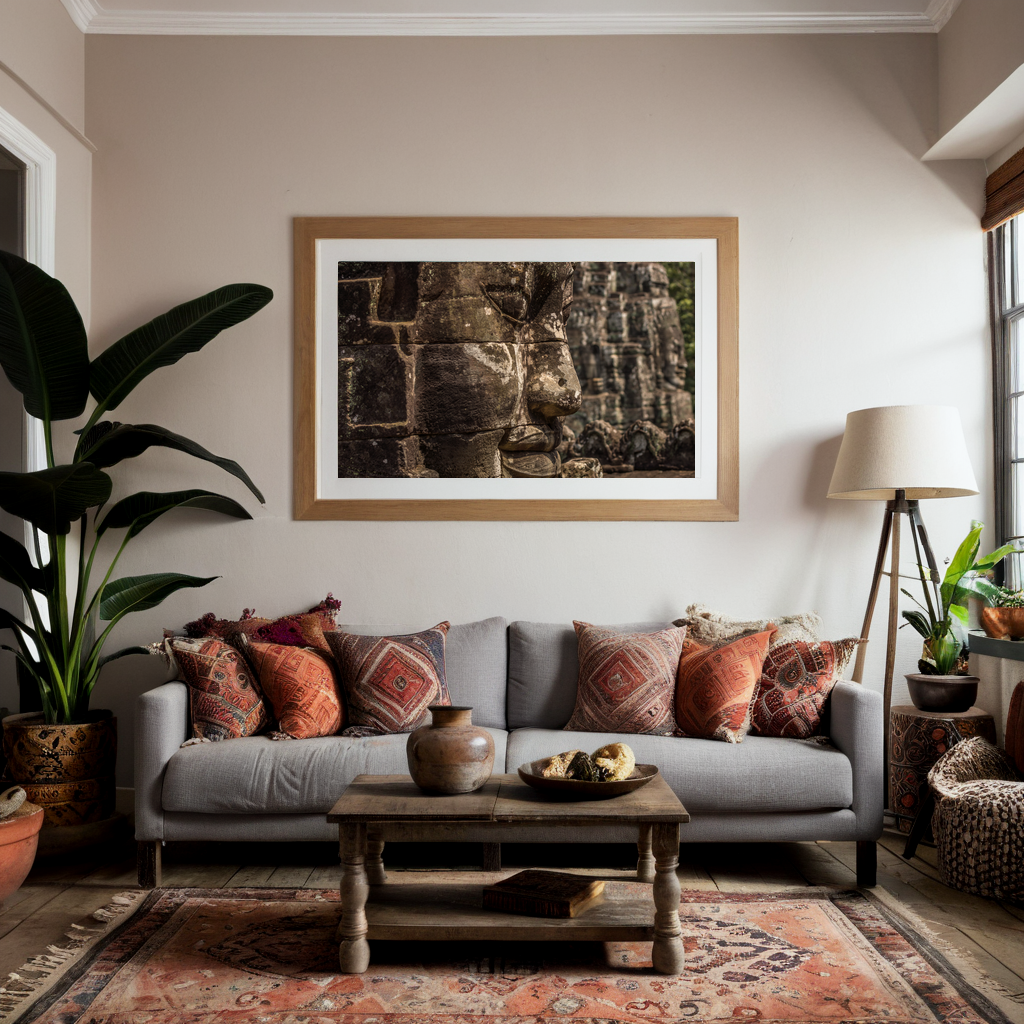
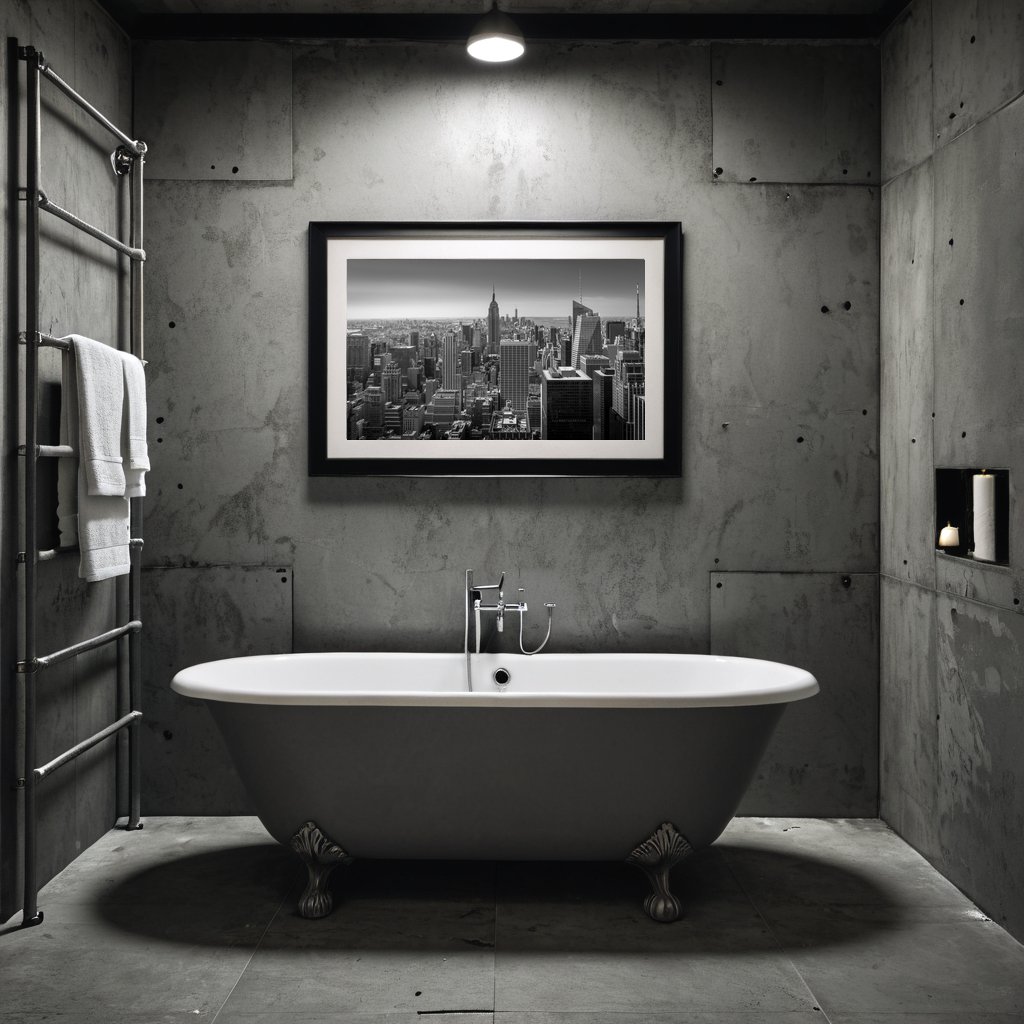
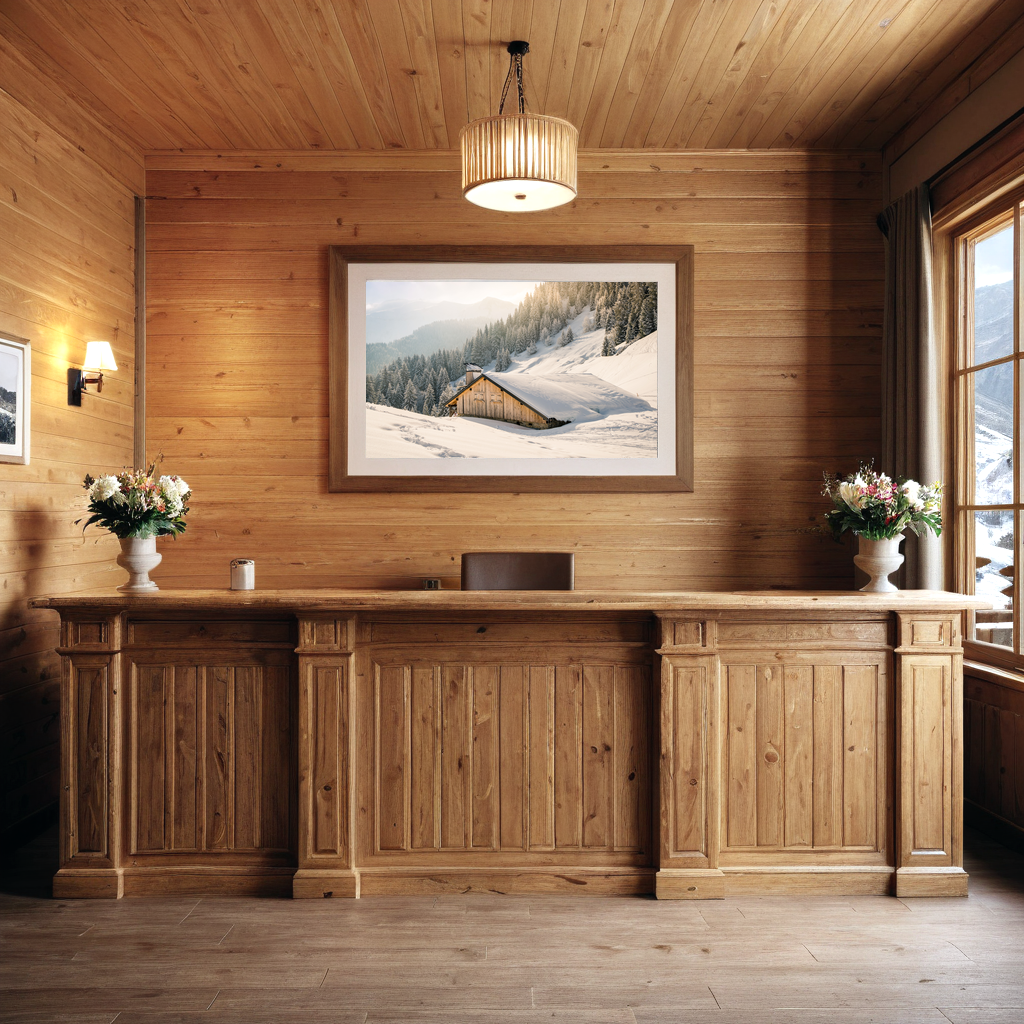
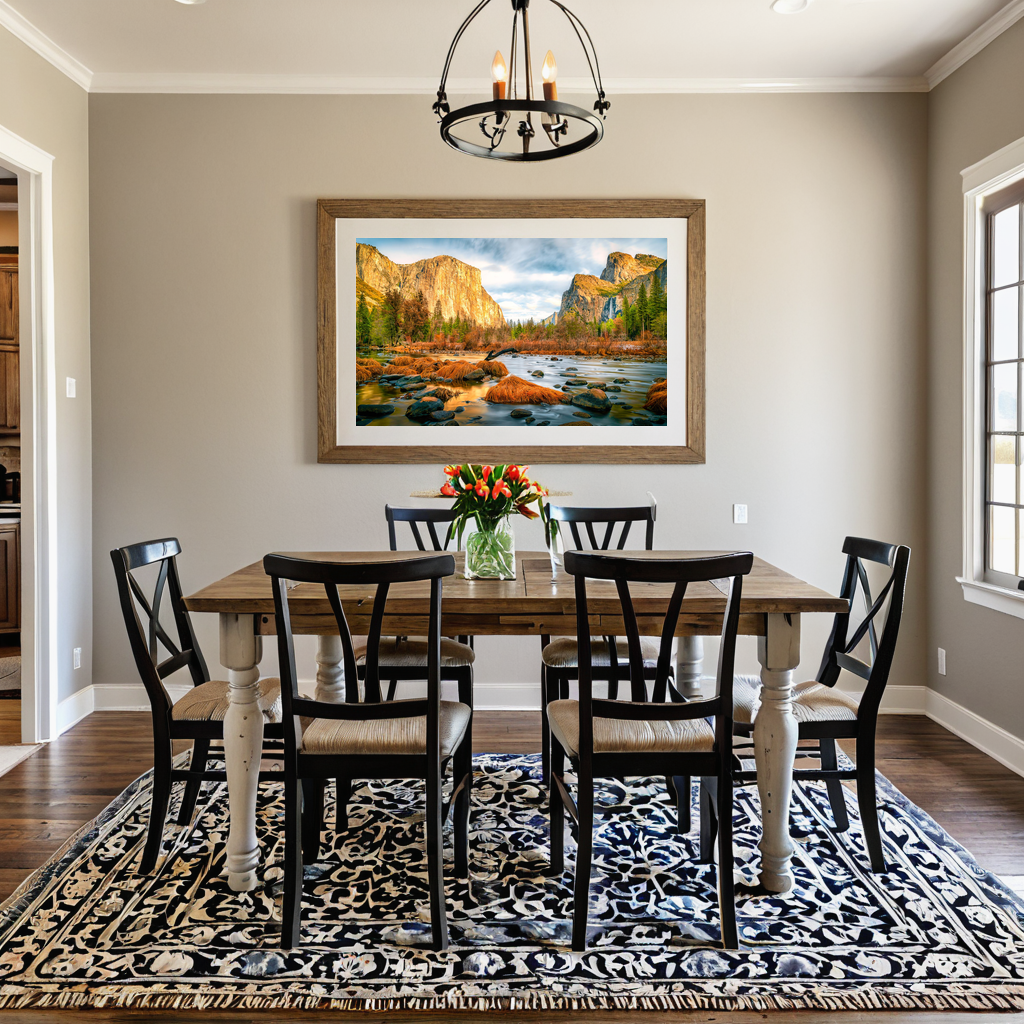
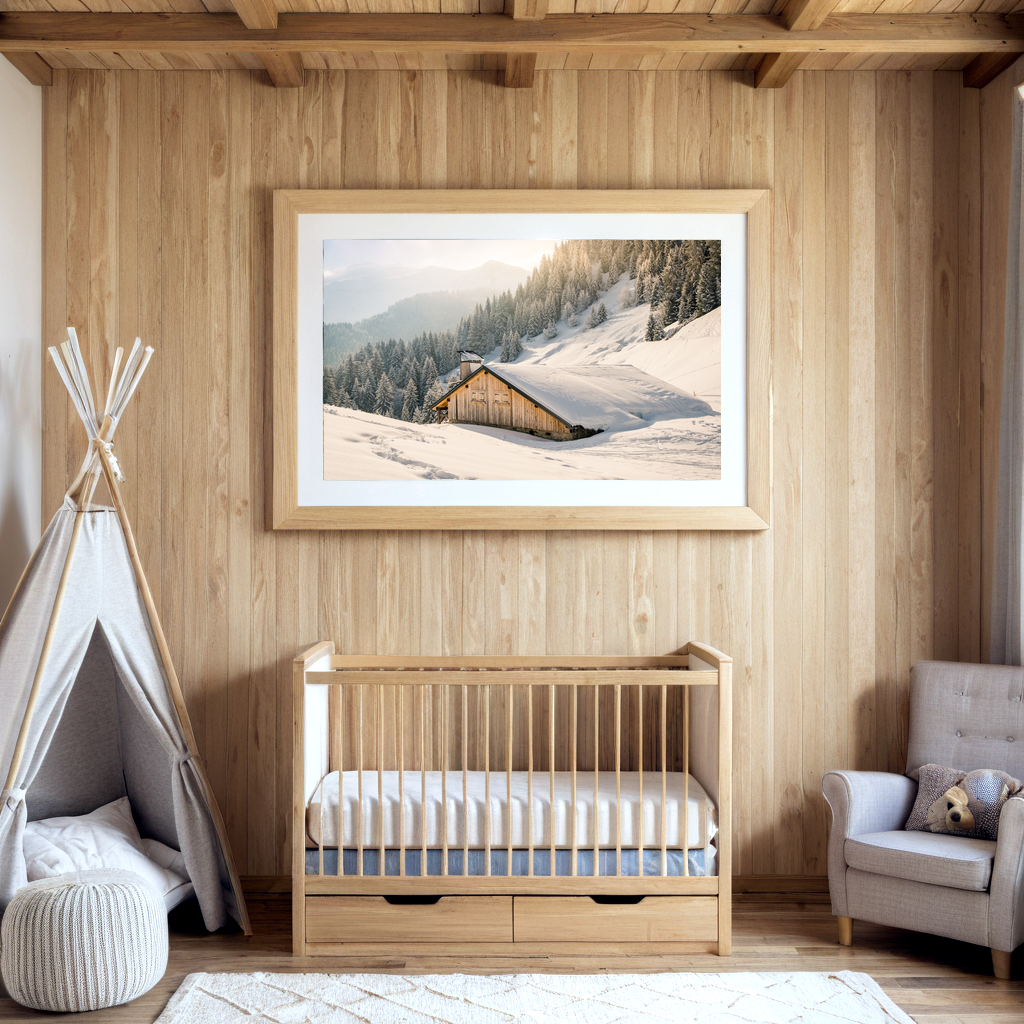
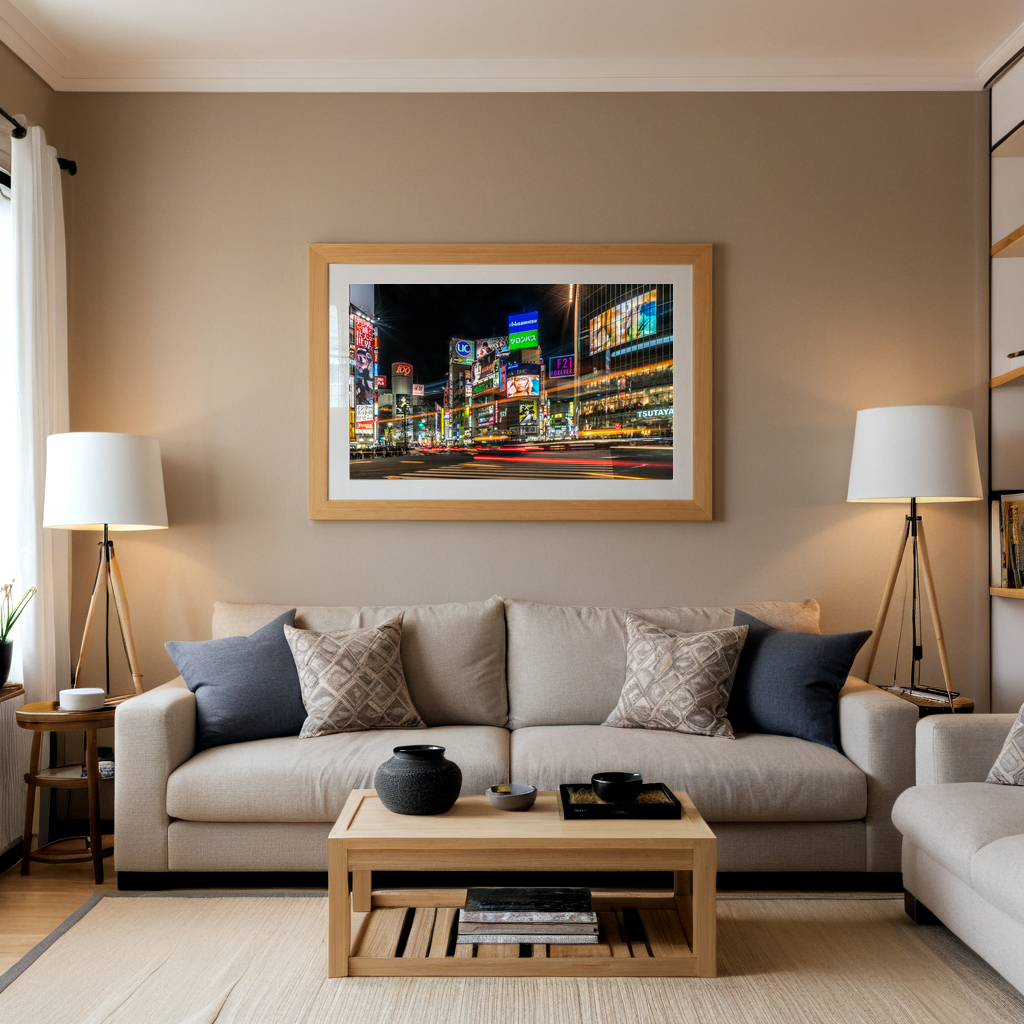
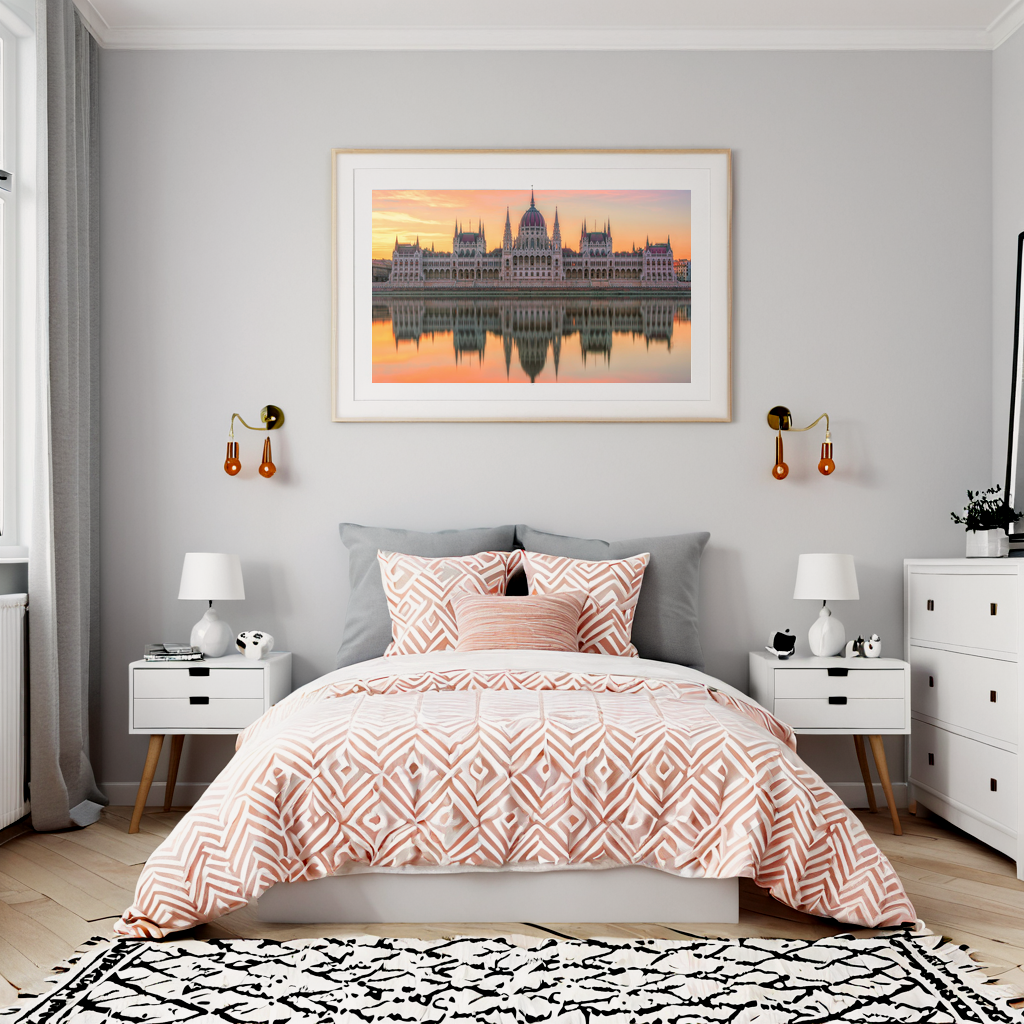
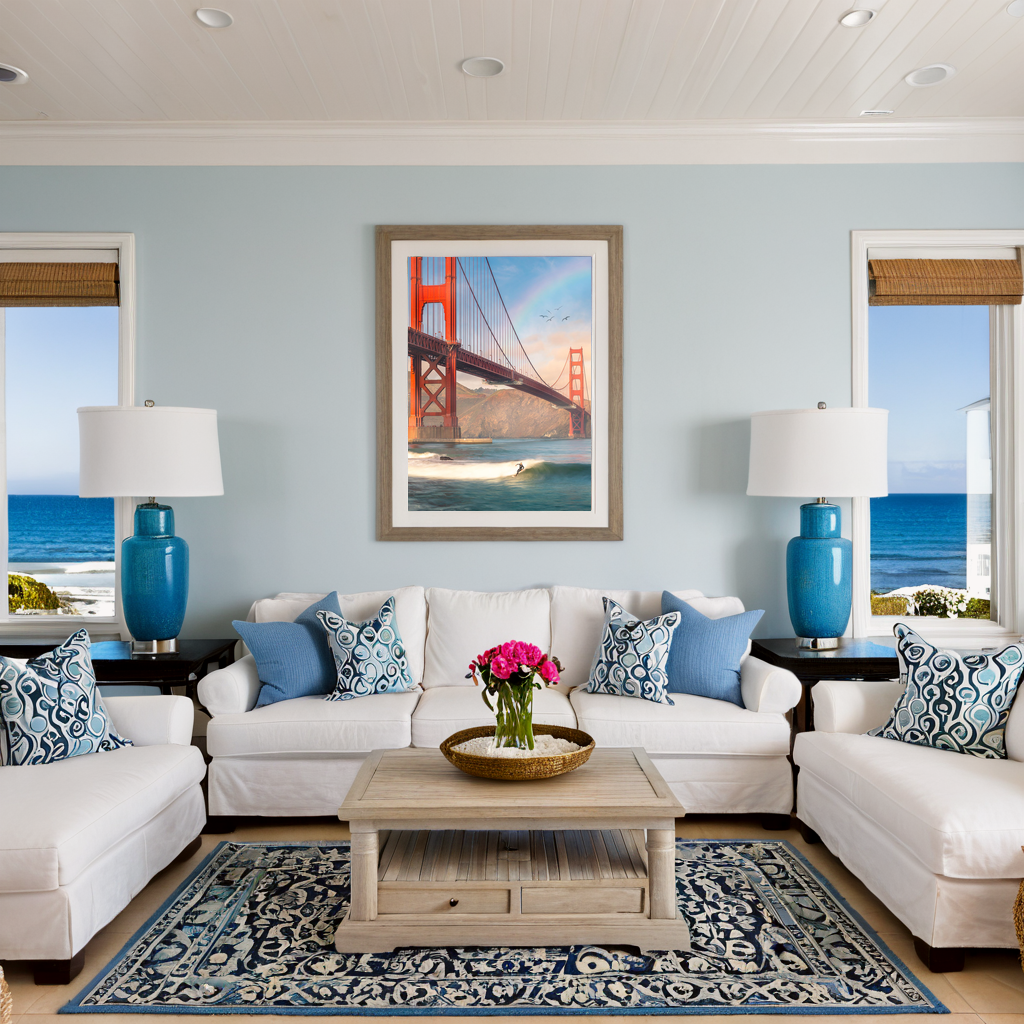
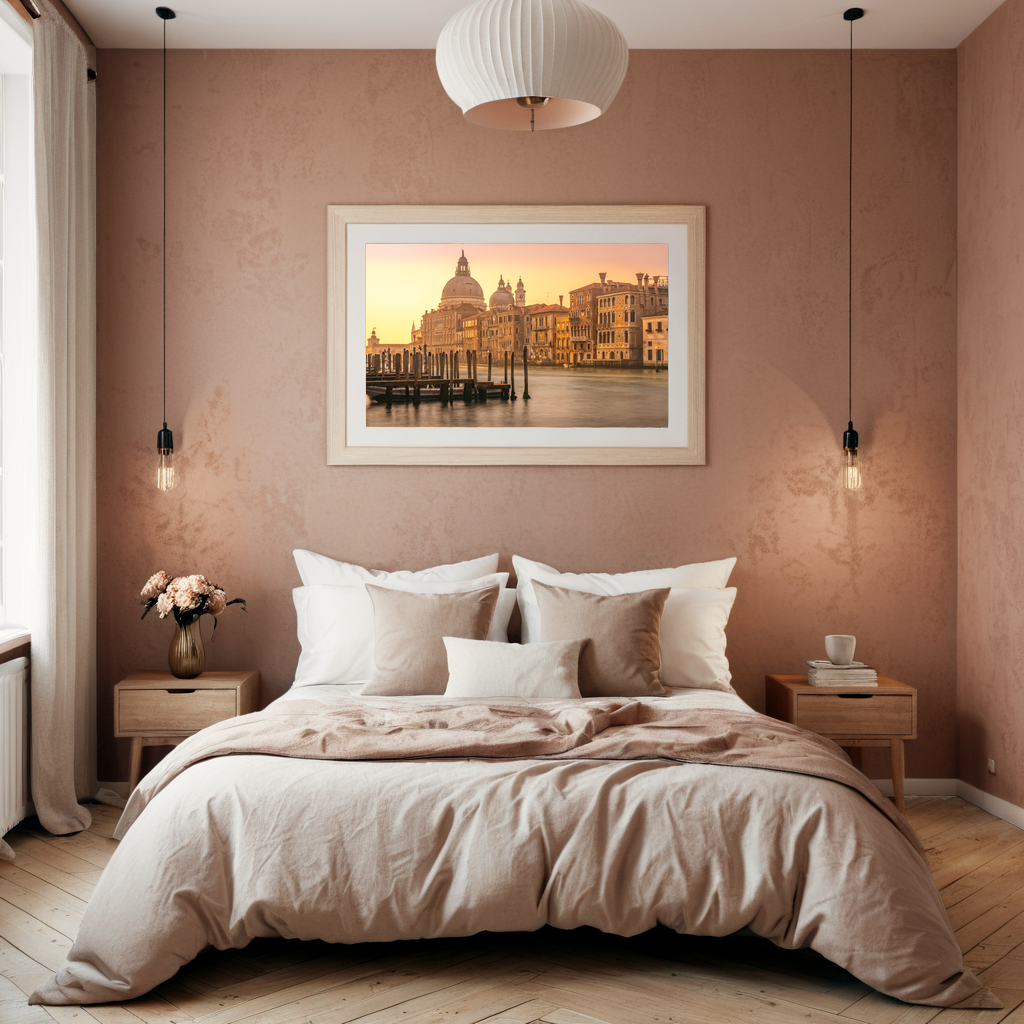
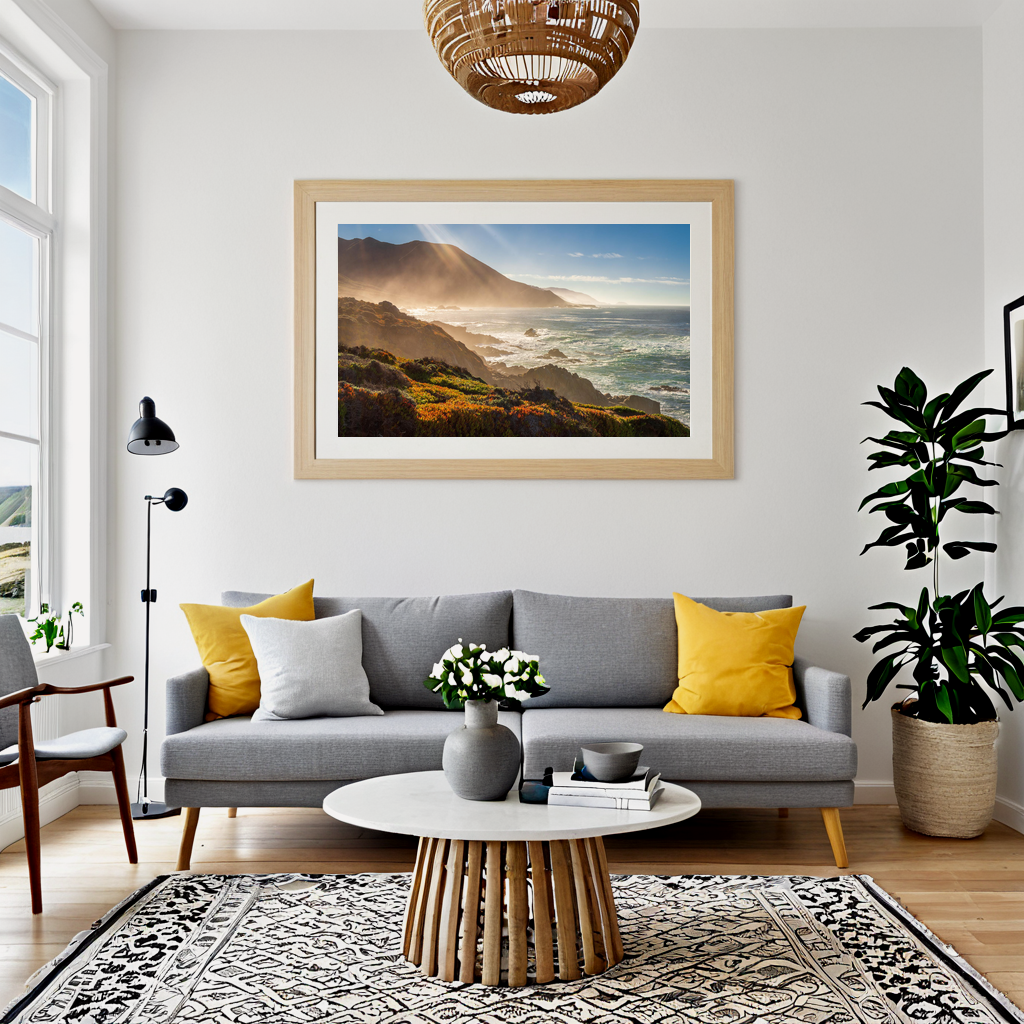
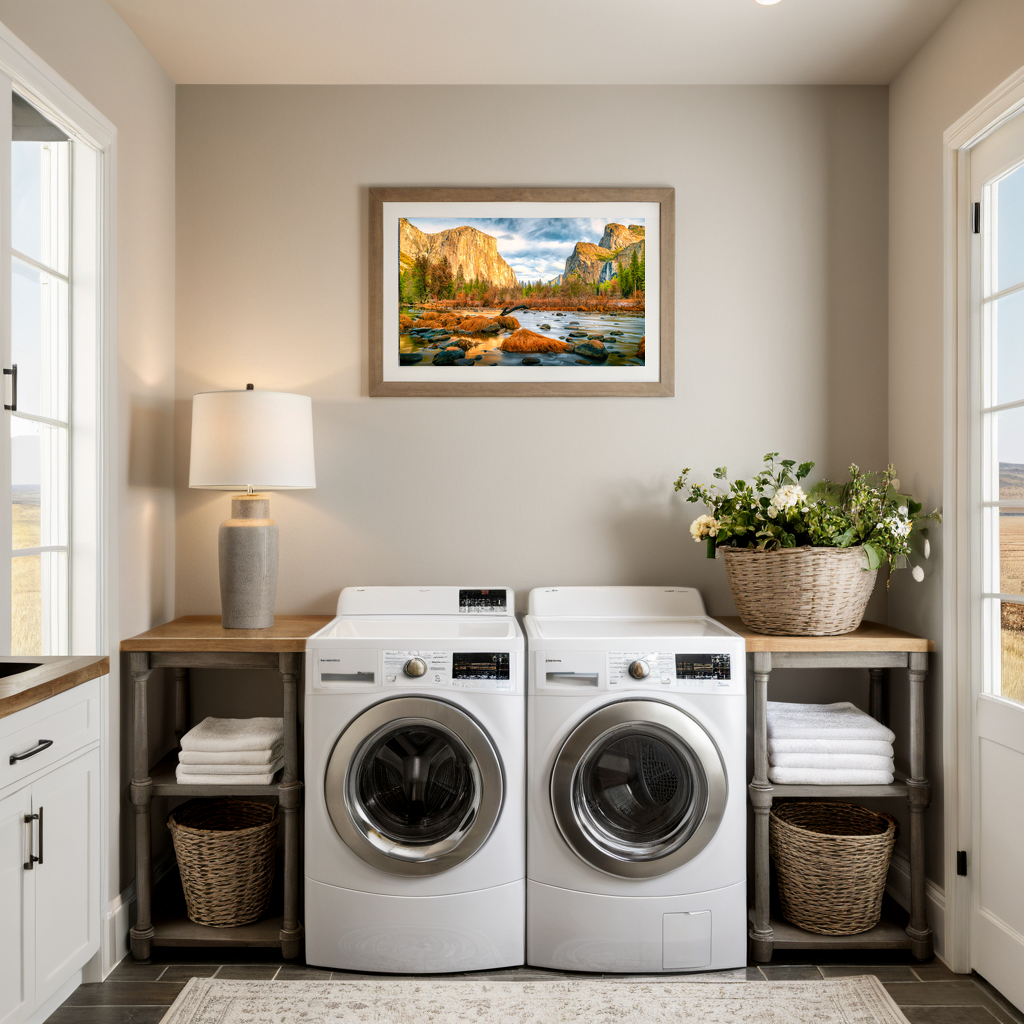
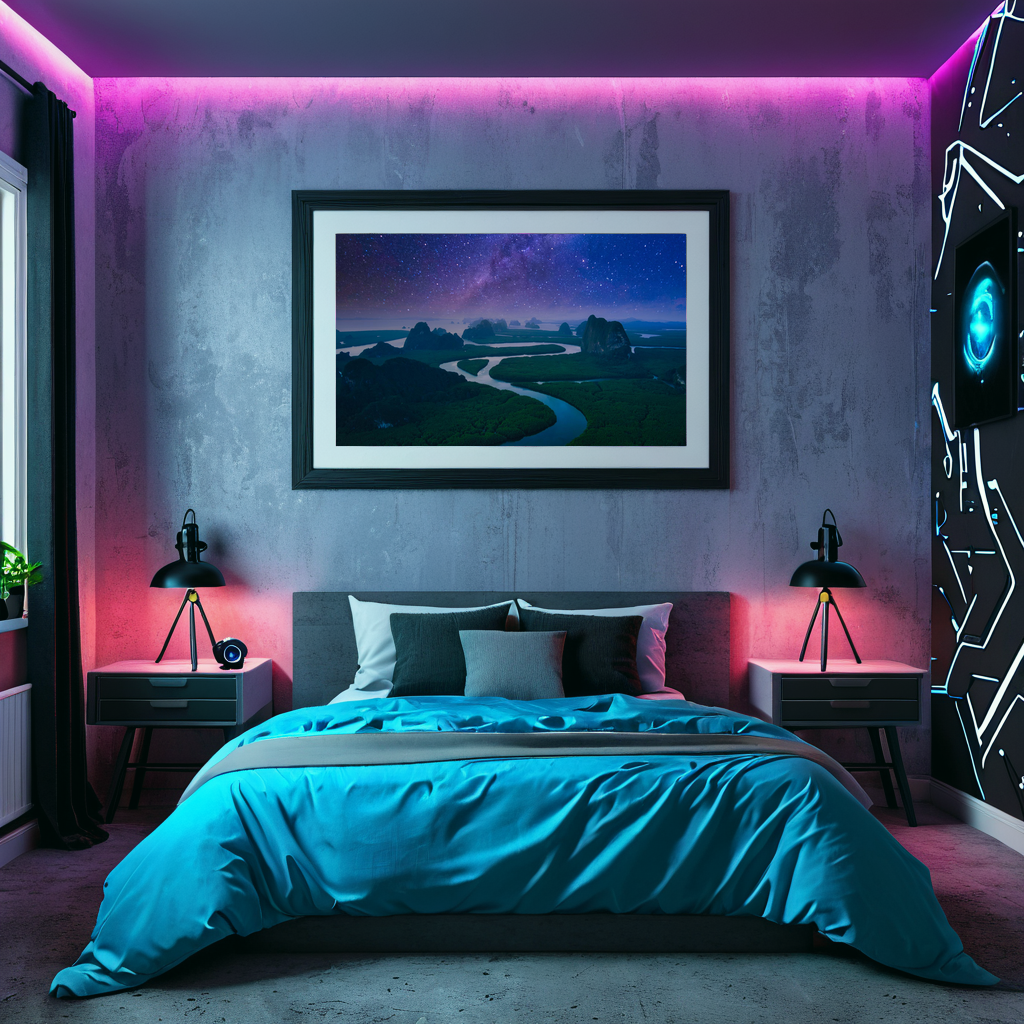
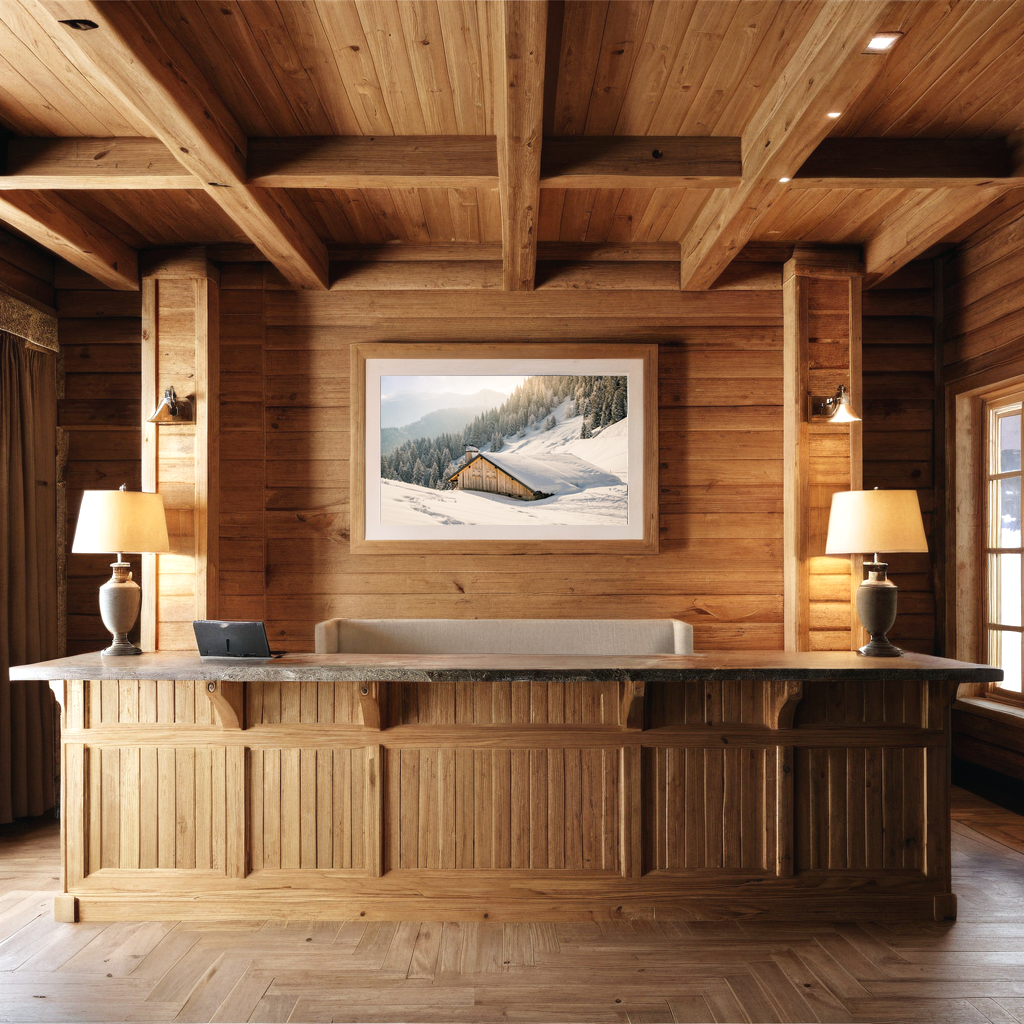
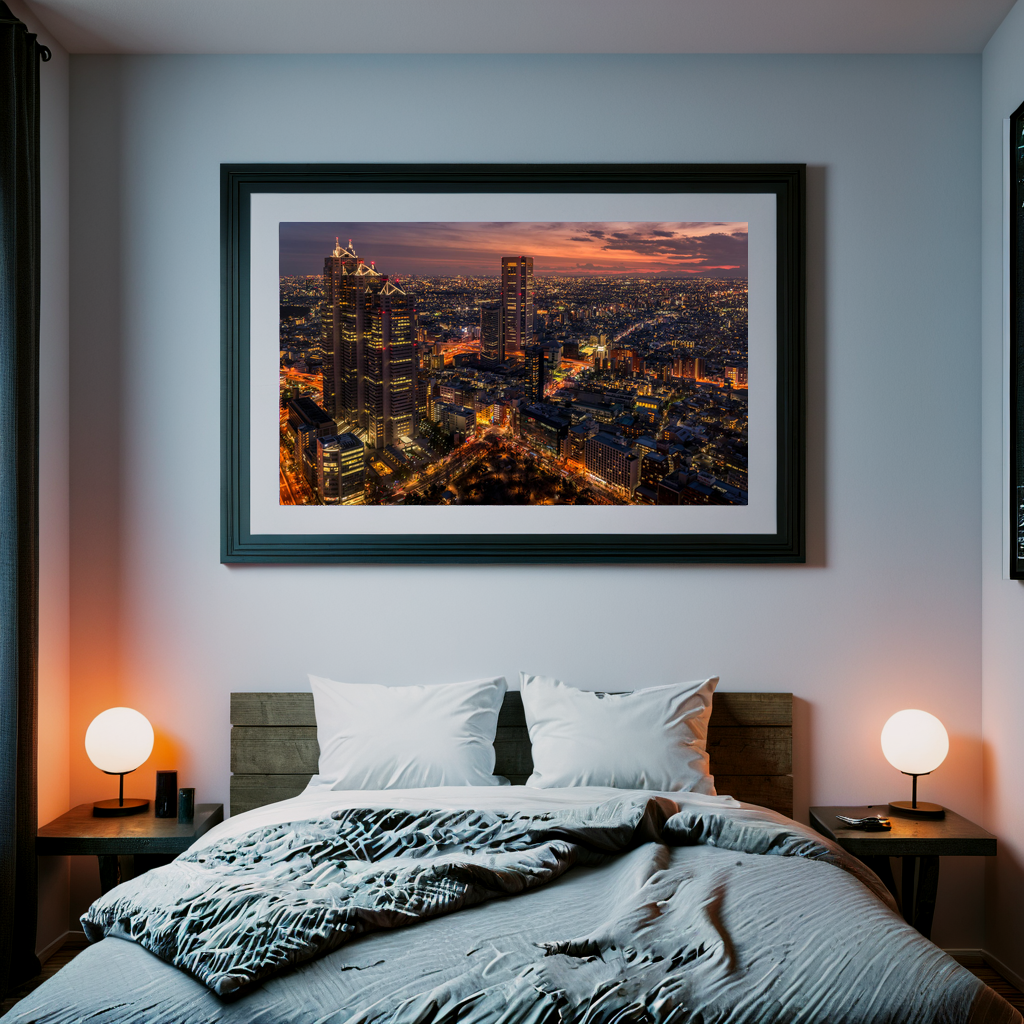
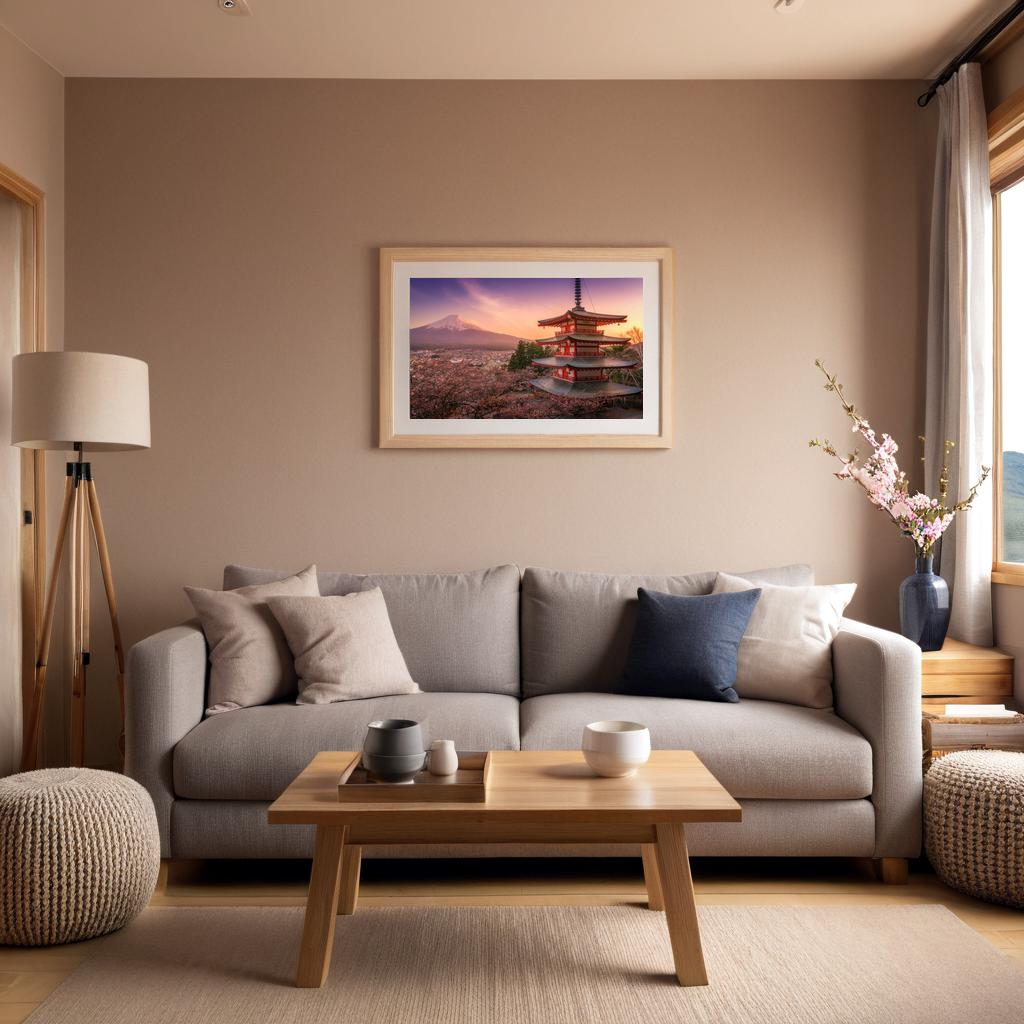
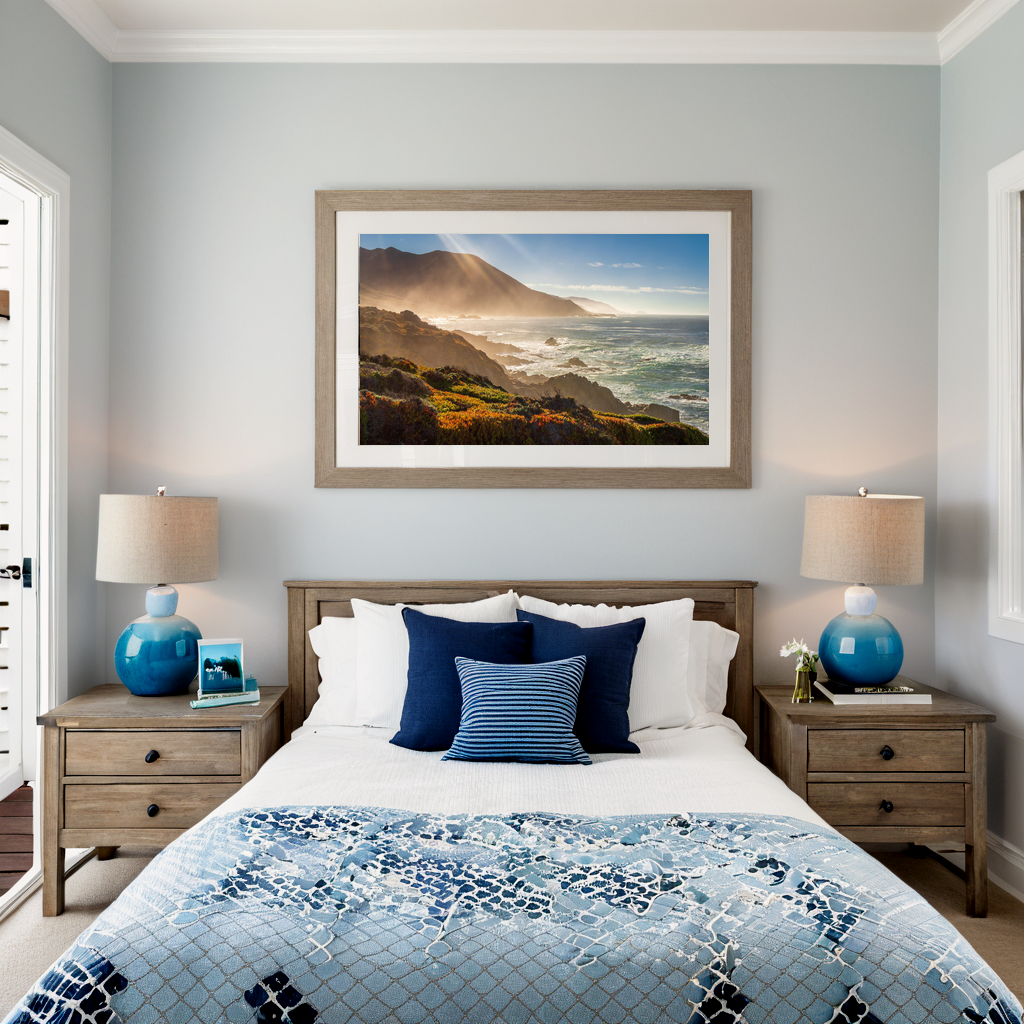
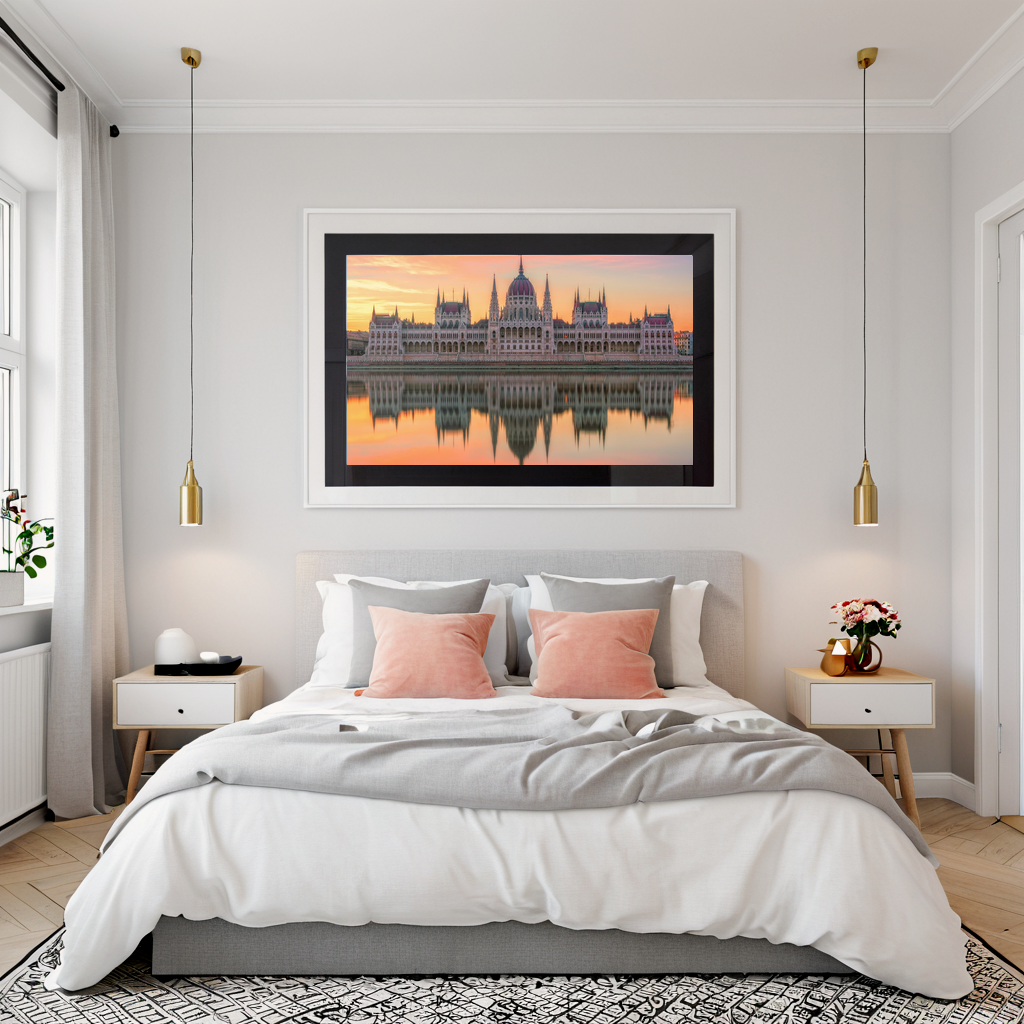
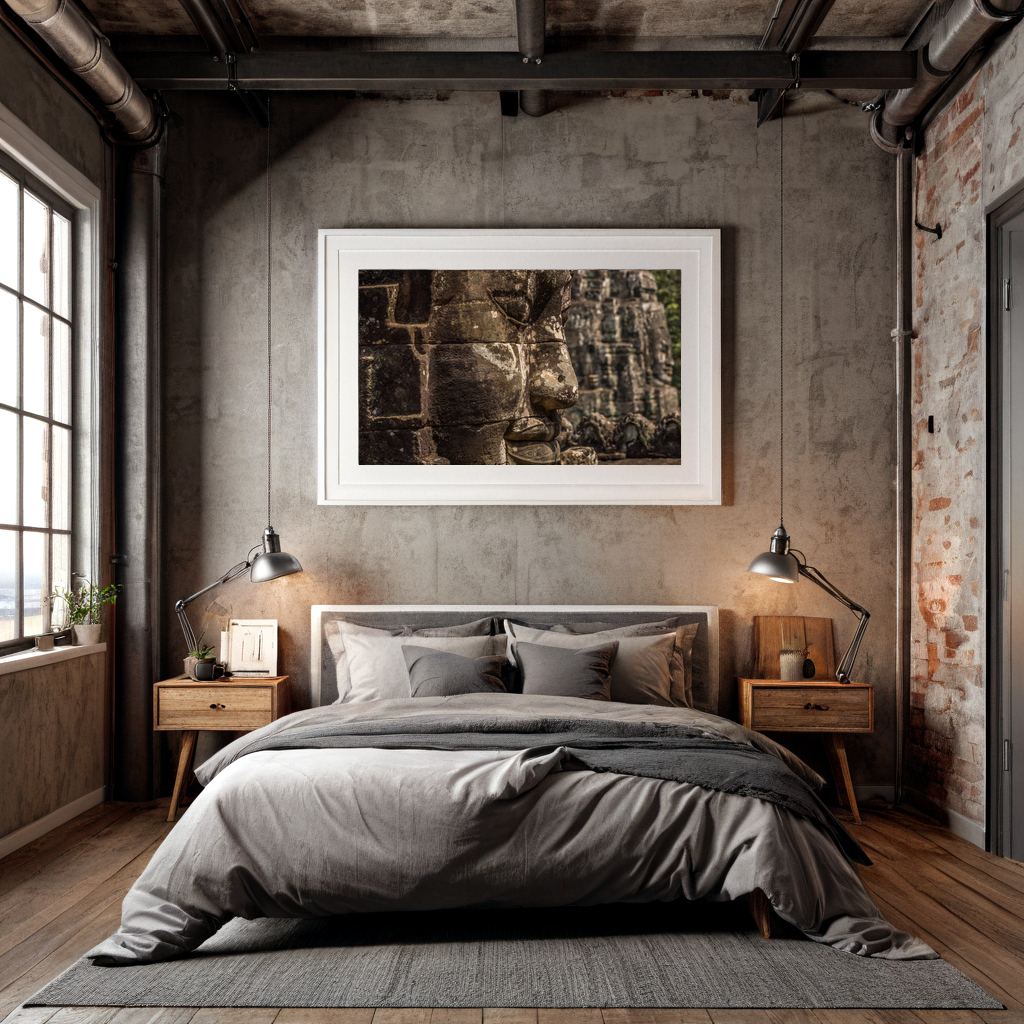
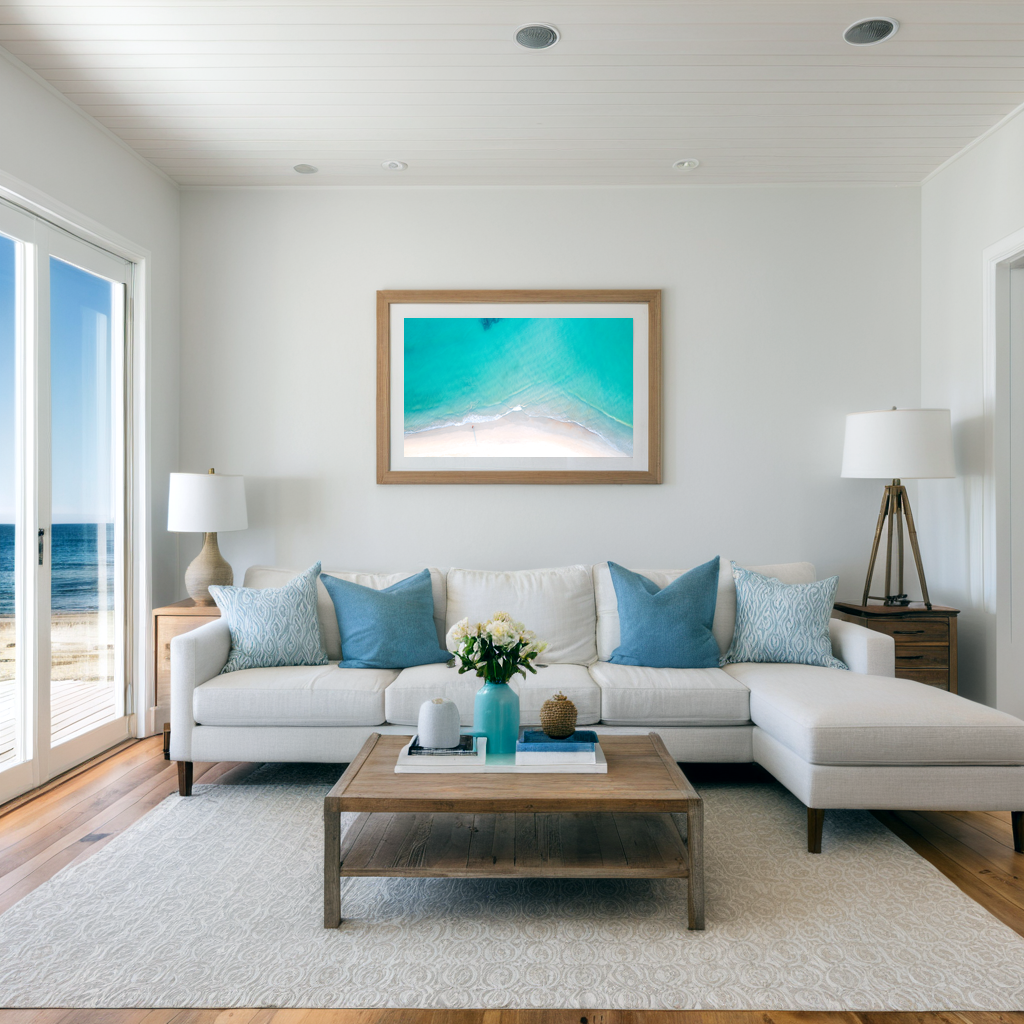
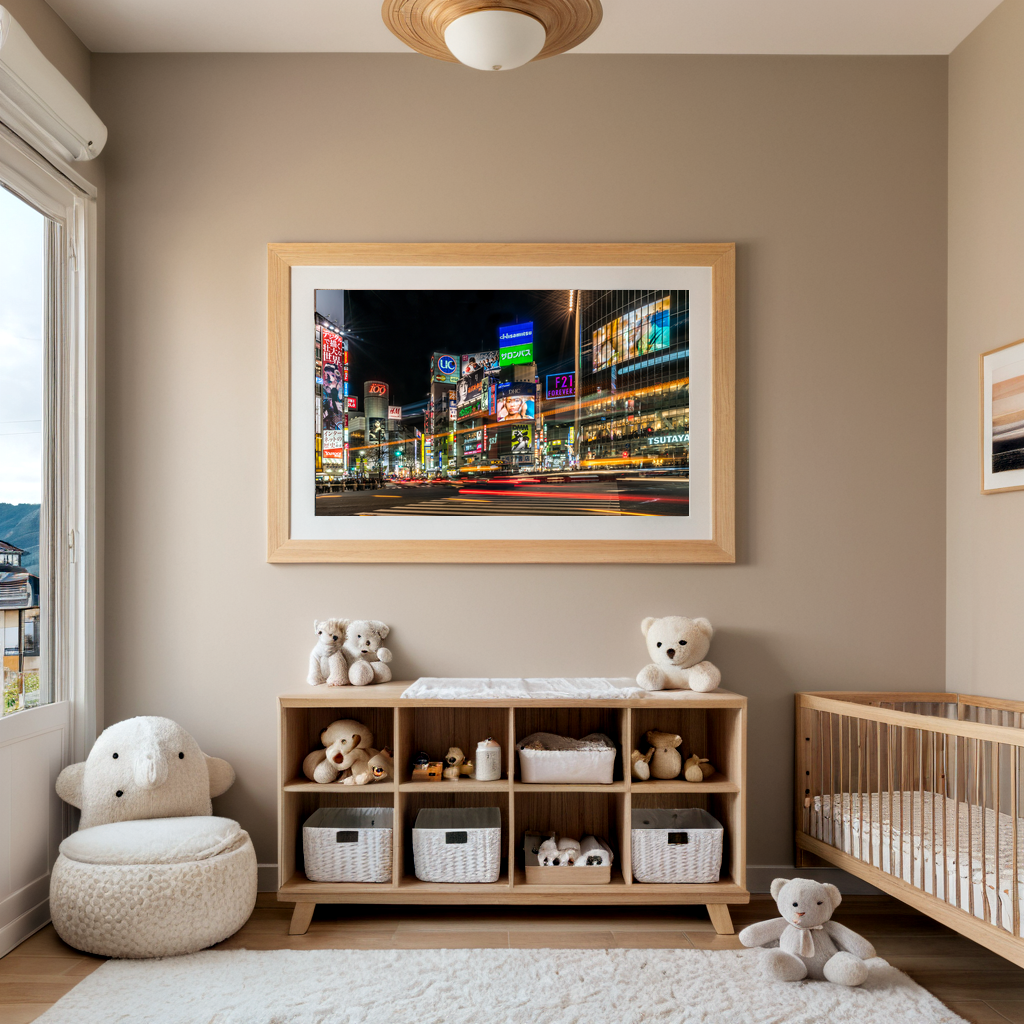
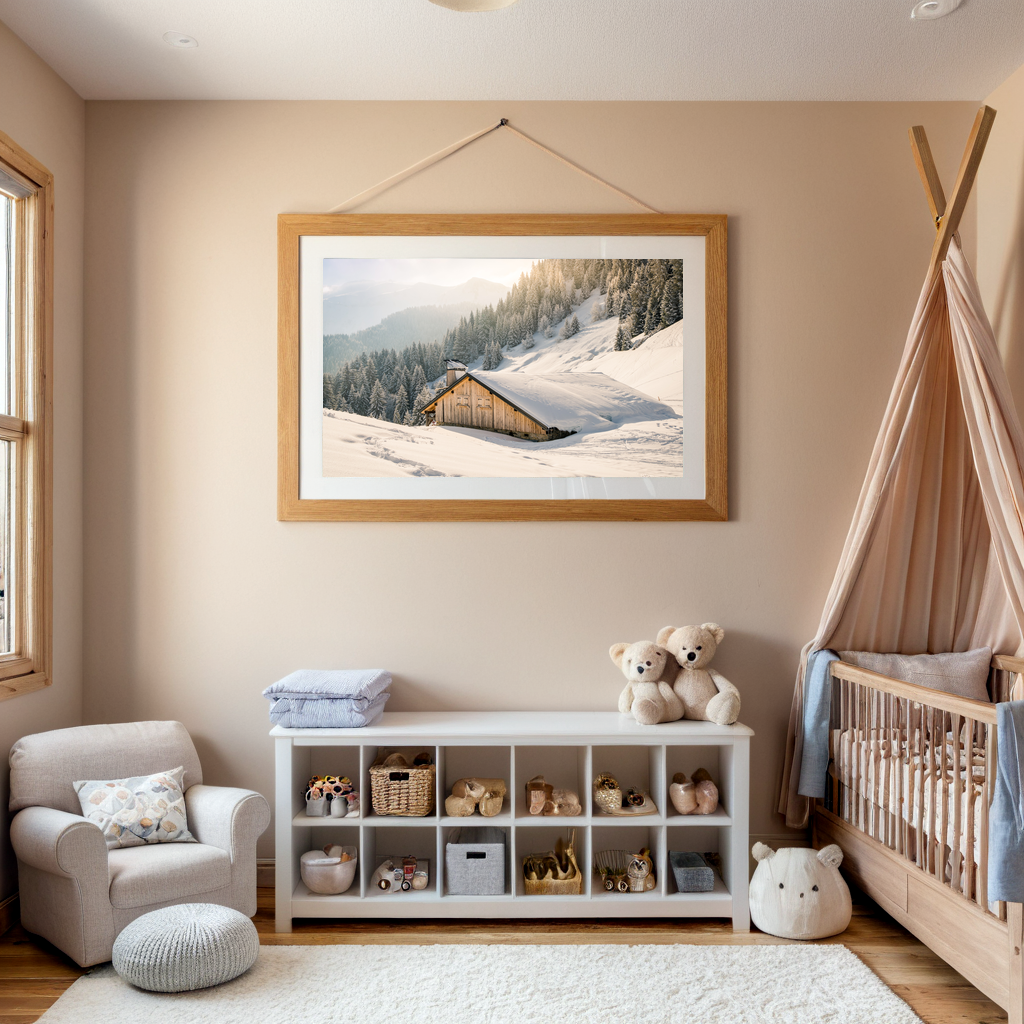
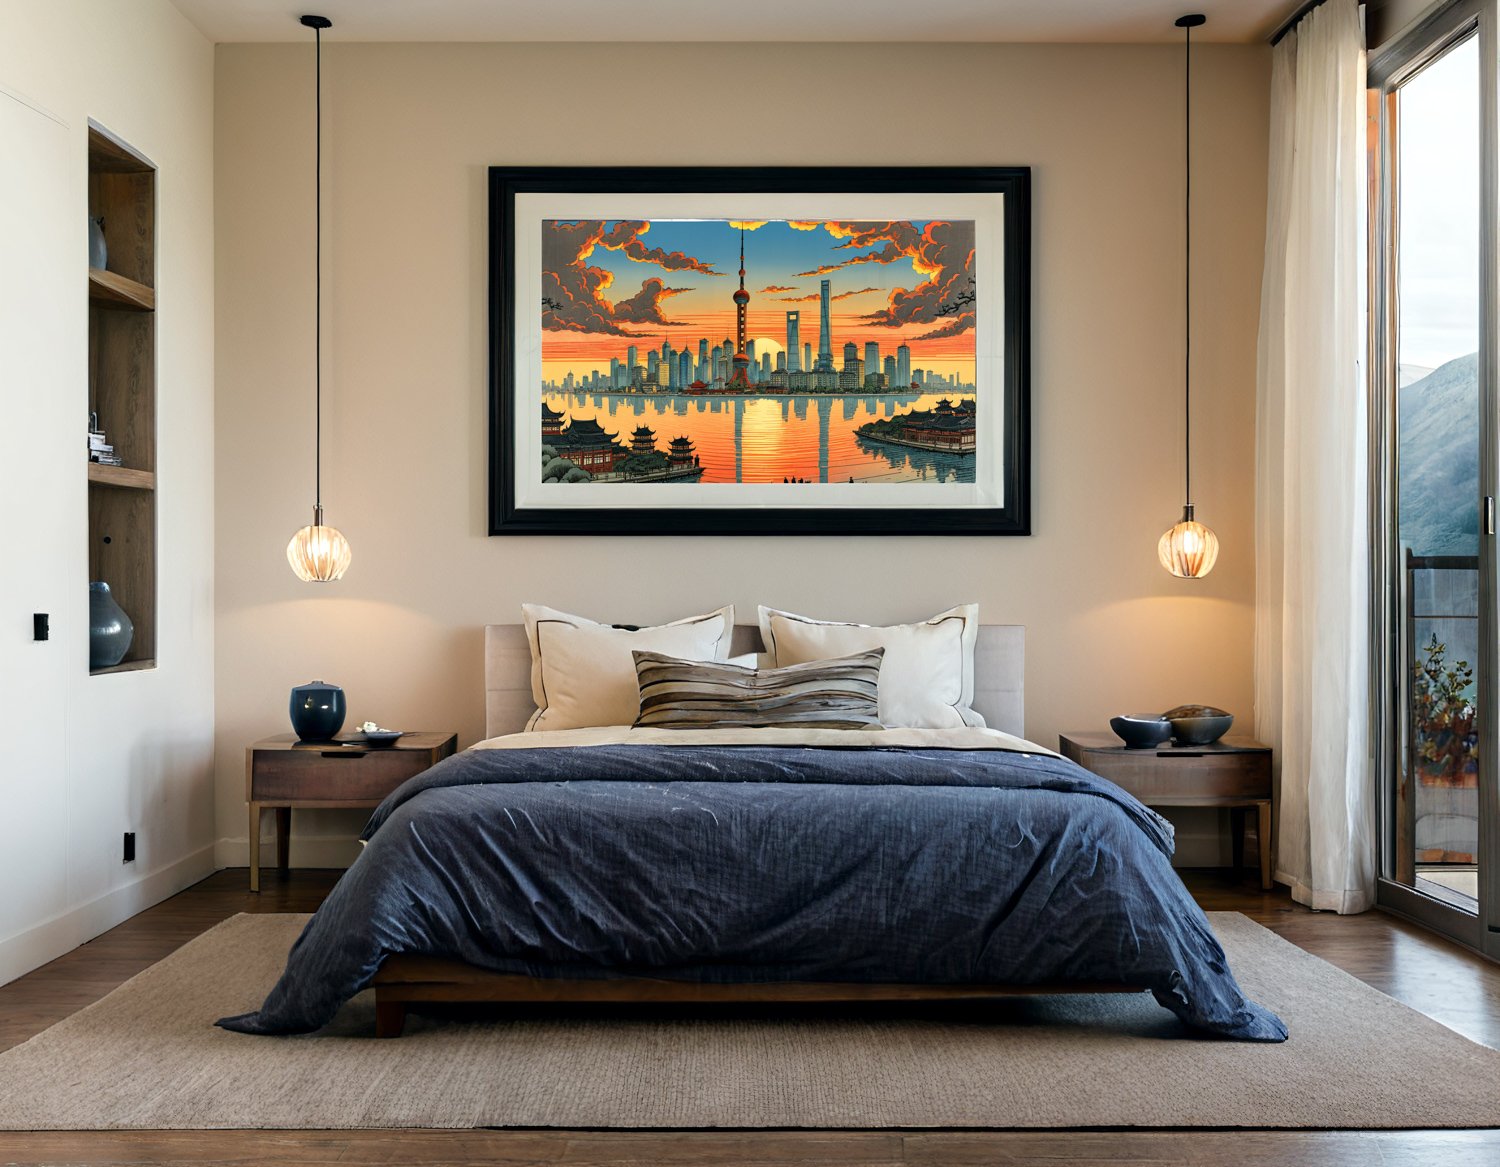
Our AI doesn’t just “paste” your design onto a photo. It generates a unique environment where the lighting, shadows, and textures blend with your specific print style. Whether you want your art in a sun-drenched Scandinavian loft or a moody, neon-lit bedroom, you can create a vibe that matches your brand in seconds.
2. Professional Looking Staging for the Price of a Coffee
Professional product photography can cost hundreds (or thousands) per session. Even “premium” PSD mockup sites charge per file, and those costs add up fast when you are testing new collections.
With sebsvisual, you are cutting those costs by over 90%. You get unlimited creative flexibility change the scene, the style or the room athmosphere without hiring a crew or buying expensive software subscriptions.
3. A Few Clicks, Not a Few Hours
Time is your most valuable asset.
-
Traditional way: Open Photoshop → Locate file → Edit Smart Object → Adjust Lighting Layers → Export → Realize you didn’t resize properly → Repeat.
-
The sebsvisual way: Upload design → Select your style → Generate.
Our tool handles the complex “warping”.
| Feature | POD Defaults | PSD Templates | sebsvisual AI |
|---|---|---|---|
| Uniqueness | Low (Everyone has them) | Medium (Commonly used) | High (Generated for you) |
| Ease of Use | High | Low (Requires PS skills) | High (Few-click) |
| Ease of Use | Free | $10–$30 per template | Fraction of the cost |
| Realism | Basic | Realistic but “Stiff” | Hyper-realistic & Organic |
Ready to Upgrade Your Store’s Visuals?
Don’t let mediocre presentation kill a great design. Give your products the professional stage they deserve and start converting more visitors into customers.


Revolutionize Your Art Sales: Introducing the AI Wall Art Mockup Generator
AI Image generation
Sebastien
Discover Seb's Visuals' new AI Wall Art Mockup Generator! Create stunning, photorealistic room mockups for your prints in seconds. Perfect for Etsy & Shopify sellers to boost sales and engagement. Get started free!
Introduction: The Art of Selling Art in 2025
In the competitive world of online art sales, a beautiful print is only half the battle. The real challenge? Helping customers truly imagine that print transforming their space. Gone are the days when a simple white background cut it. Today, buyers expect to see art integrated seamlessly into stunning, realistic interiors.
But creating those perfect product photos used to be a costly, time-consuming nightmare. Until now.
We’re thrilled to introduce the AI Wall Art Mockup Generator from Seb’s Visuals – your new secret weapon for selling more art with less effort.


What is the AI Wall Art Mockup Generator?
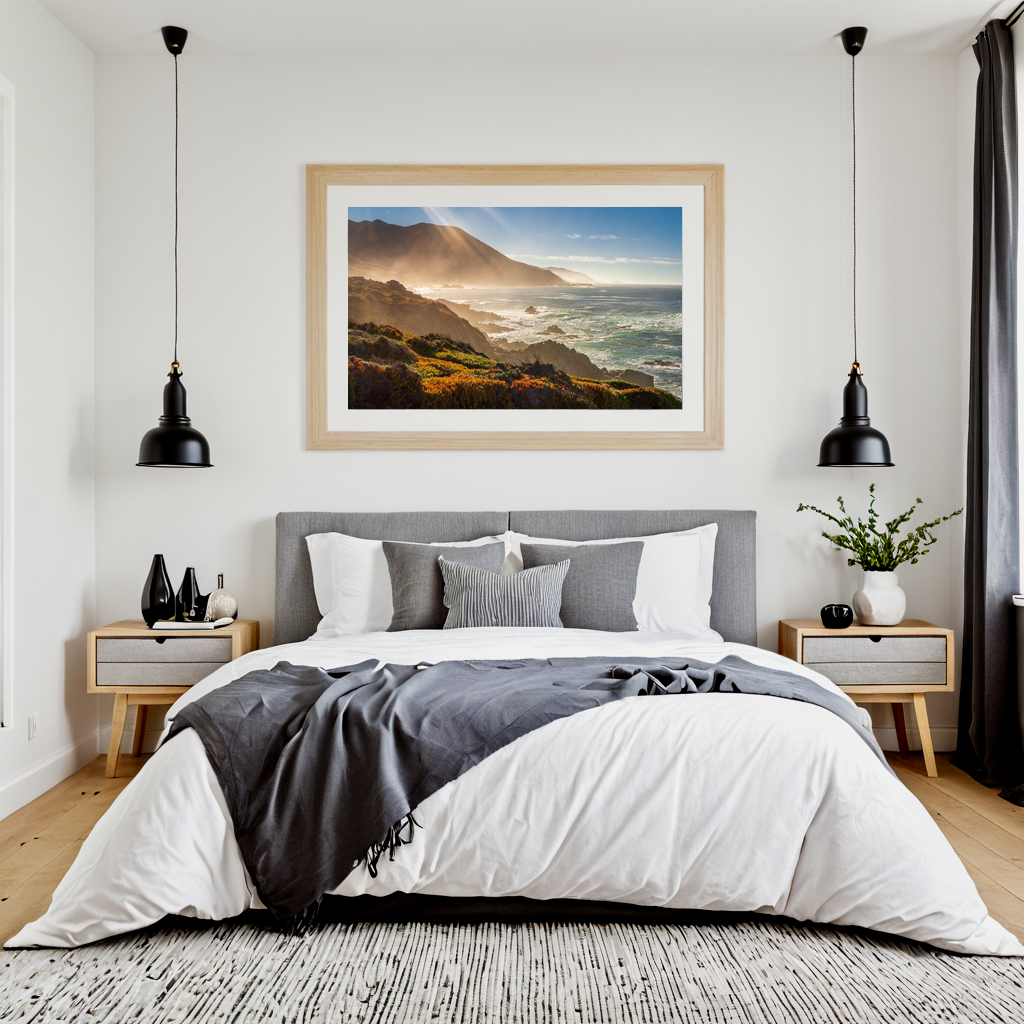
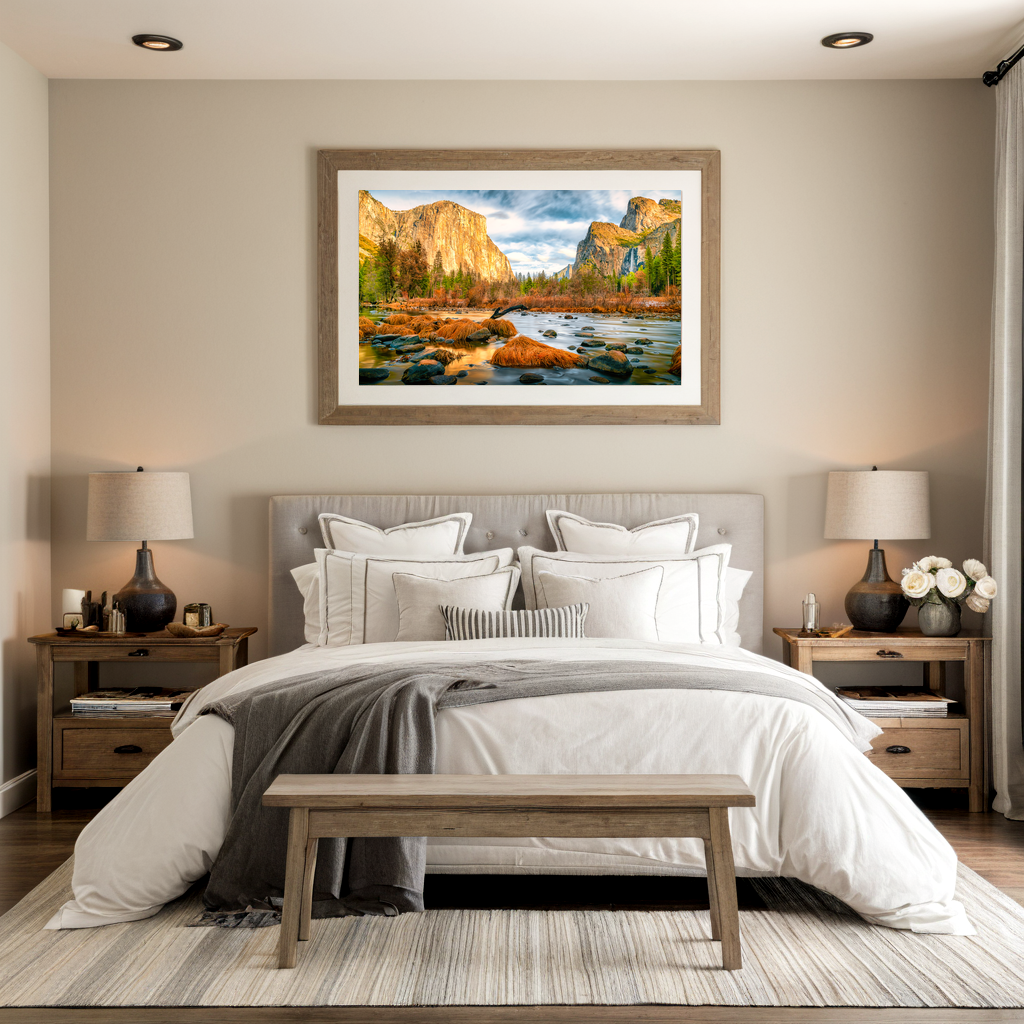
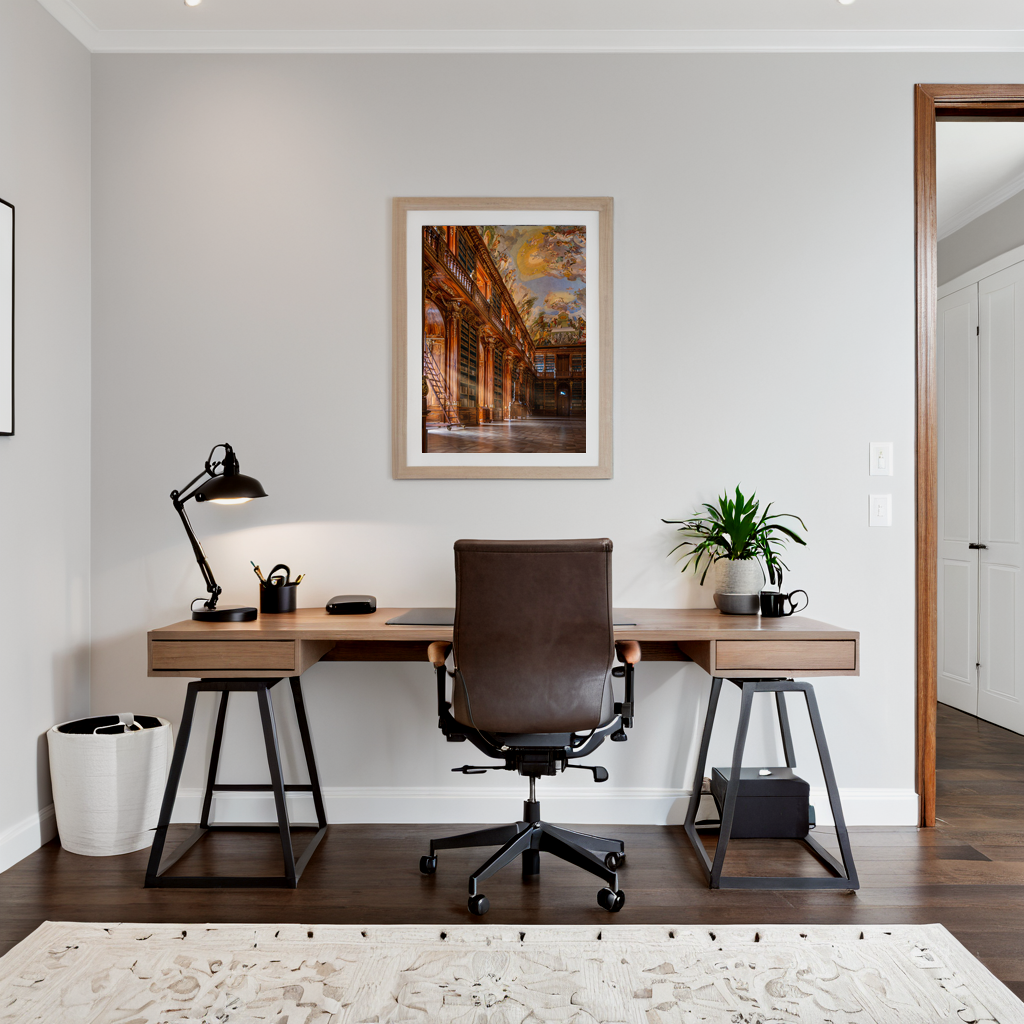
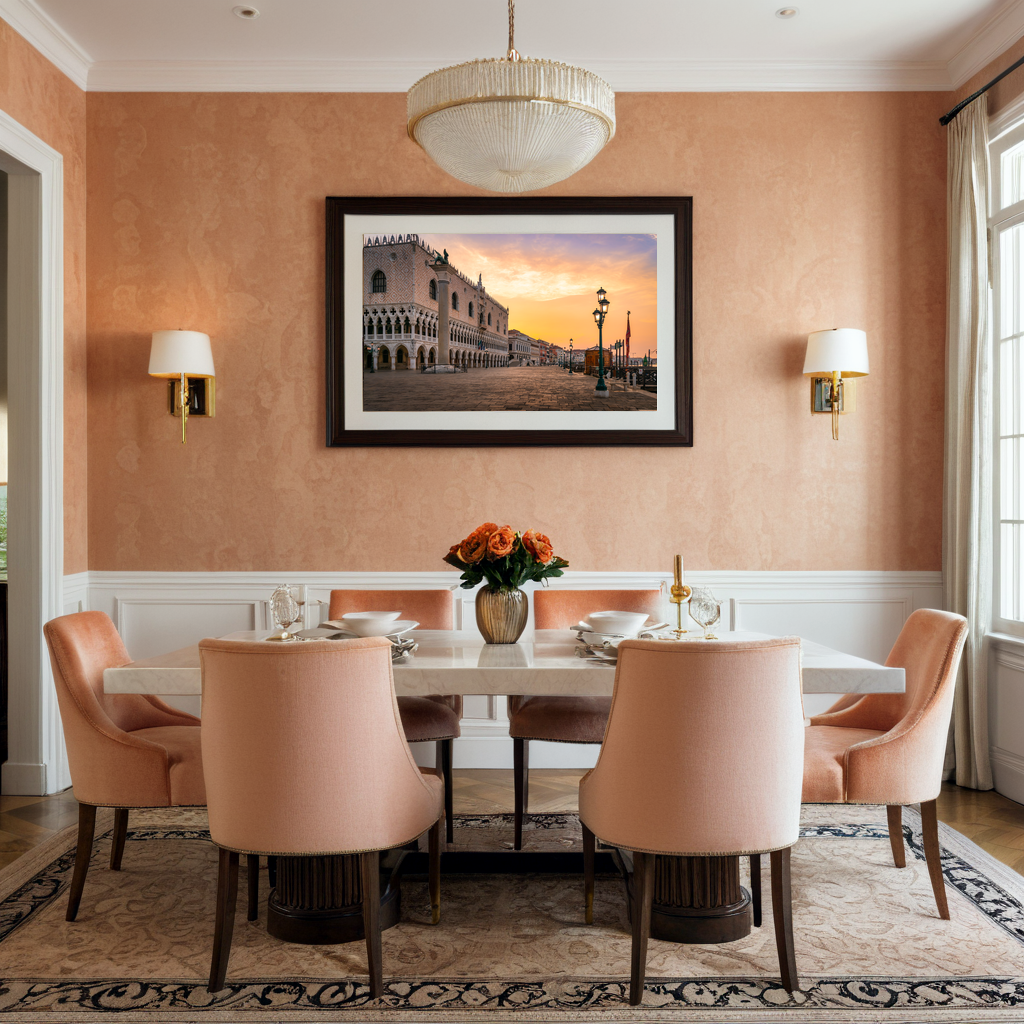
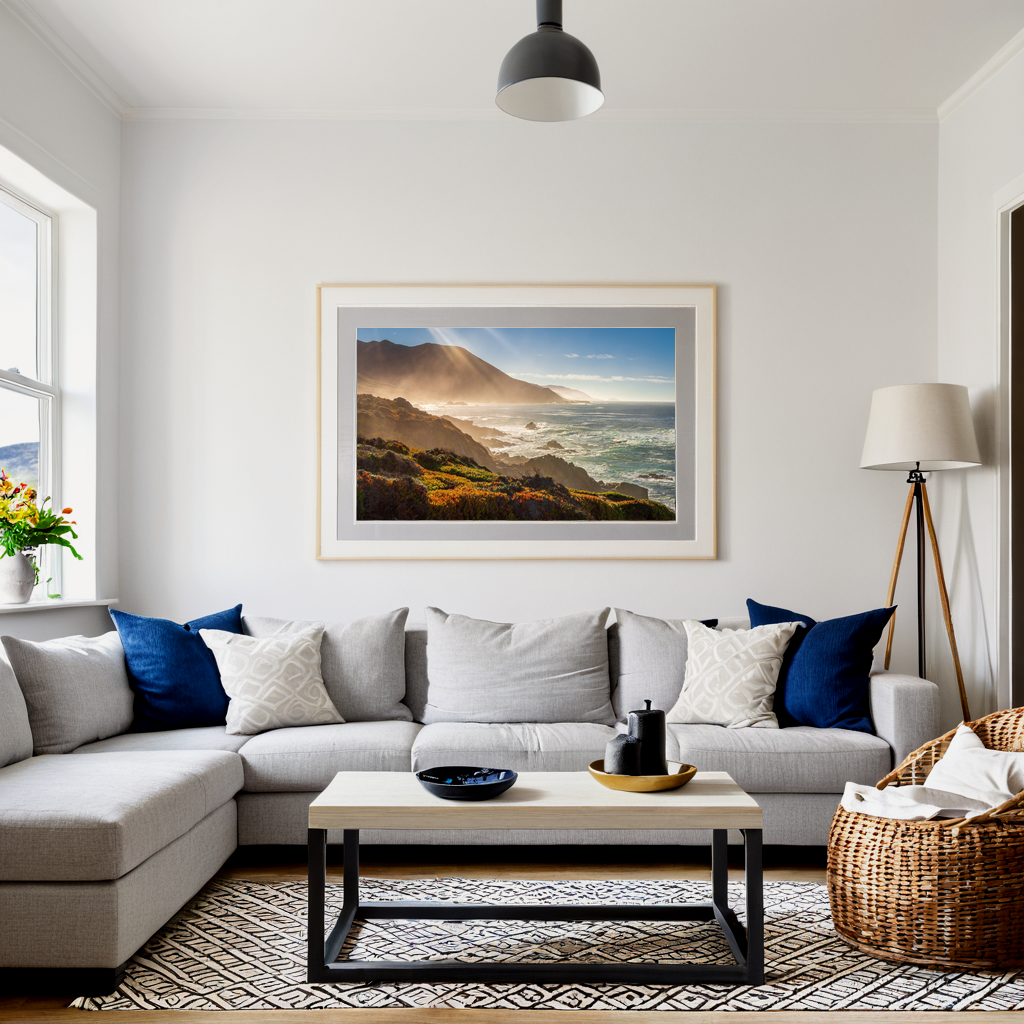
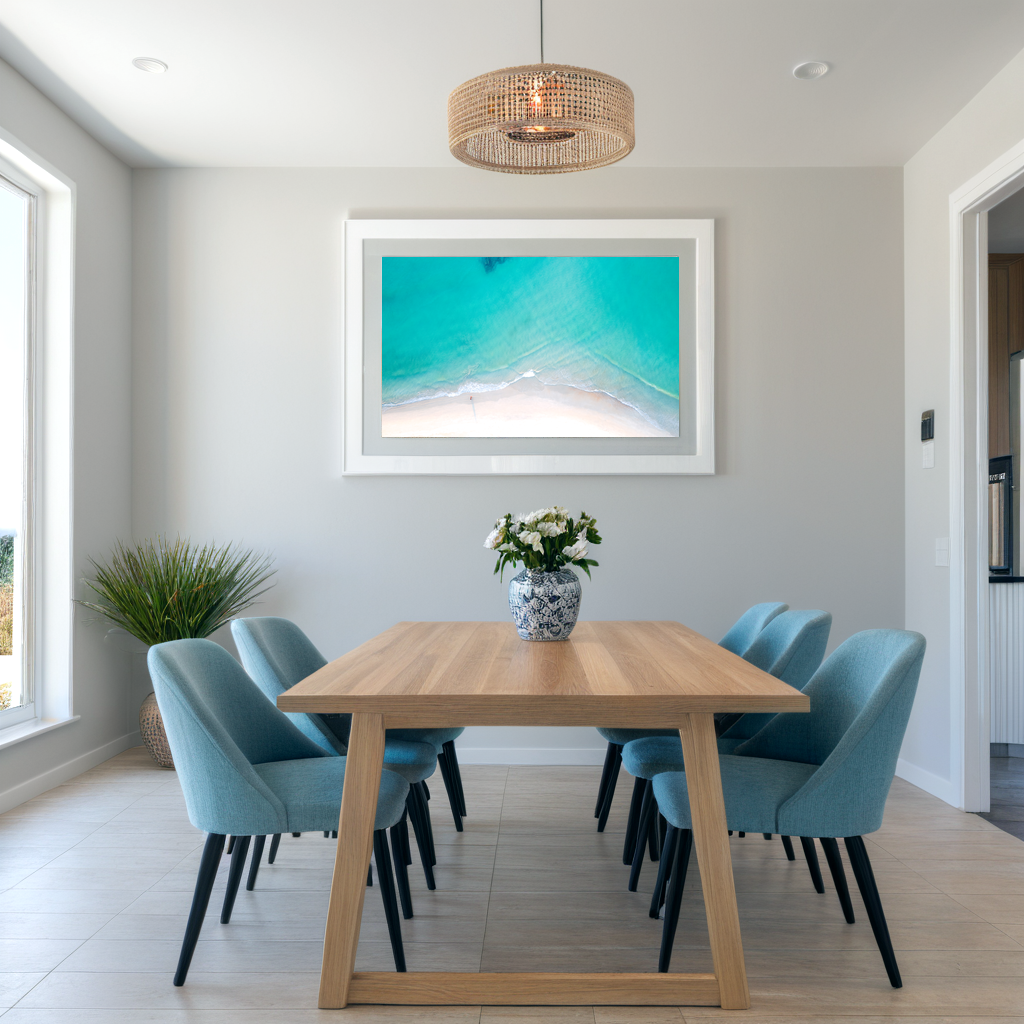
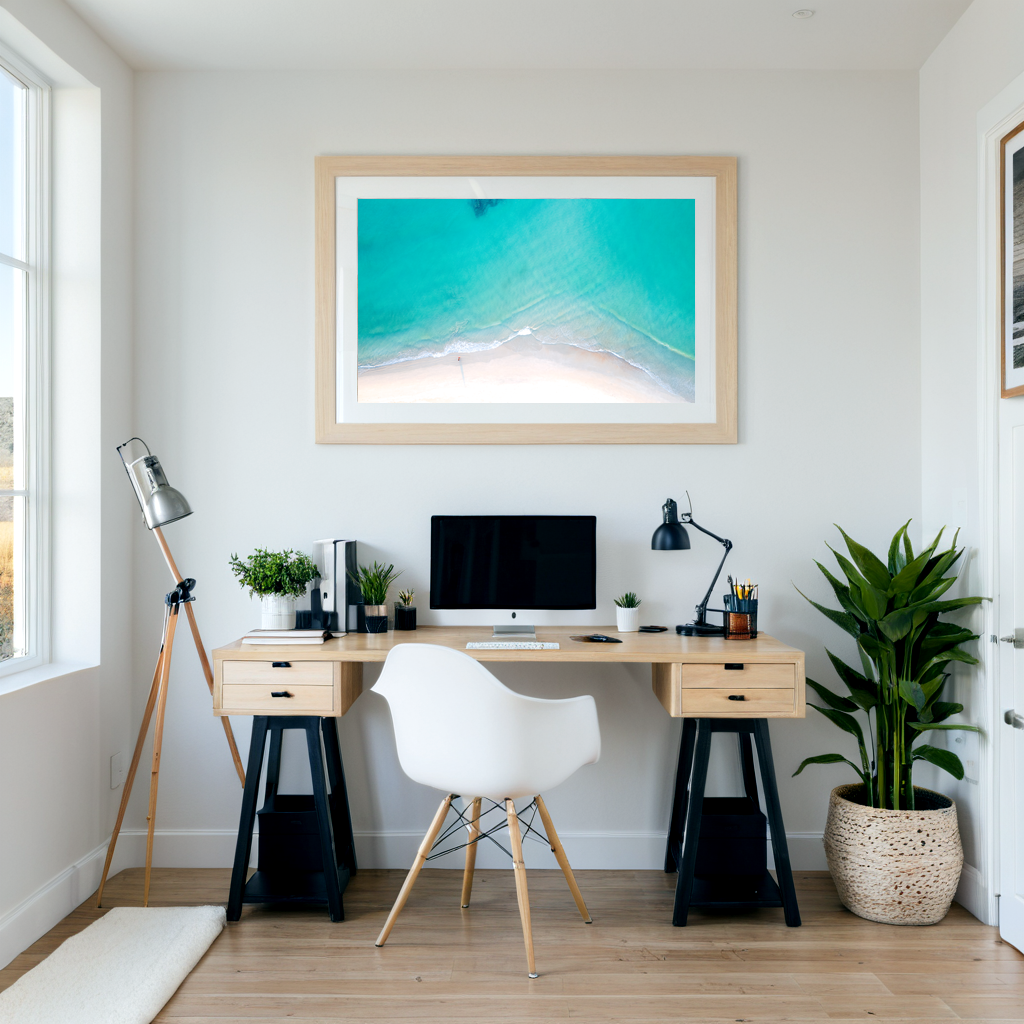
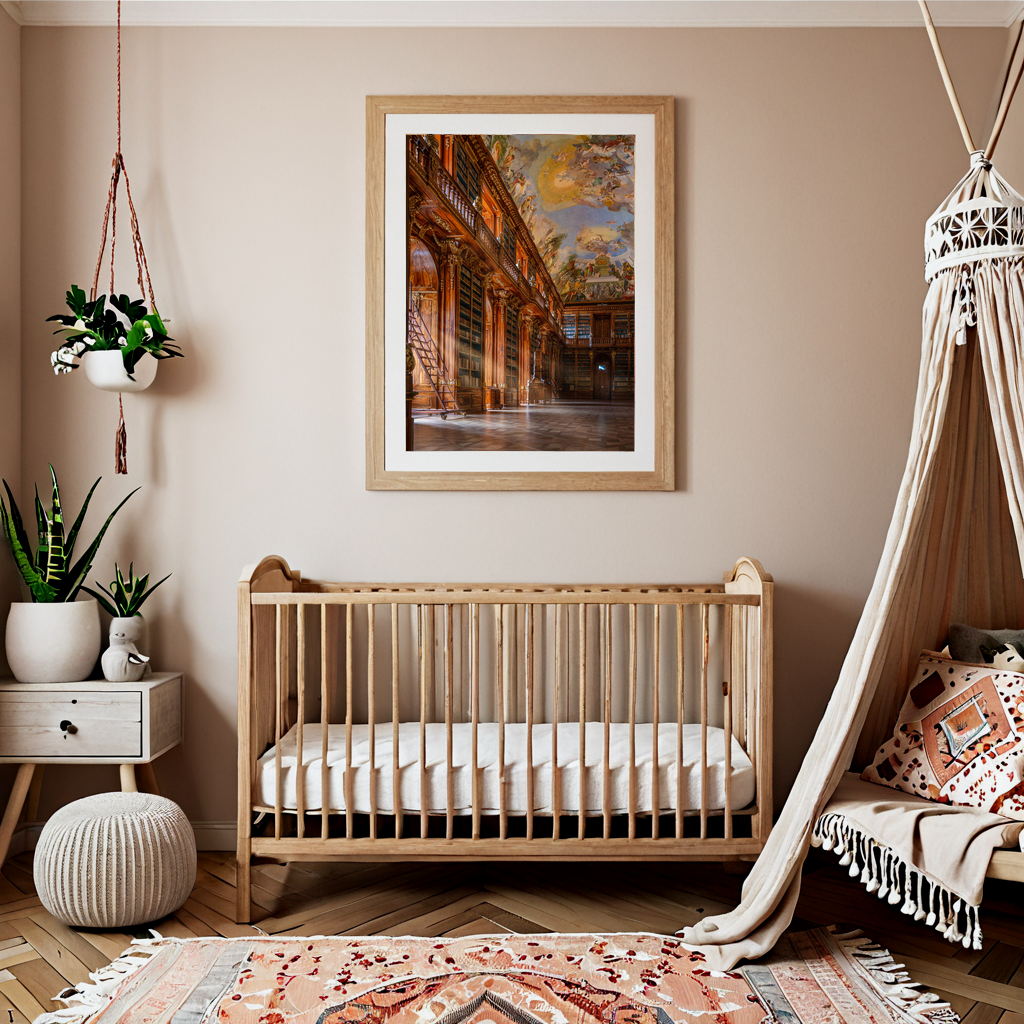
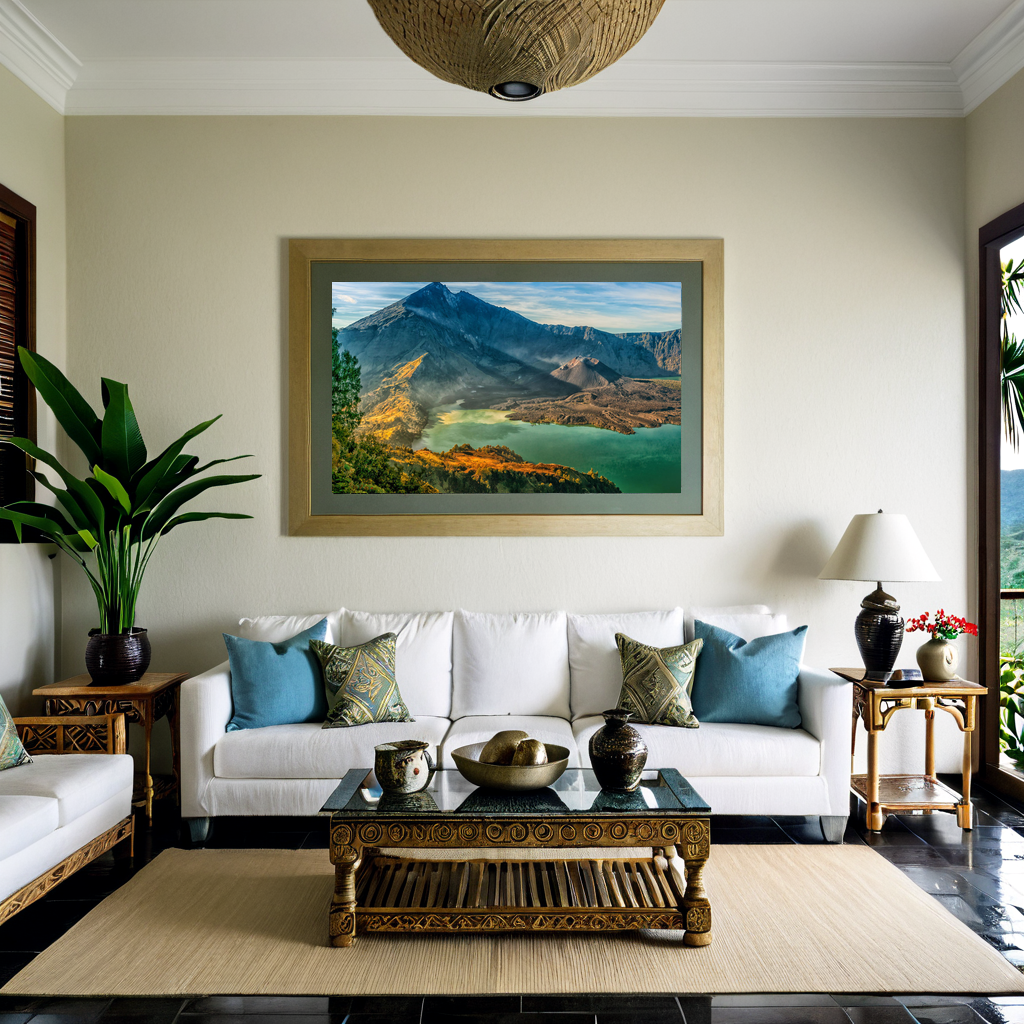
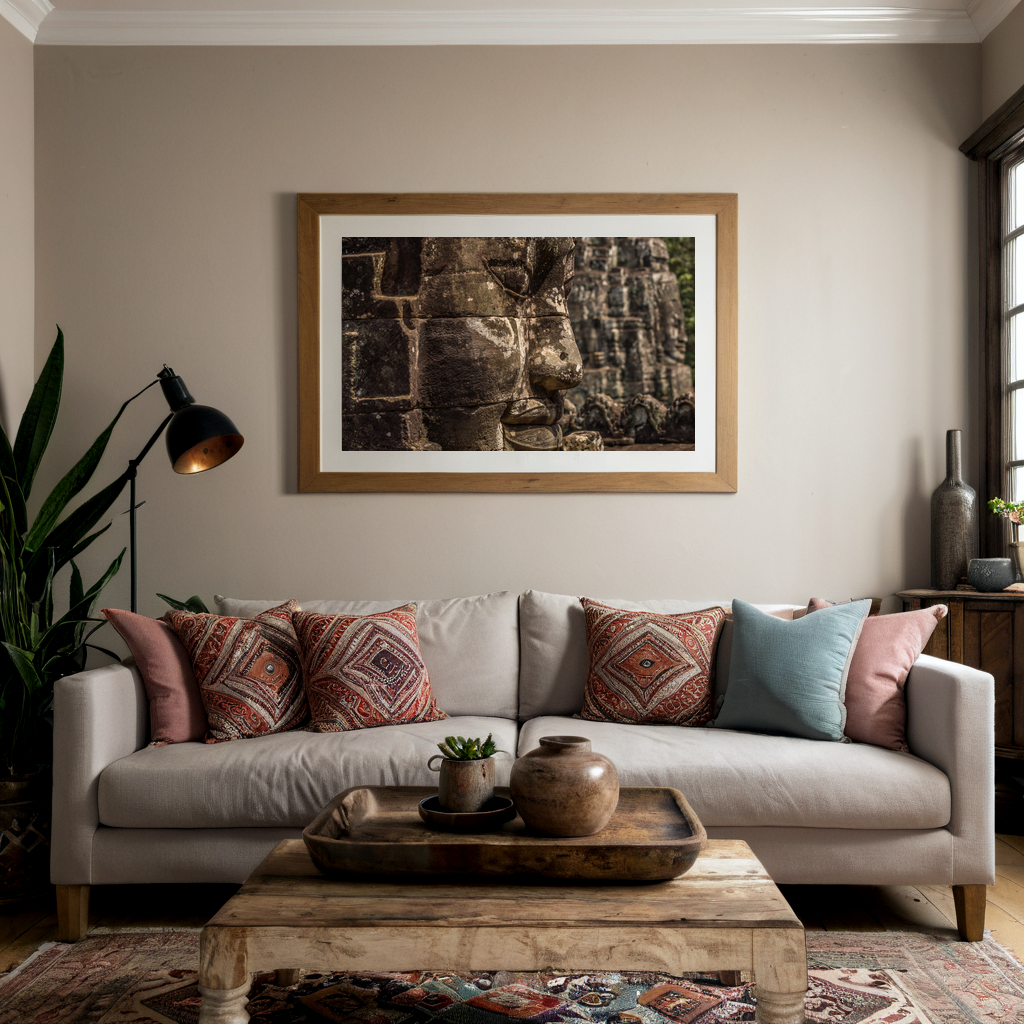
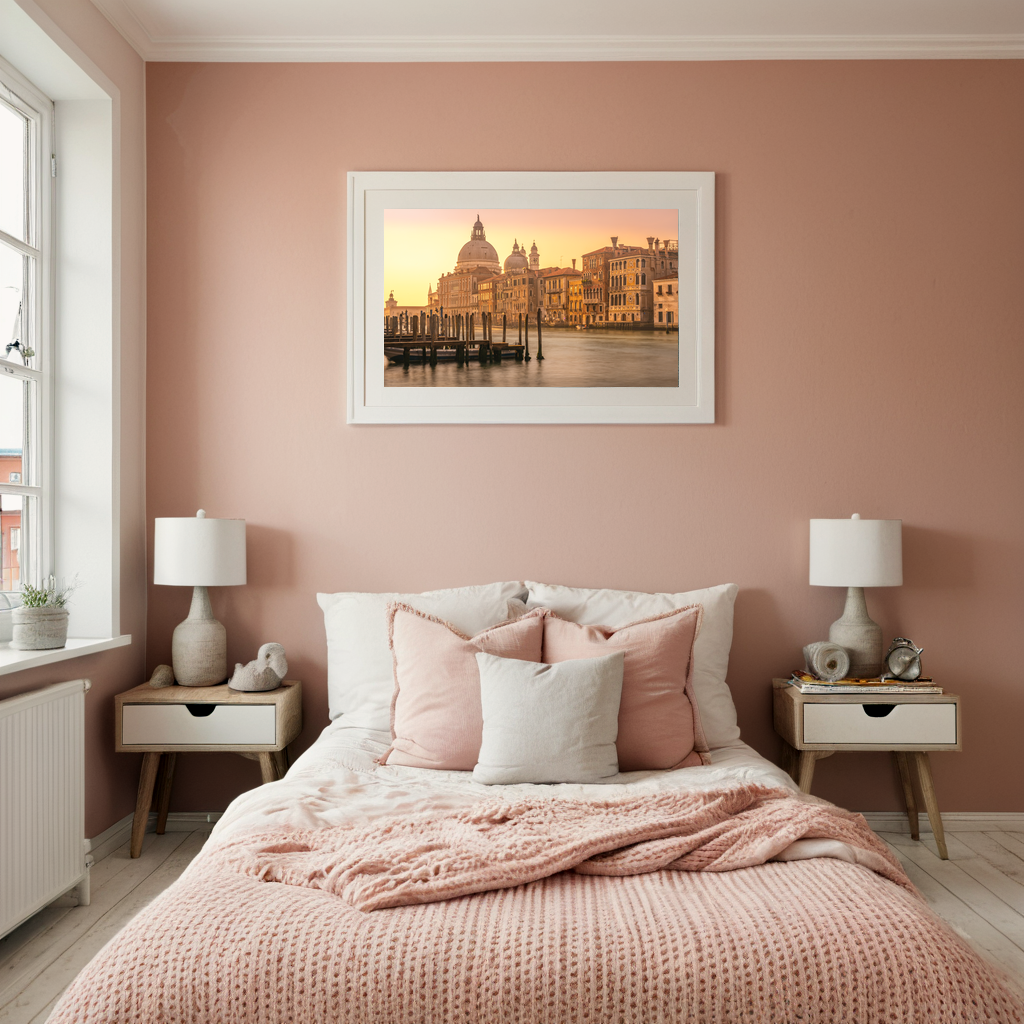
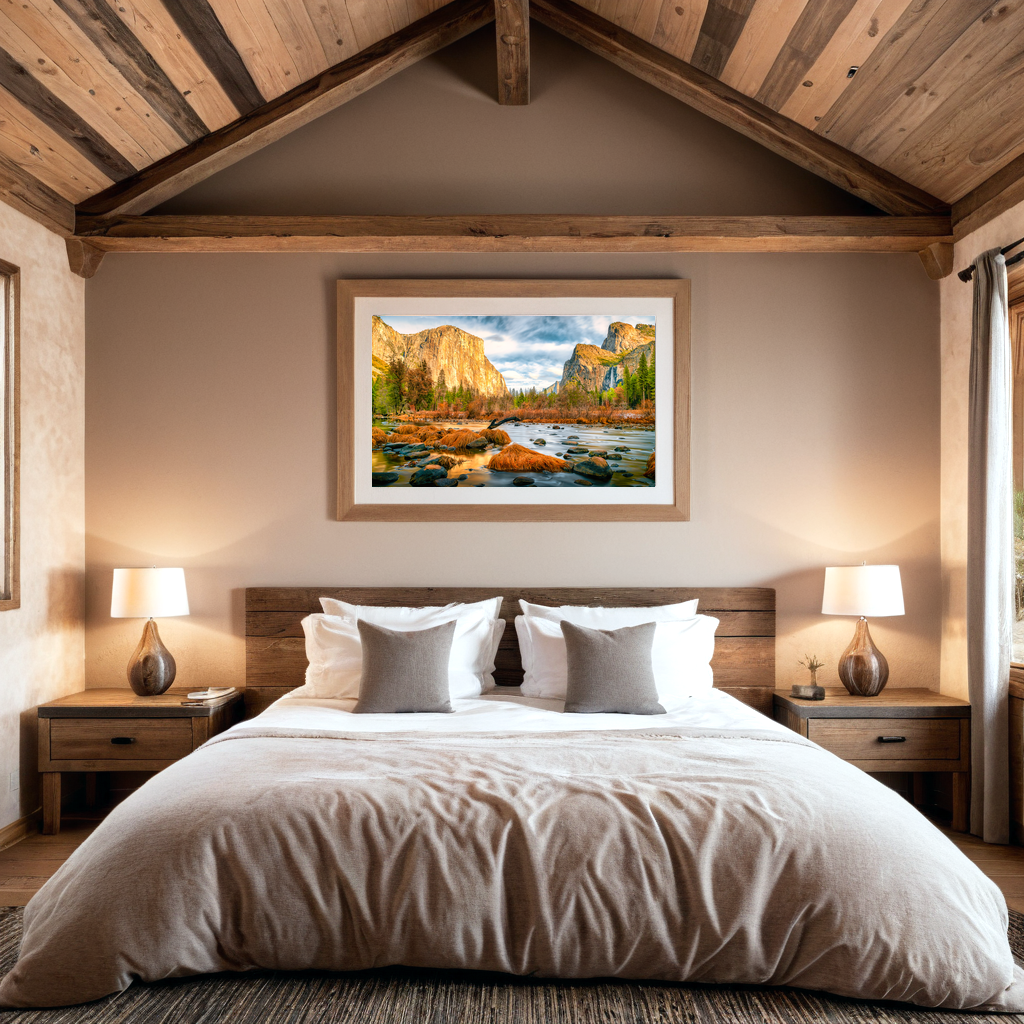
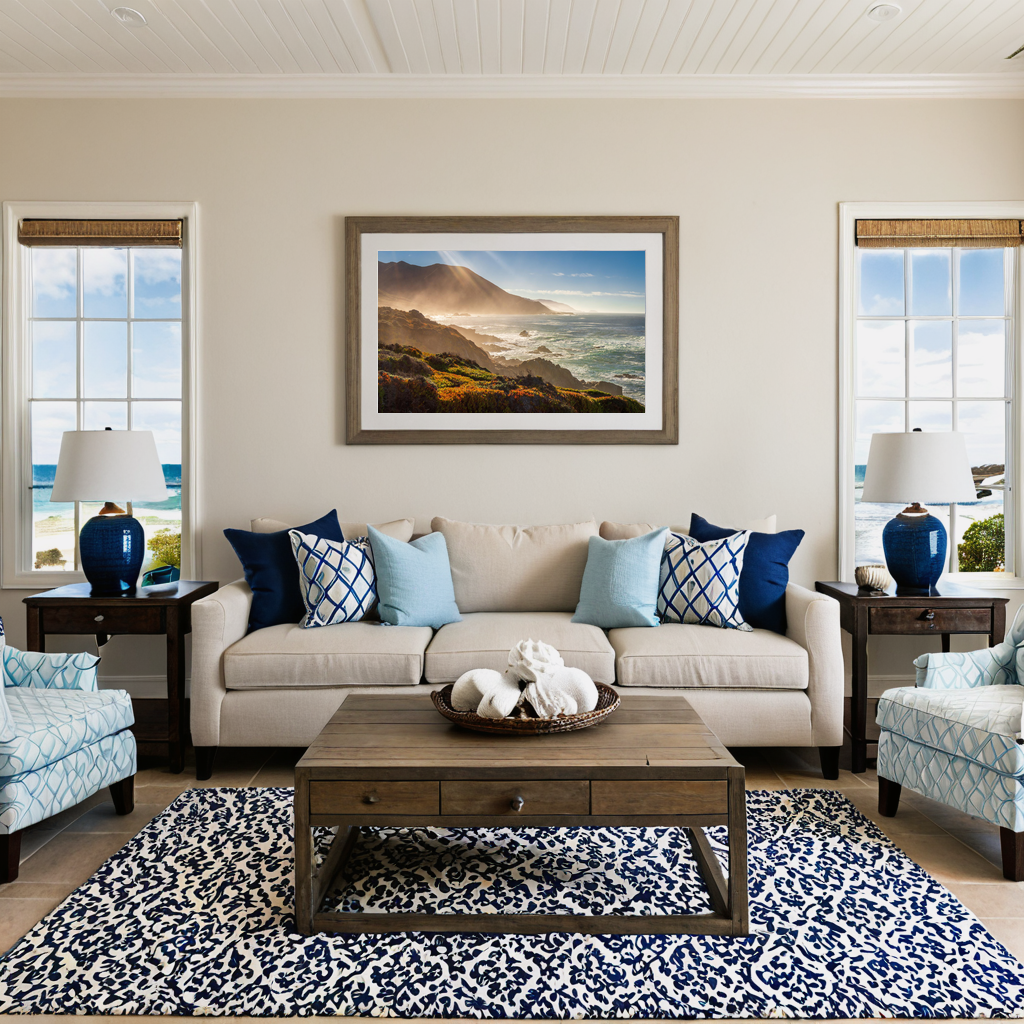
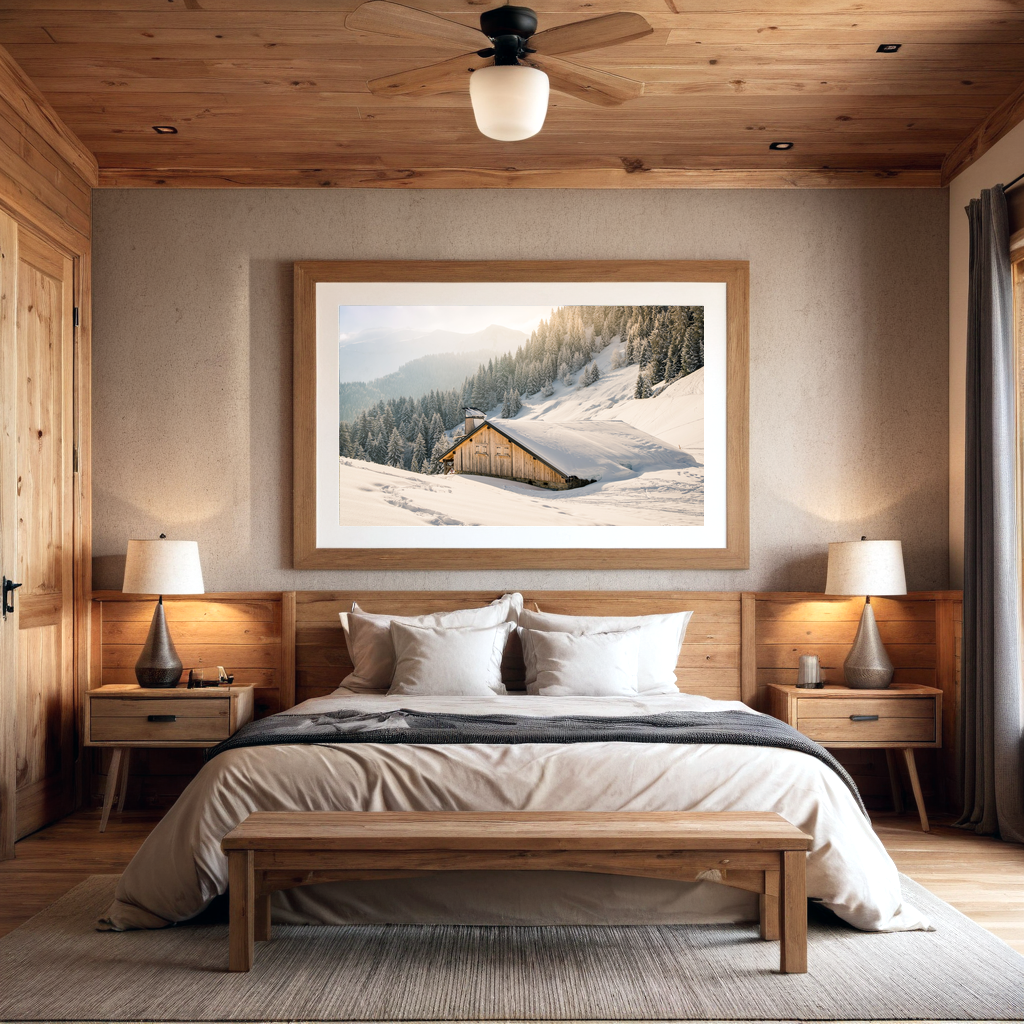
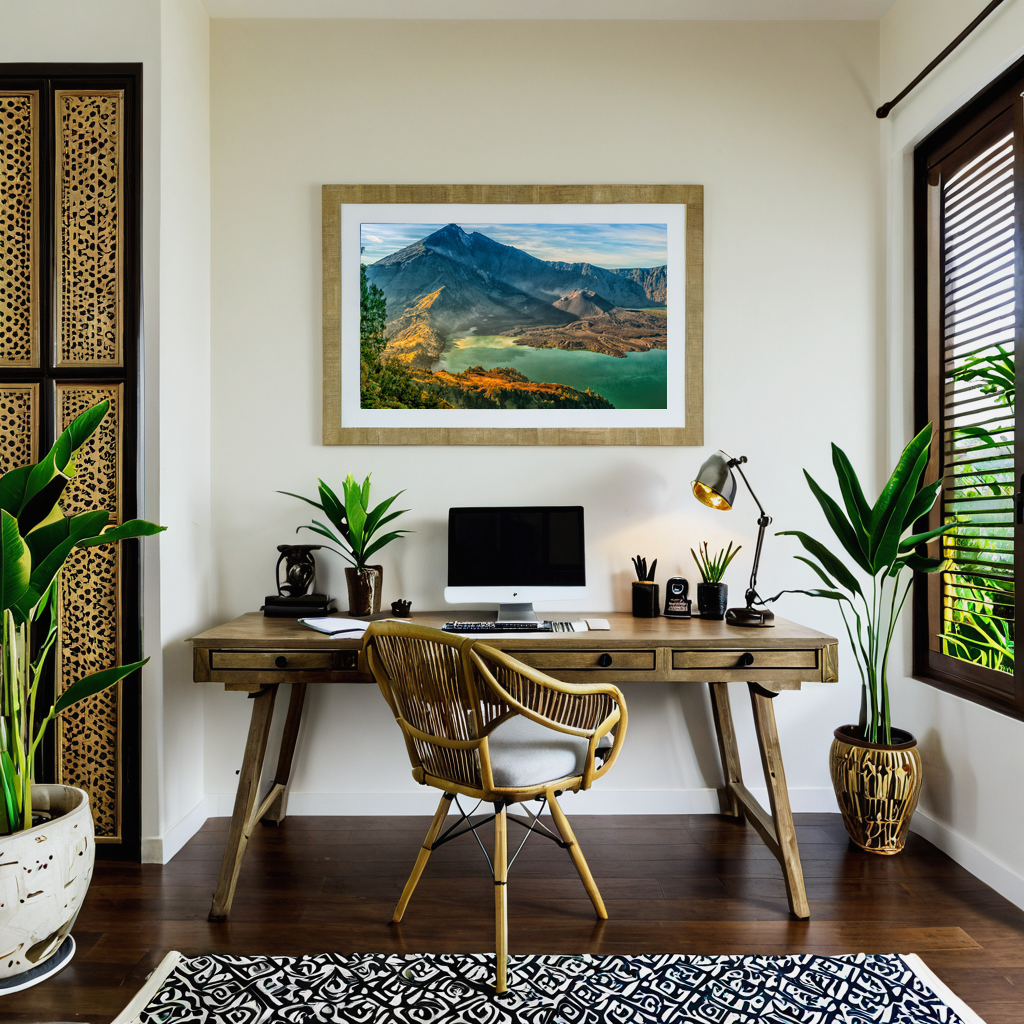
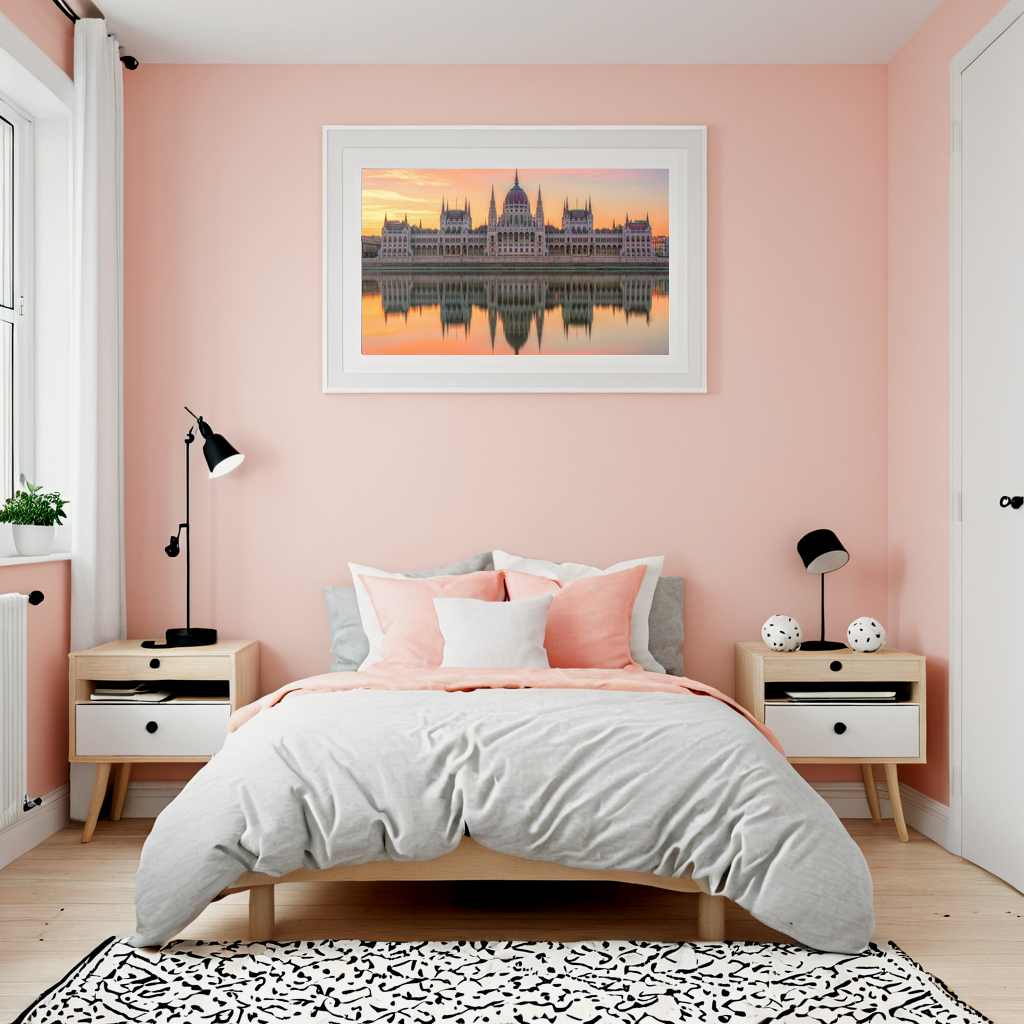
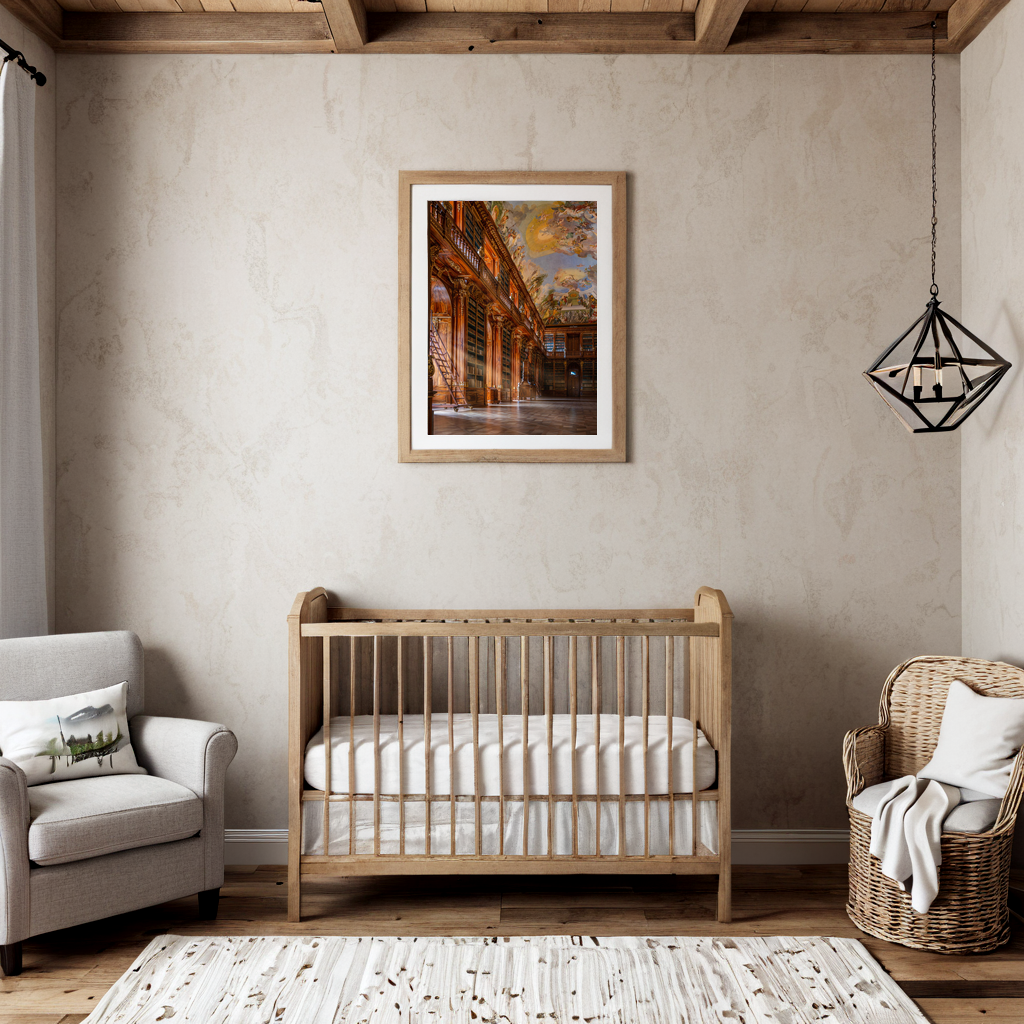
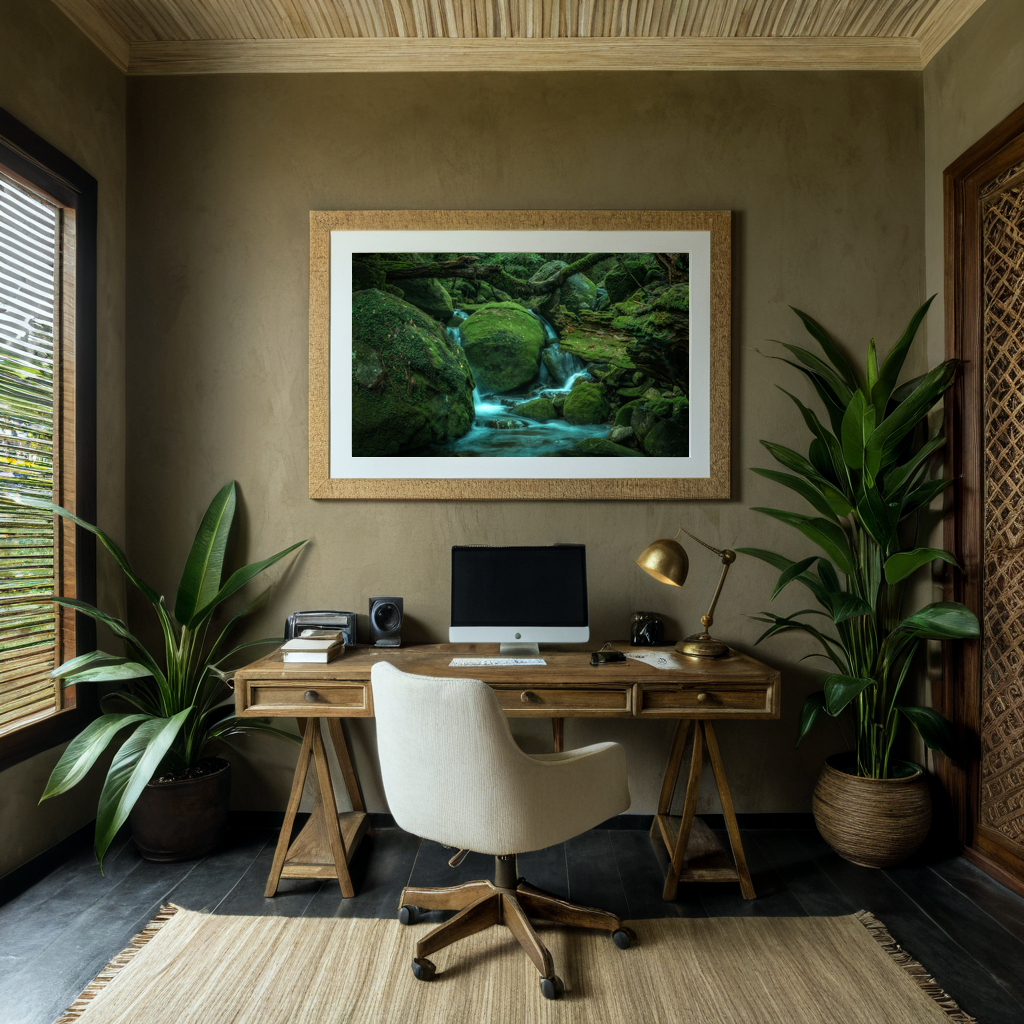
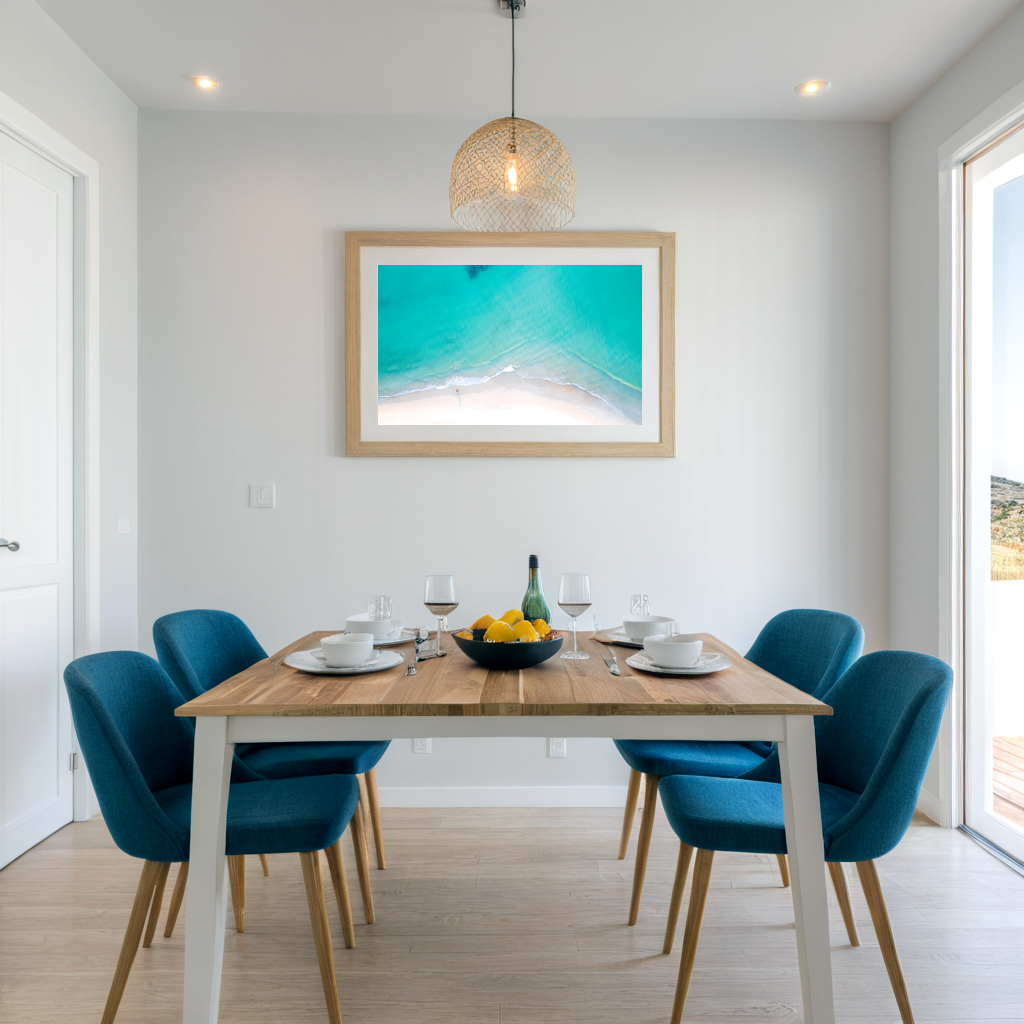
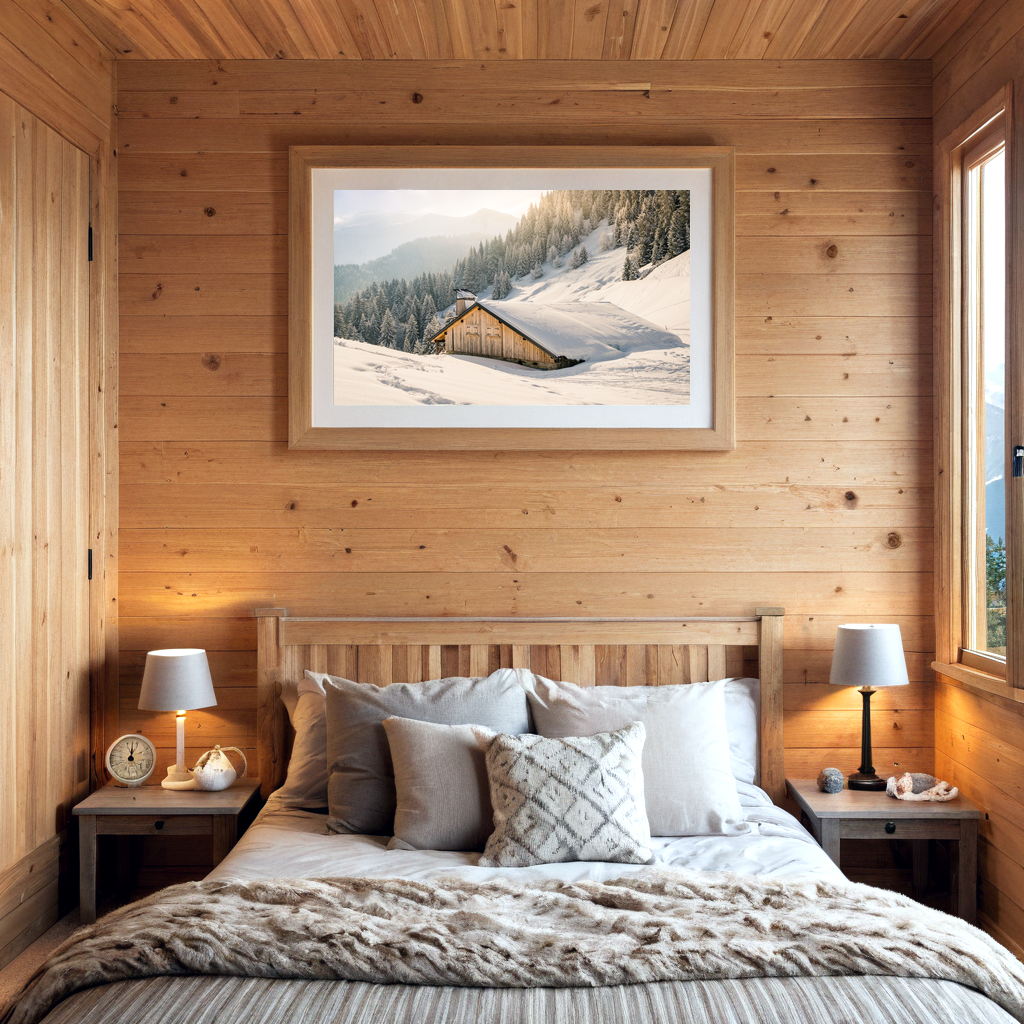
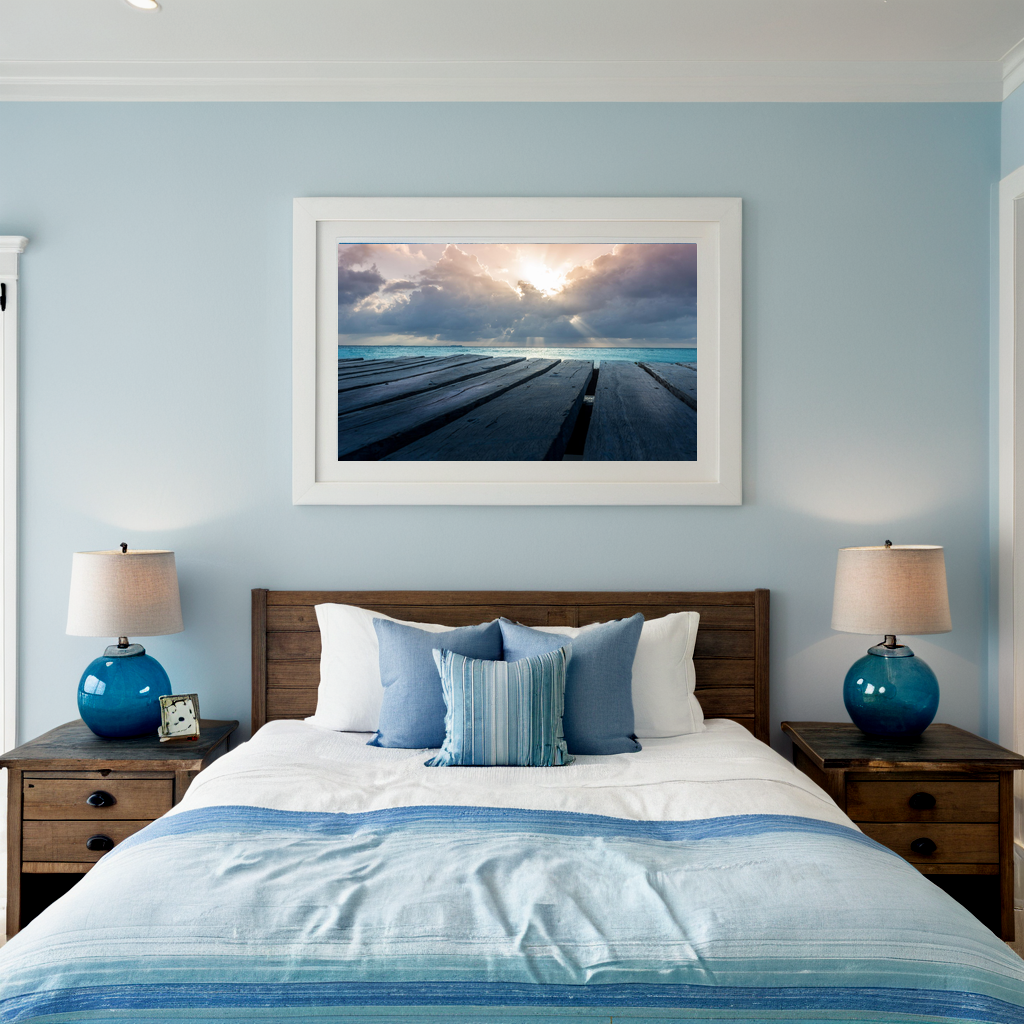
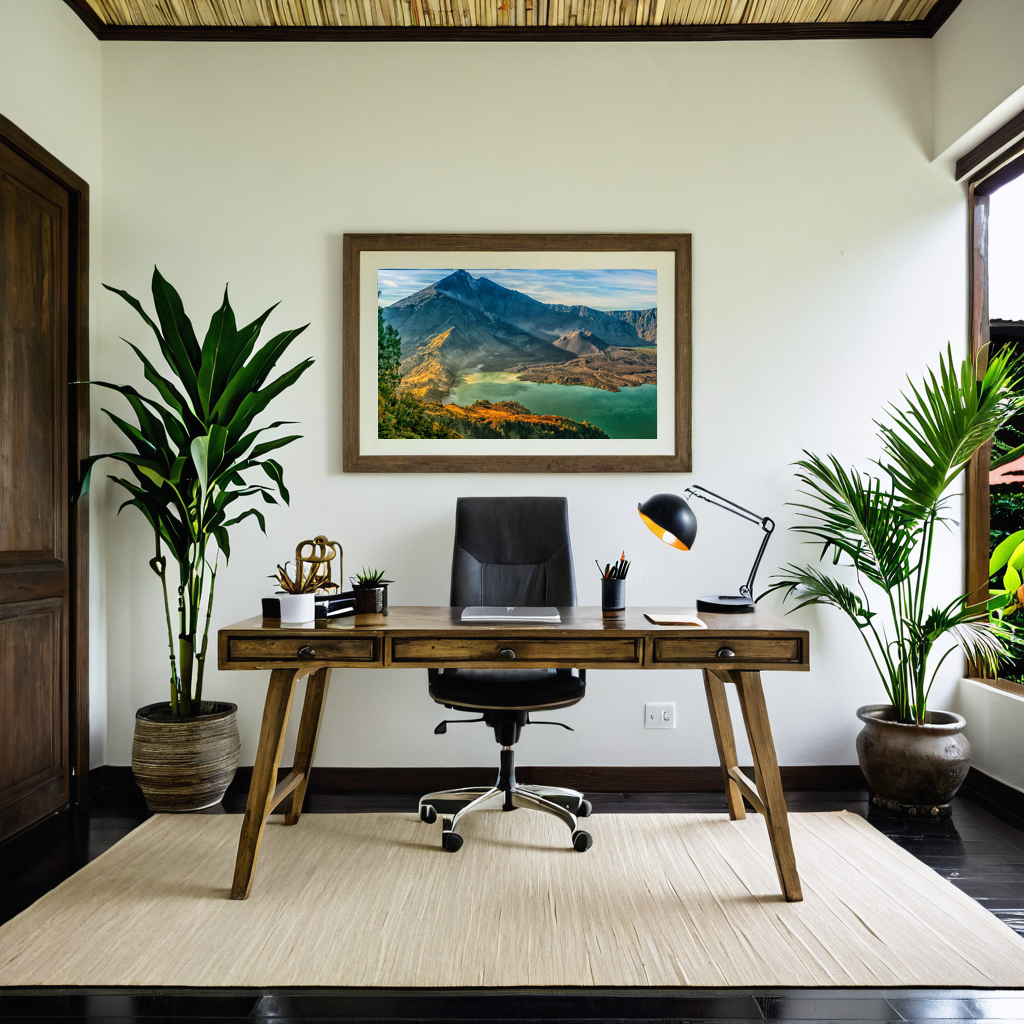
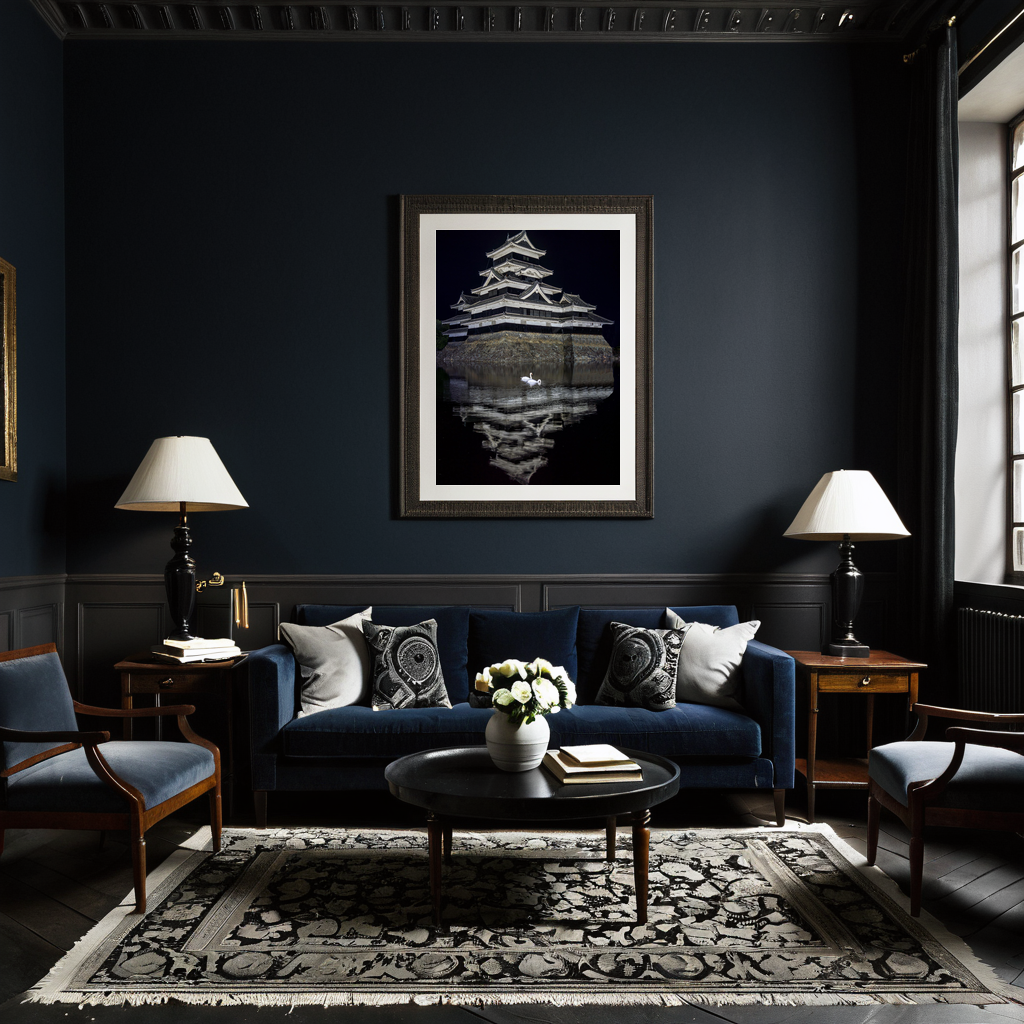
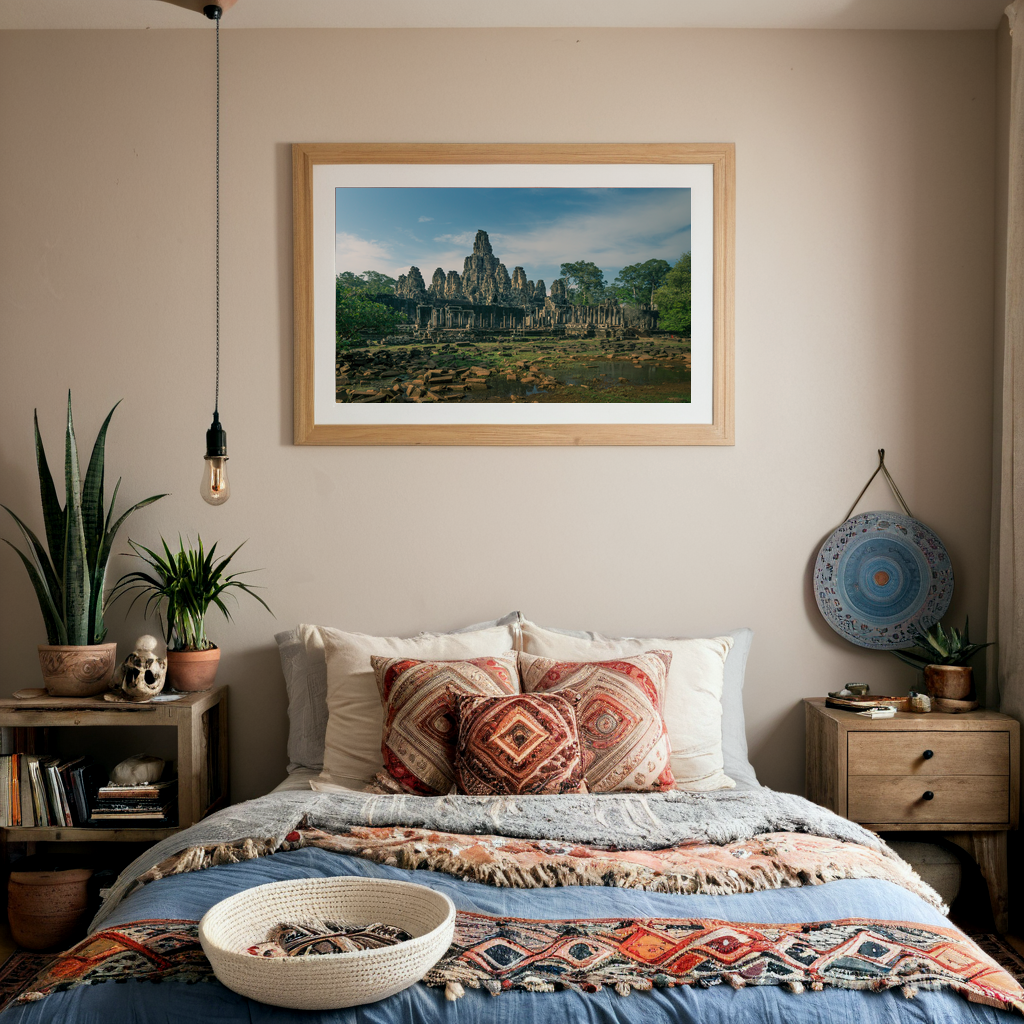
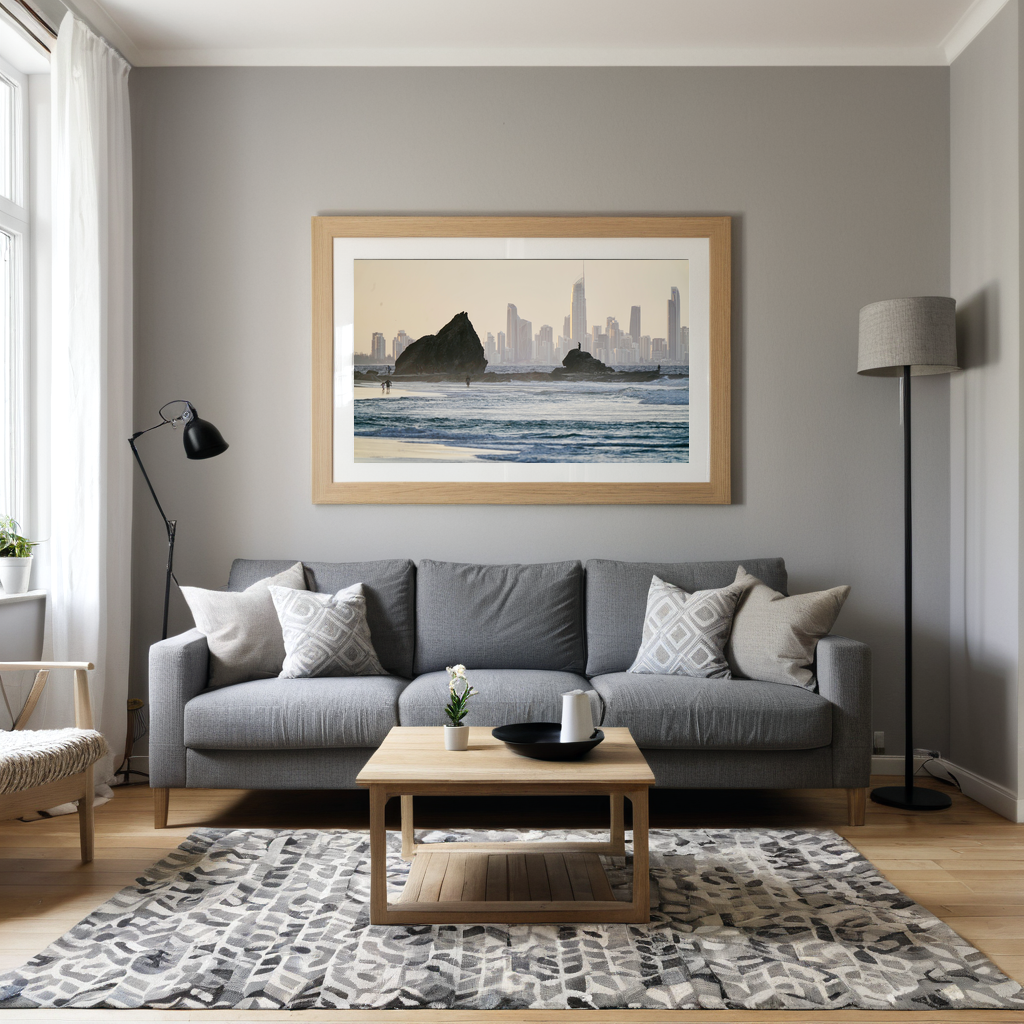
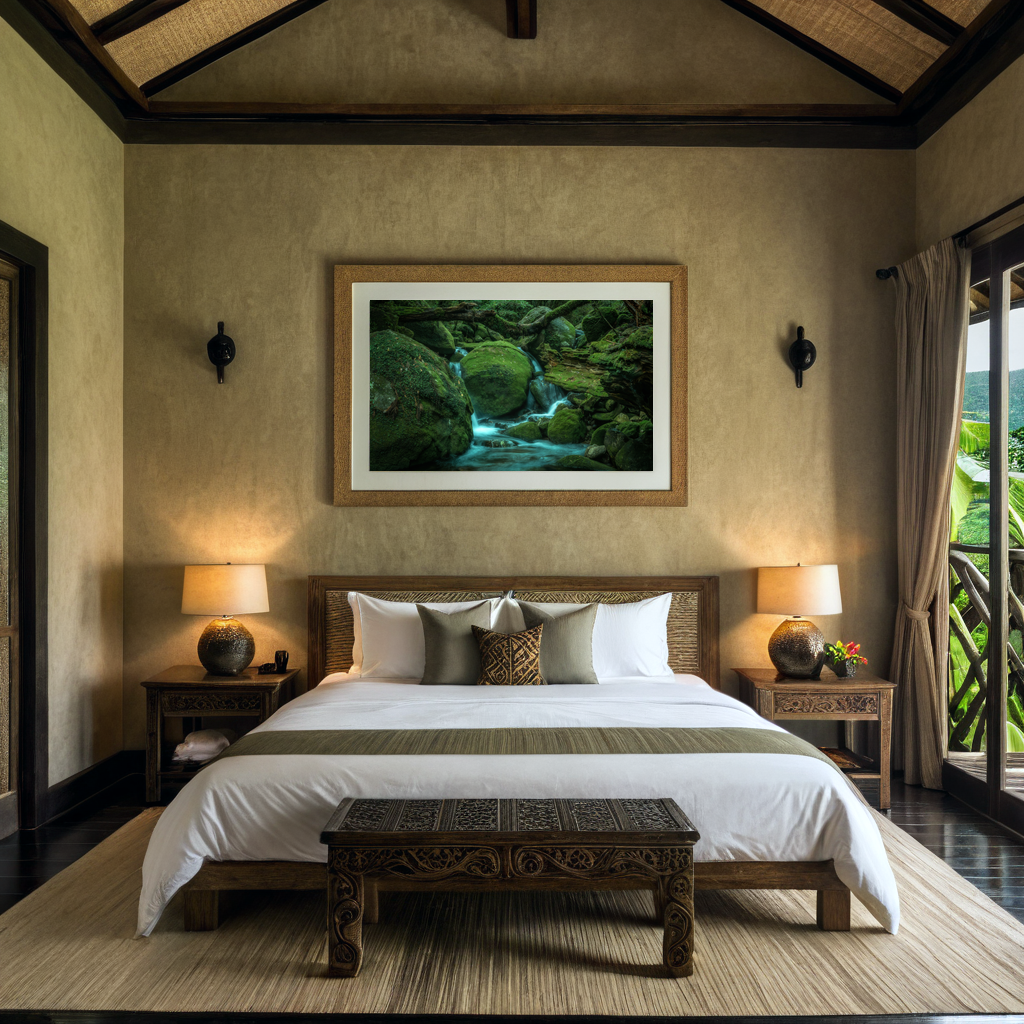
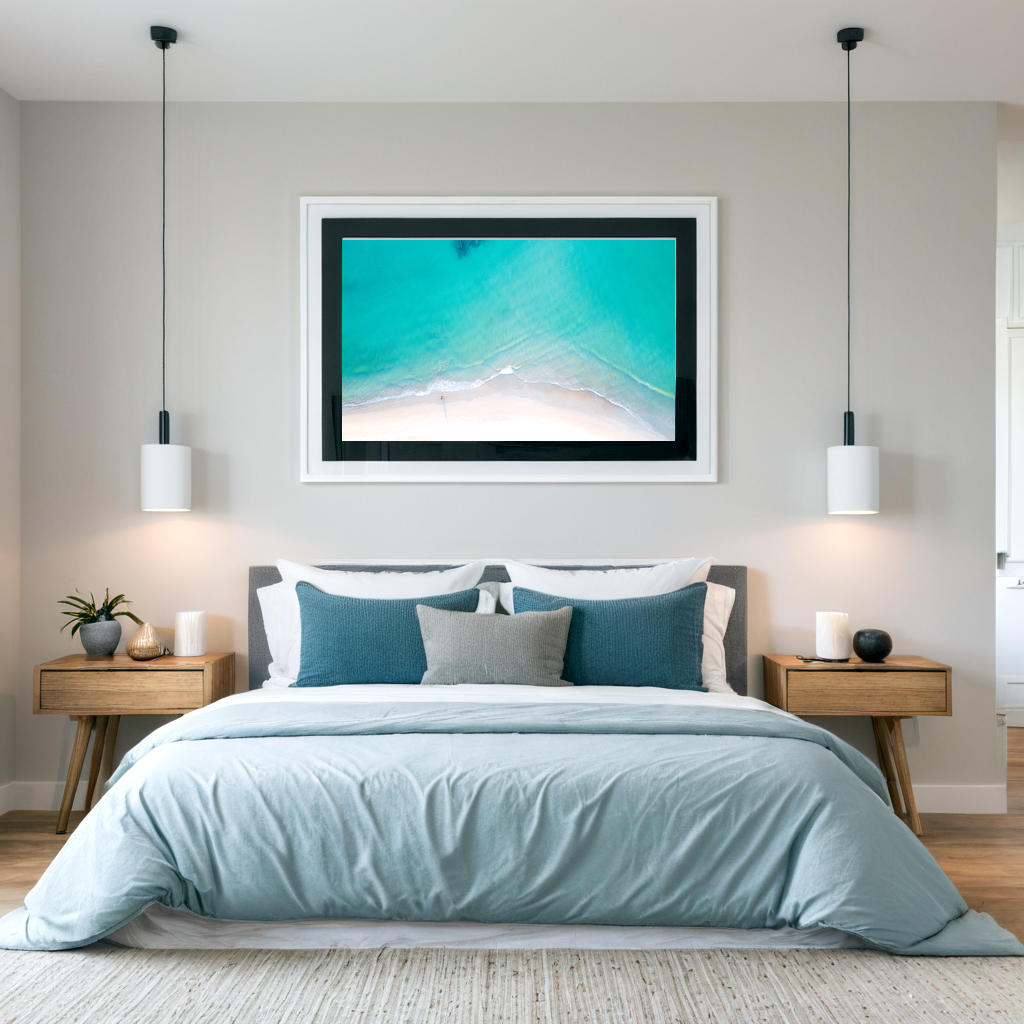
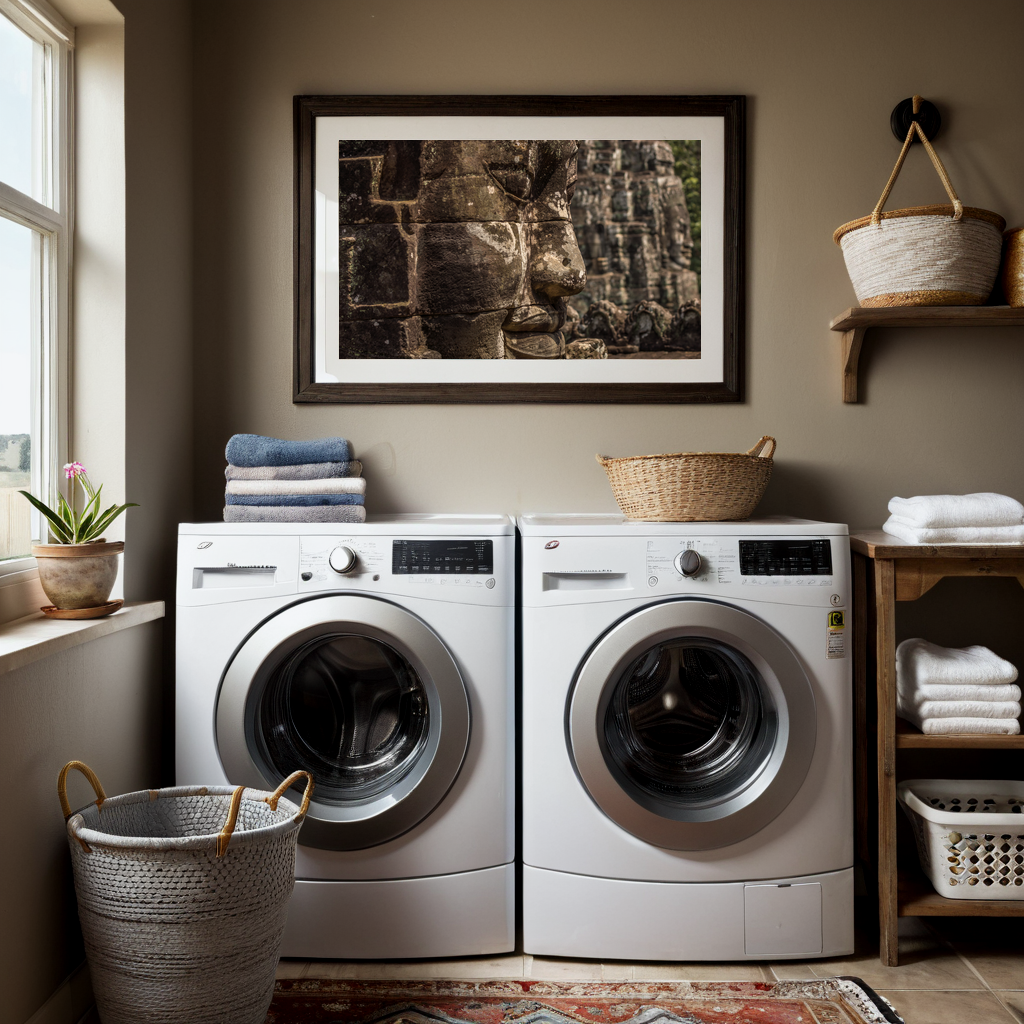
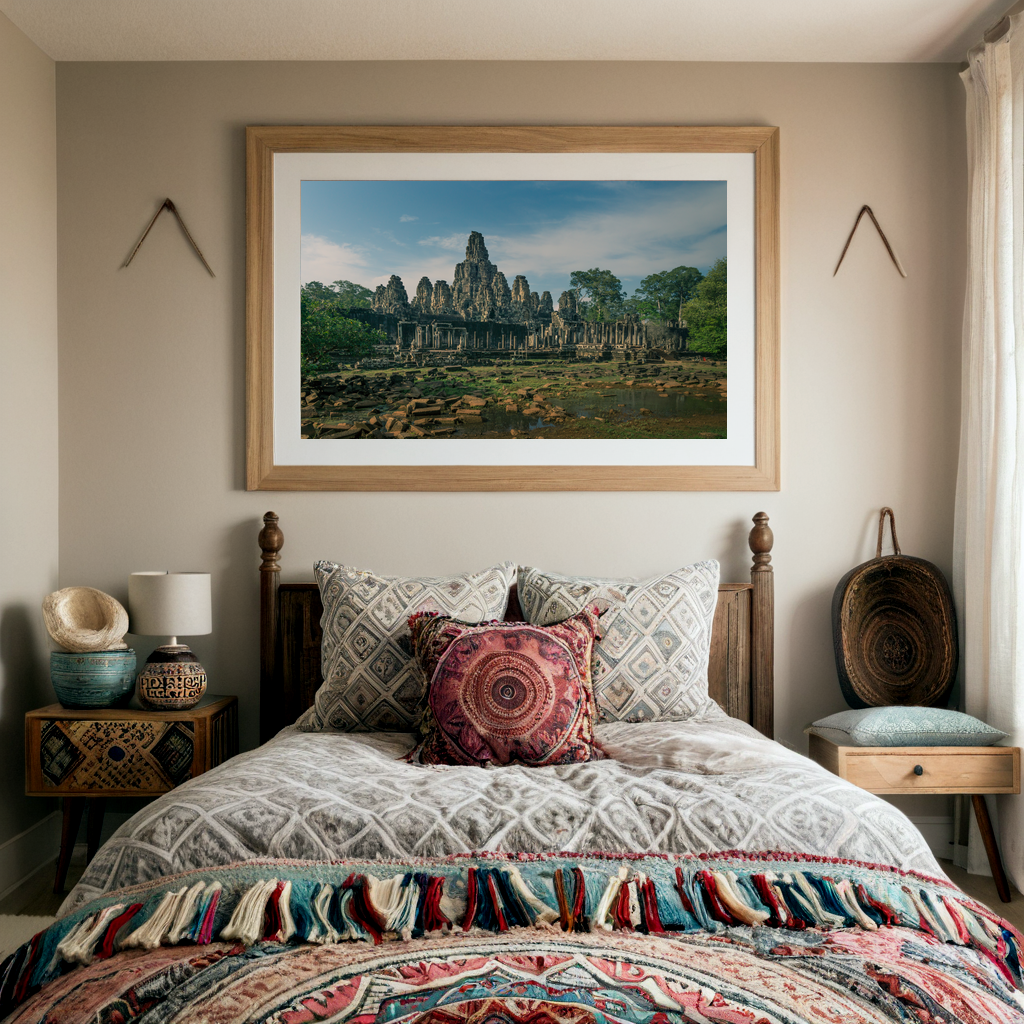
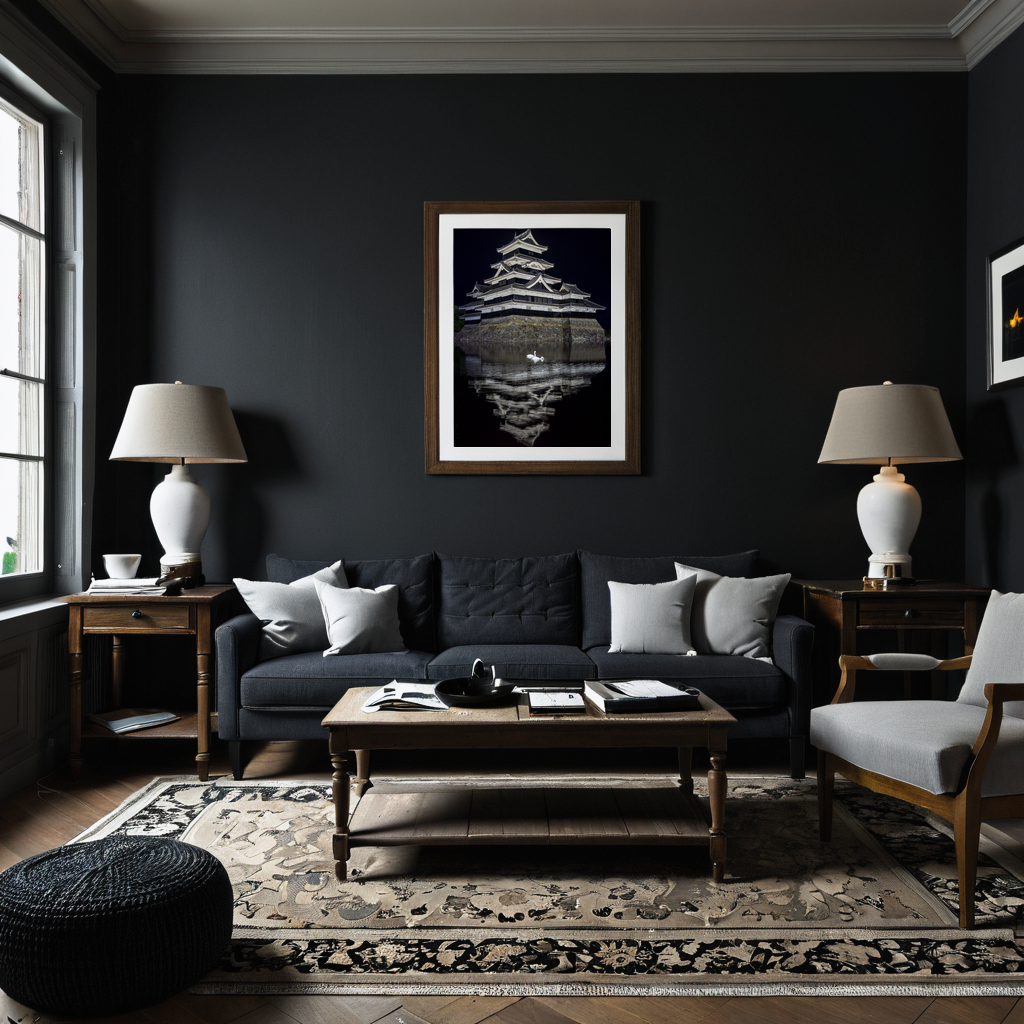
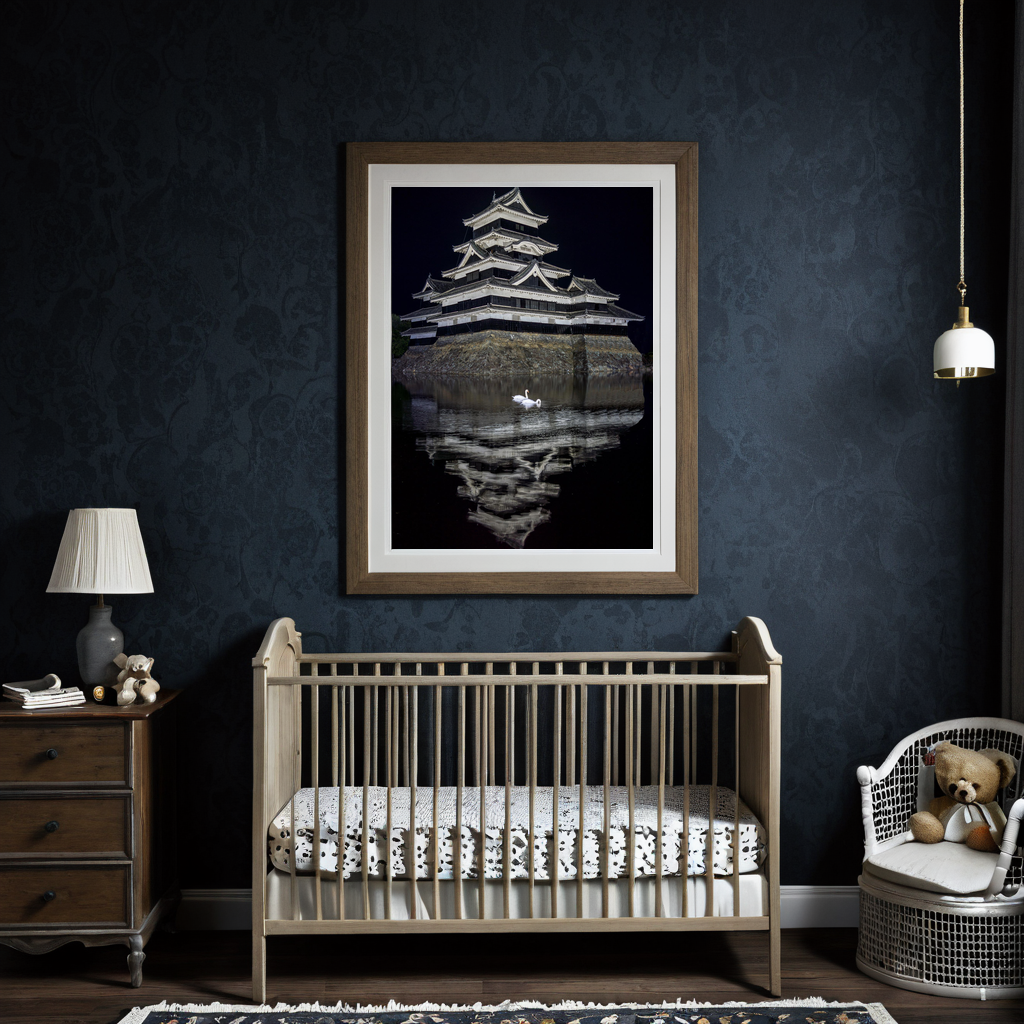
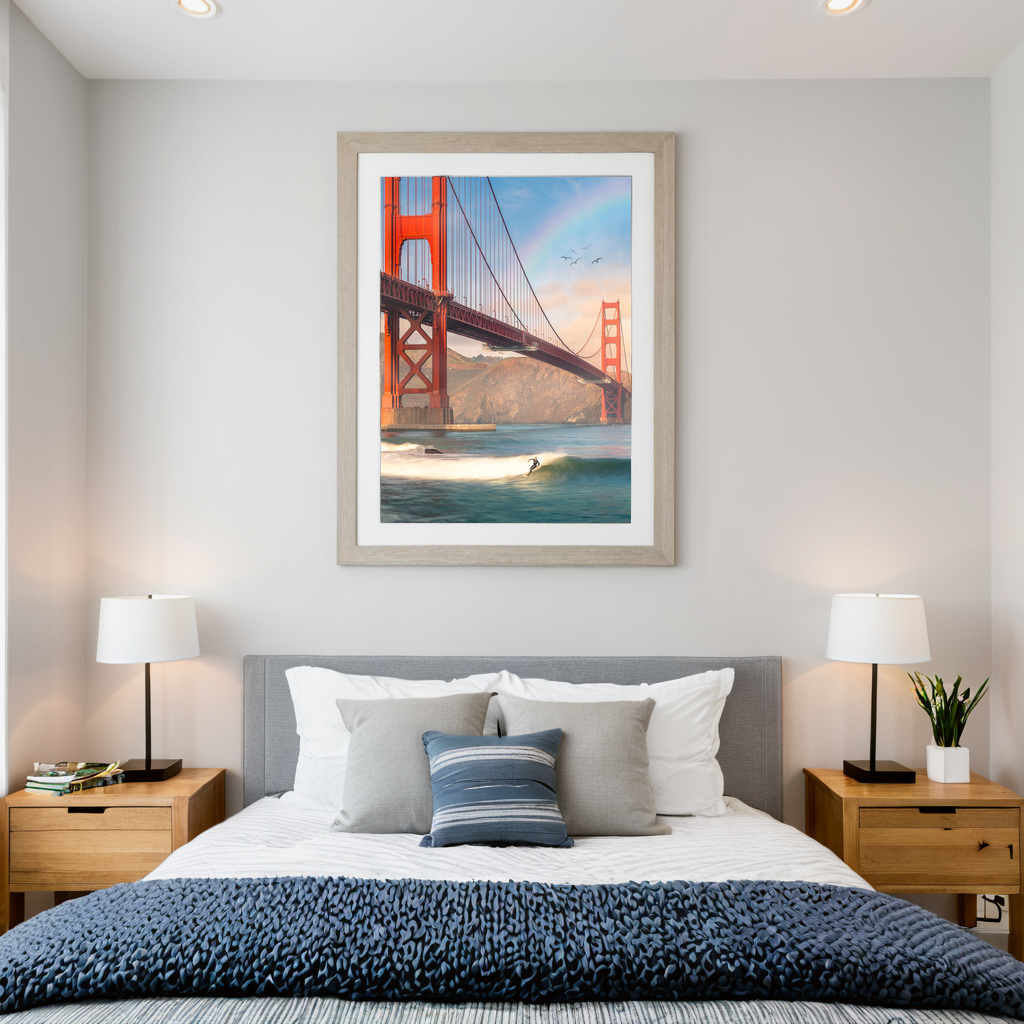
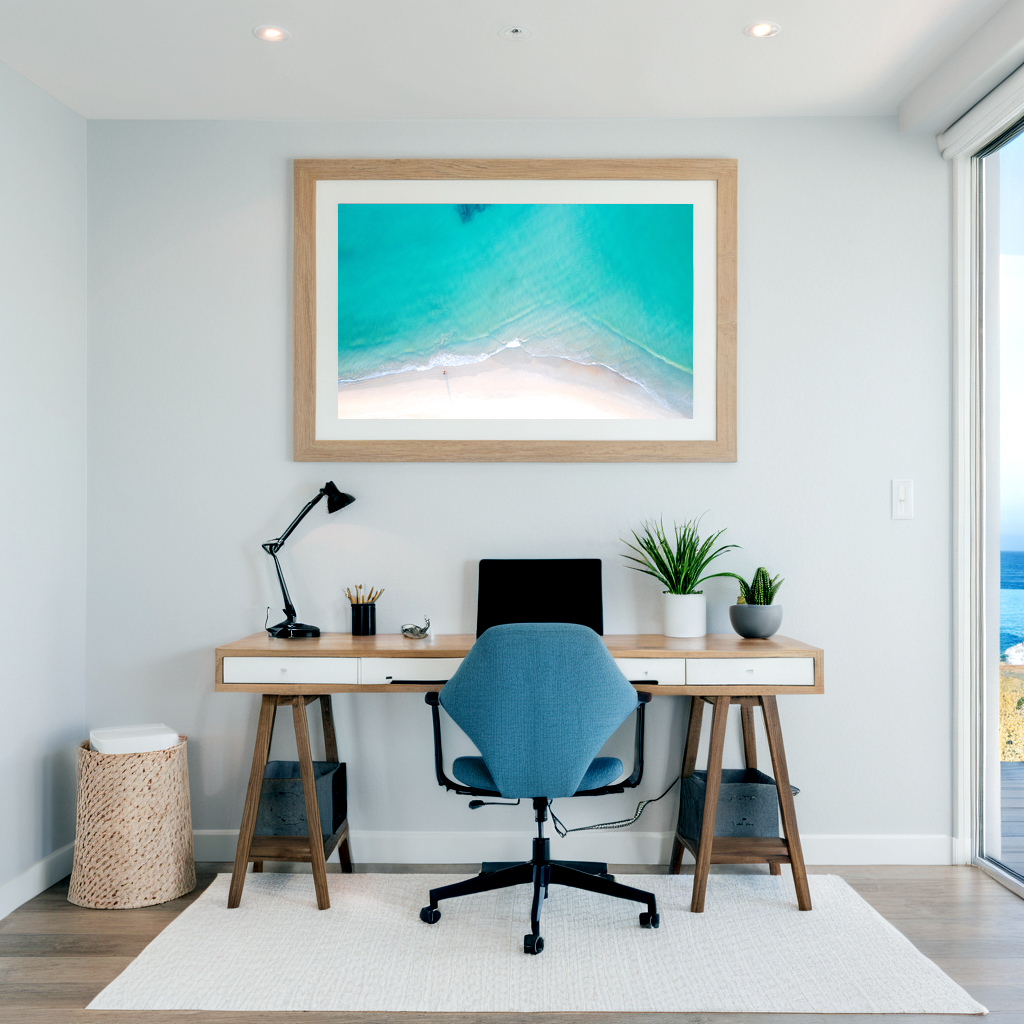
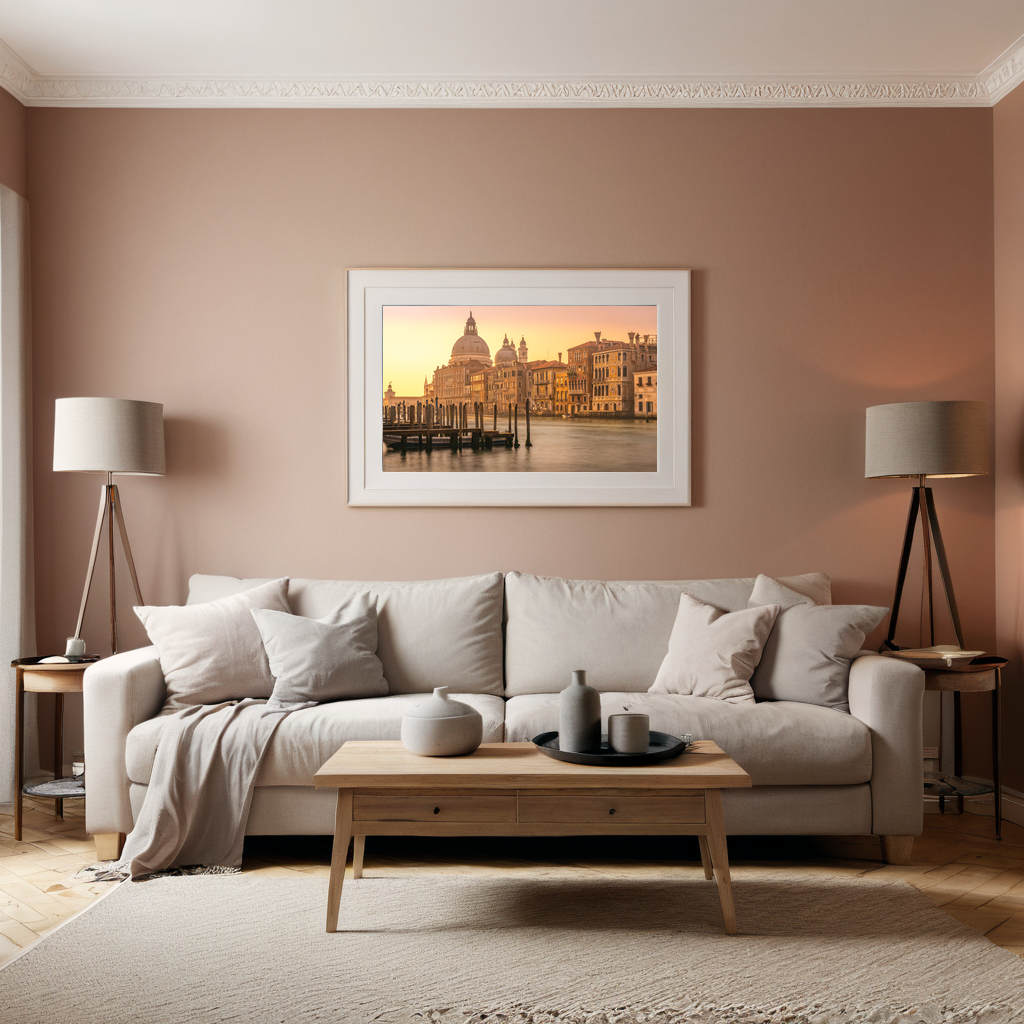
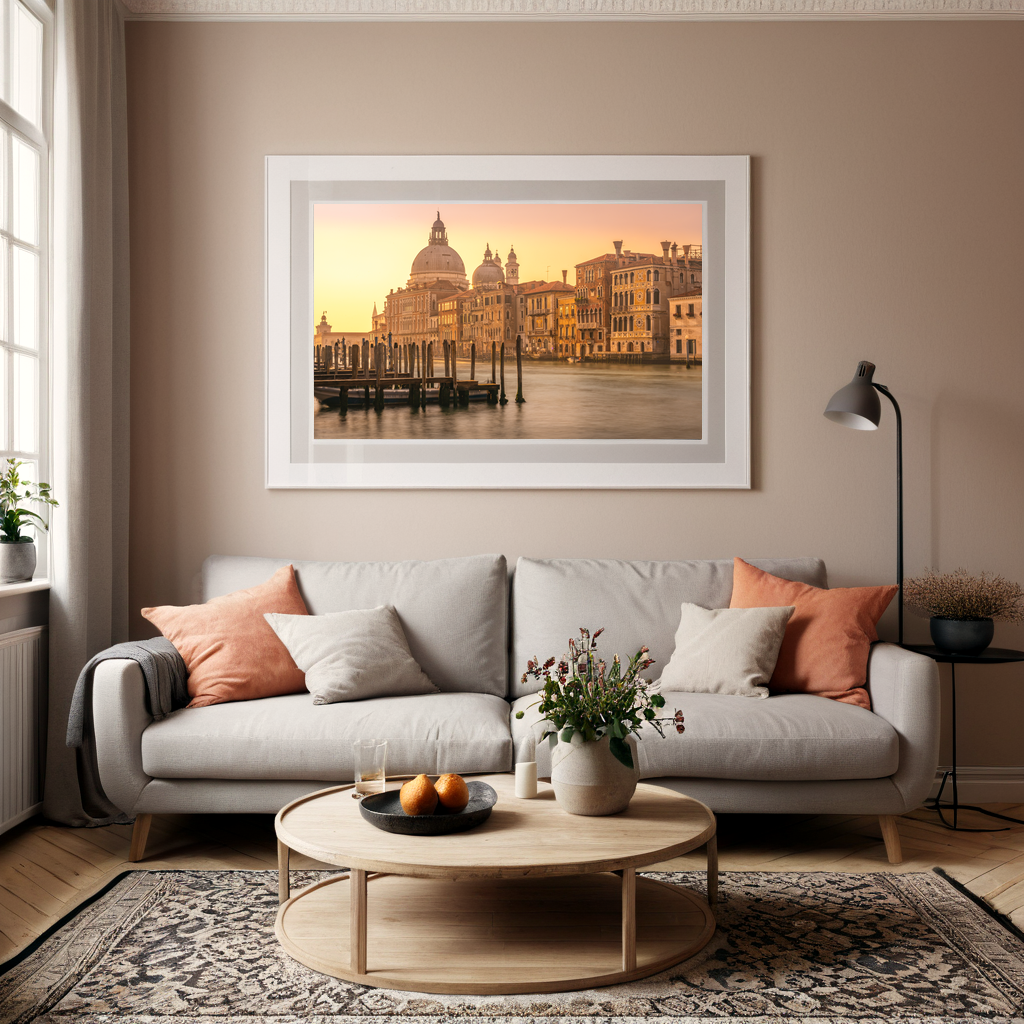
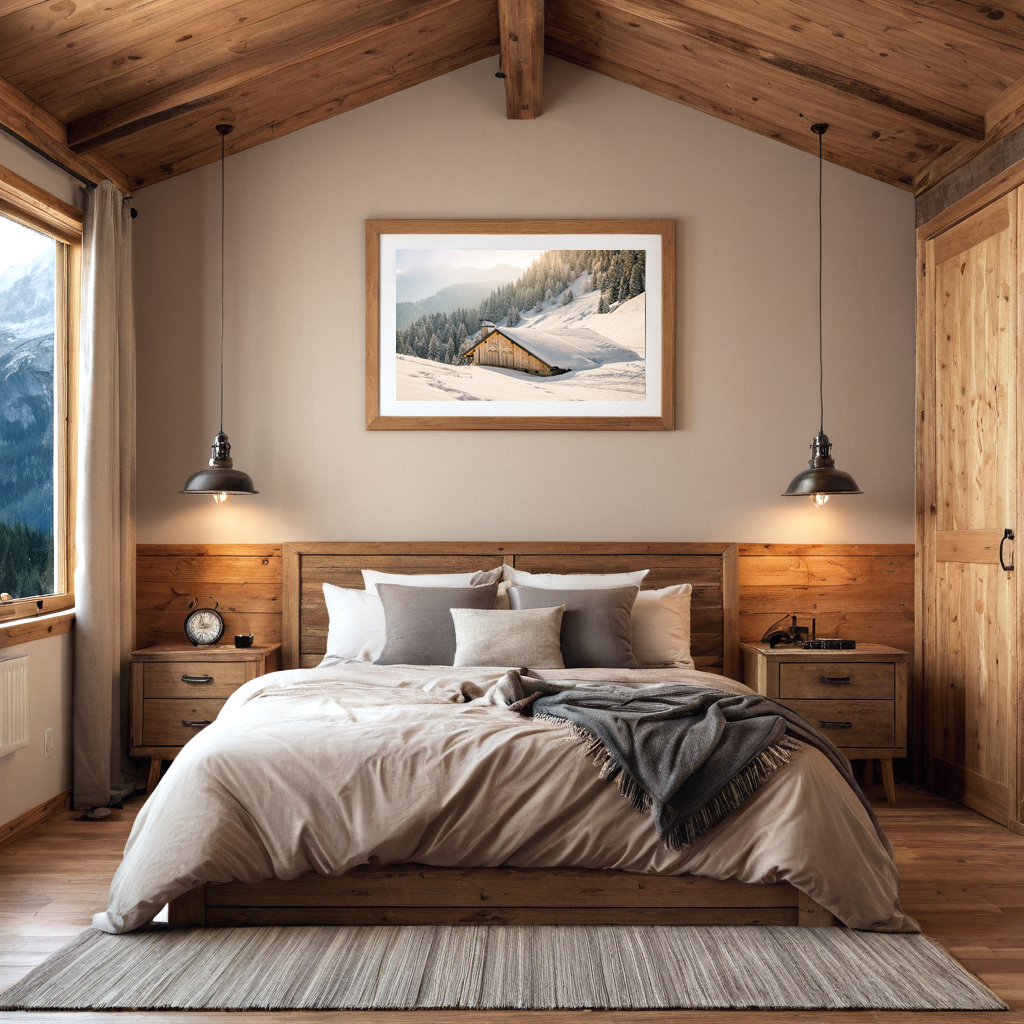
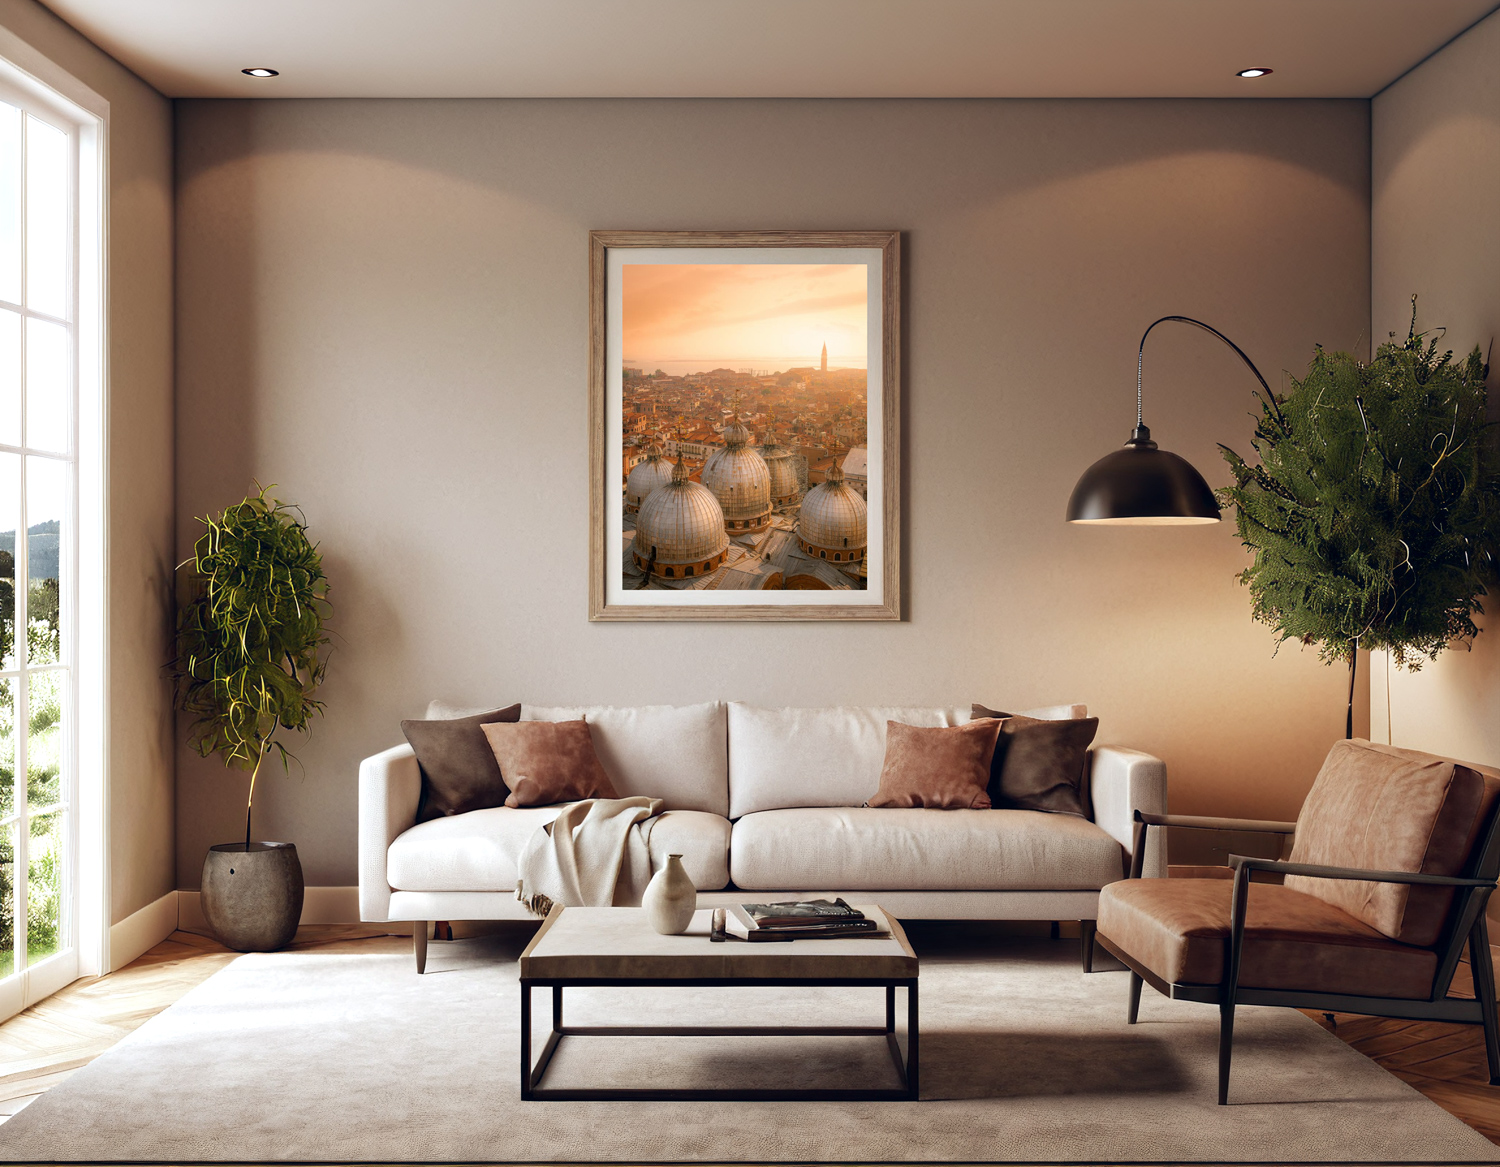
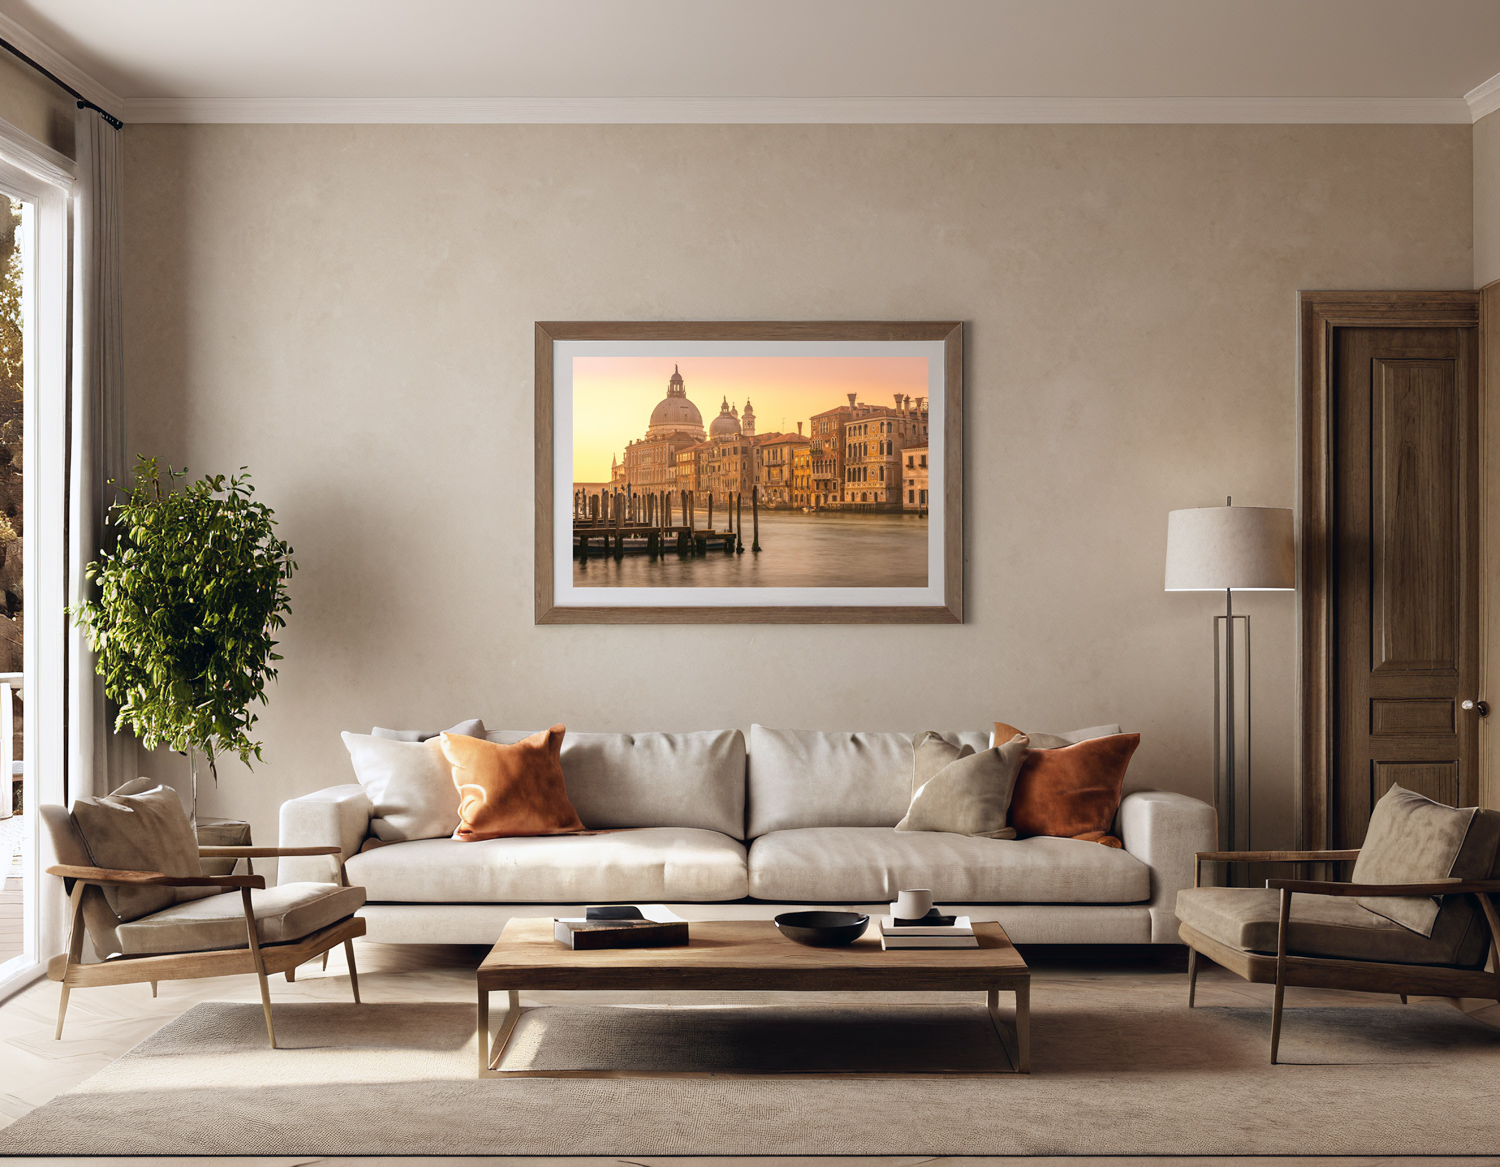
Imagine taking your digital art file and, within a short time and little effort, seeing it perfectly staged in a sunlit minimalist living room, a cozy Scandinavian bedroom, or a chic mid-century modern office. That’s exactly what our AI Wall Art Mockup Generator does.
Our cutting-edge artificial intelligence analyzes your artwork and seamlessly integrates it into a realistic room set-up. No more Photoshop skills required, no more expensive photoshoots, and no more generic templates that make your art look like everyone else’s. This is about making your art stand out with authentic, high-fidelity visuals.
Why Print Sellers (Especially on Etsy & Shopify) Need This Tool
If you’re an artist, photographer, or print-on-demand seller, you know the struggle:
-
Standing Out on Crowded Platforms: Etsy and Shopify are brimming with talent. Beautiful, unique AI room mockups grab attention instantly, making your listings unforgettable.
-
Boosting Conversion Rates: Customers are more likely to buy when they can visualize an item in context. Our realistic print room creator helps bridge that imagination gap, leading to higher “add to cart” rates.
-
Saving Time & Money: Traditional mockups are a huge time sink. Our AI art mockup generator delivers professional results in a fraction of the time, freeing you up to do what you do best: create.
-
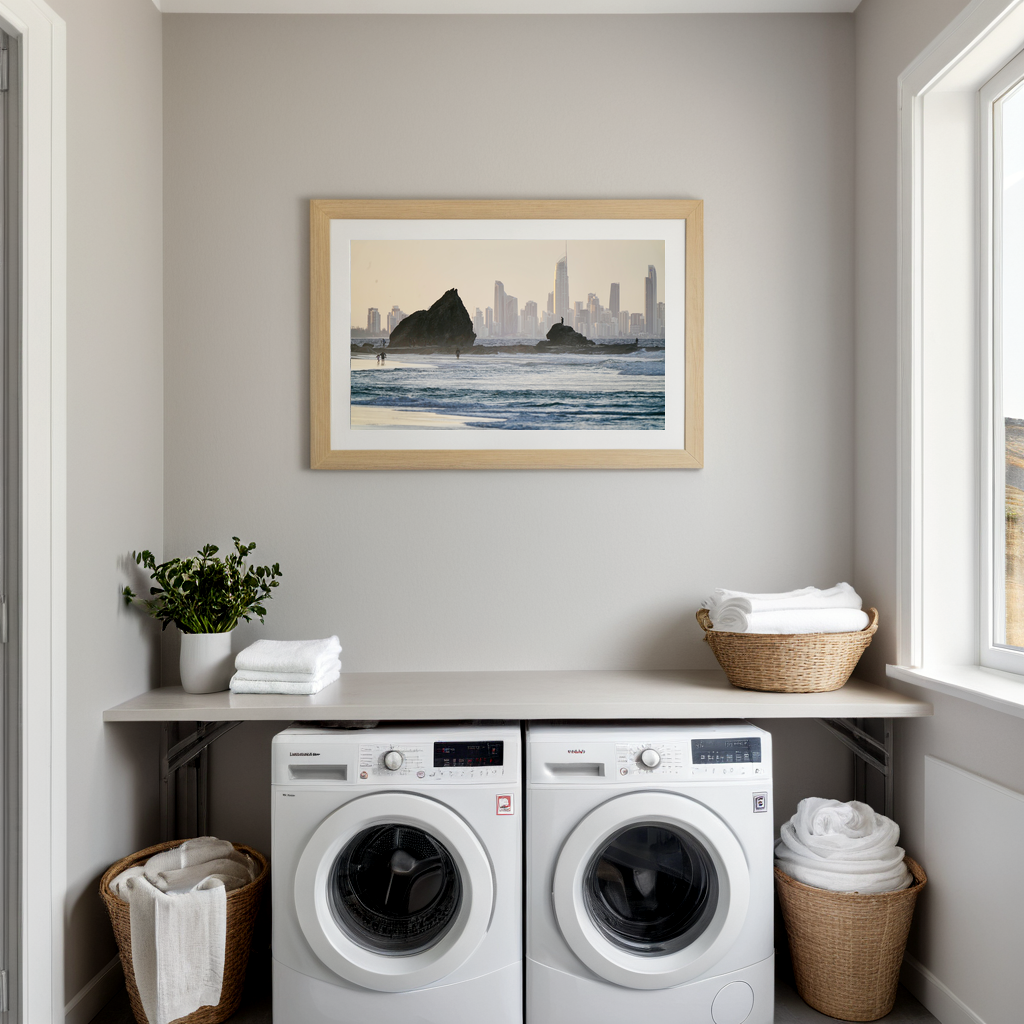
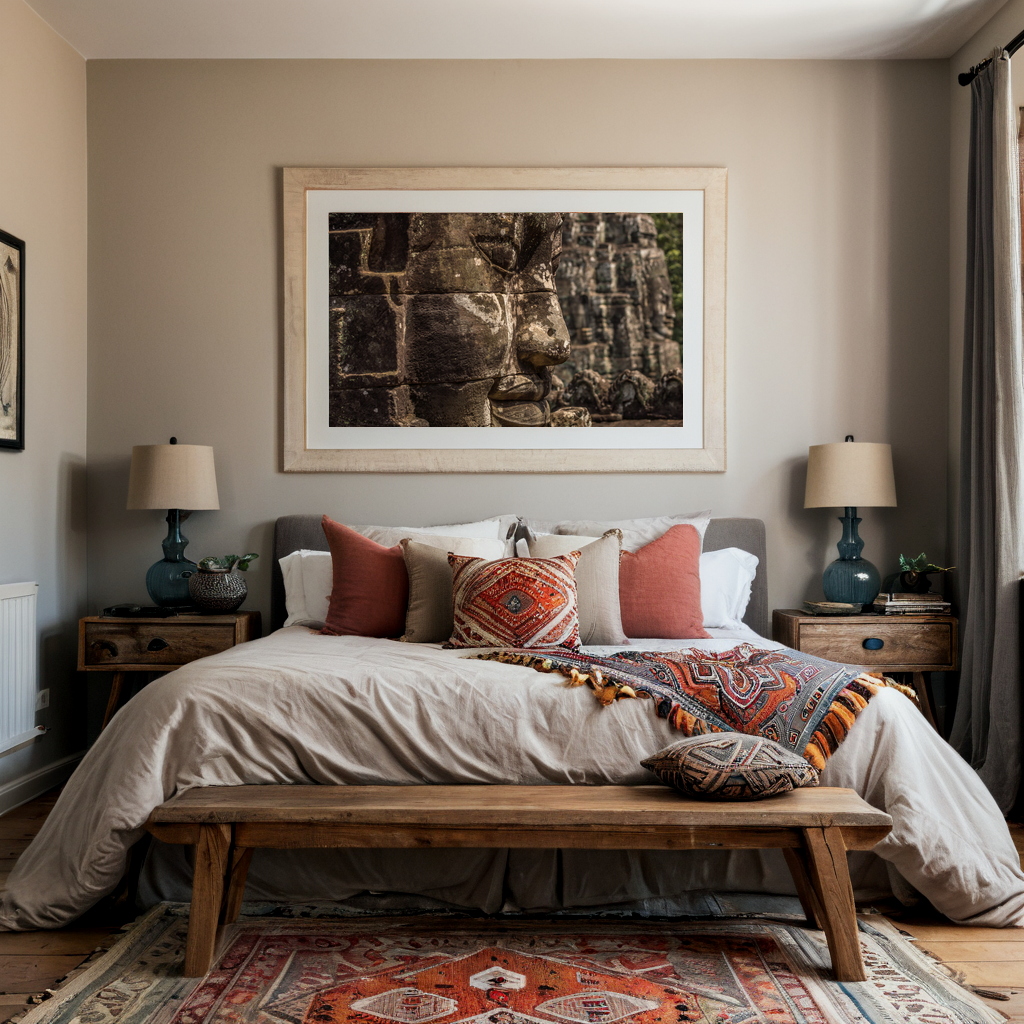
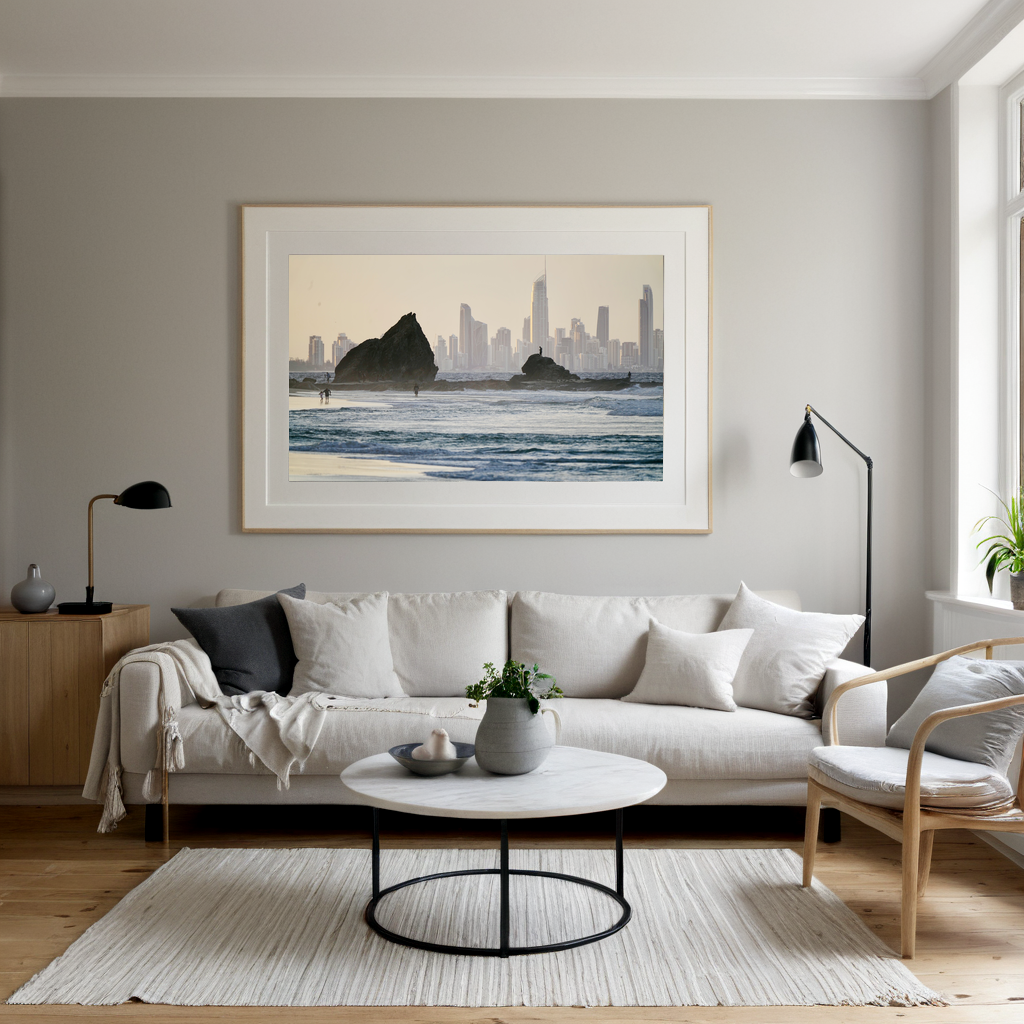
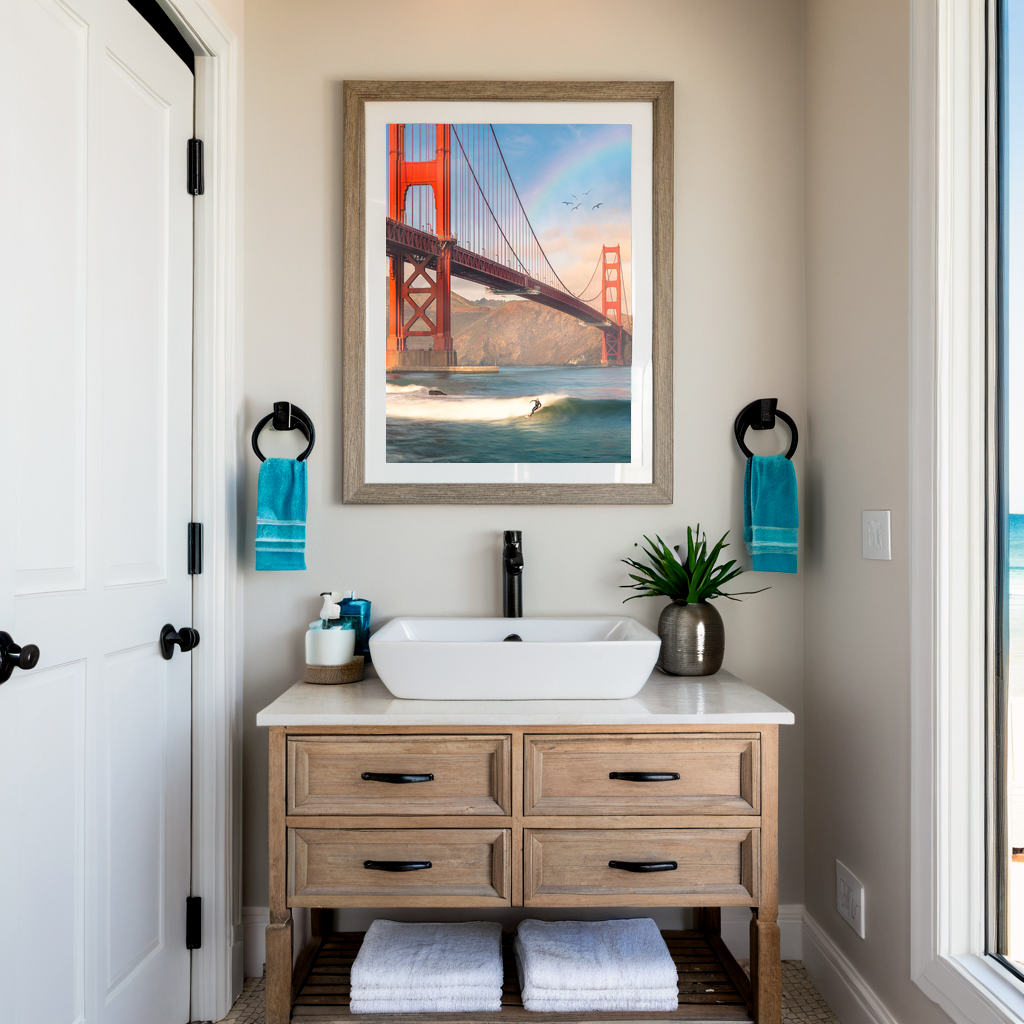
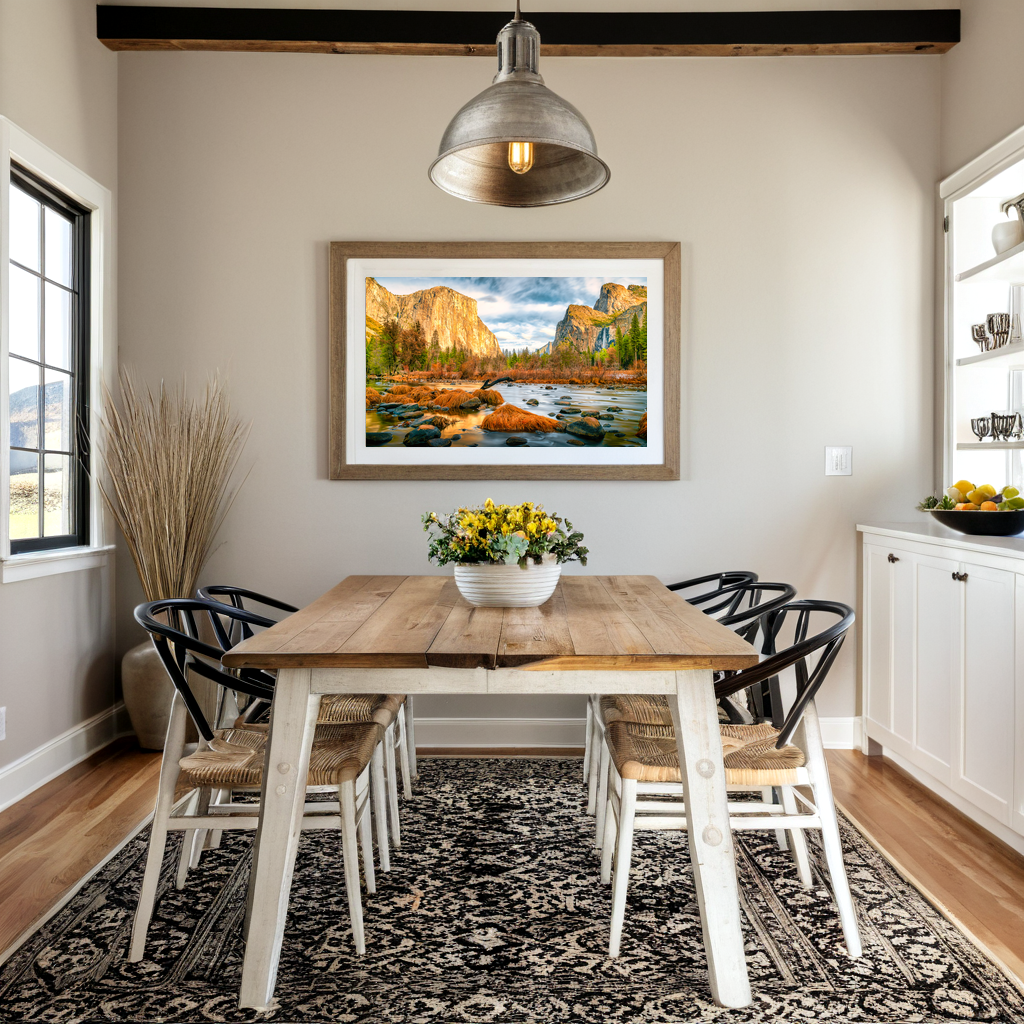
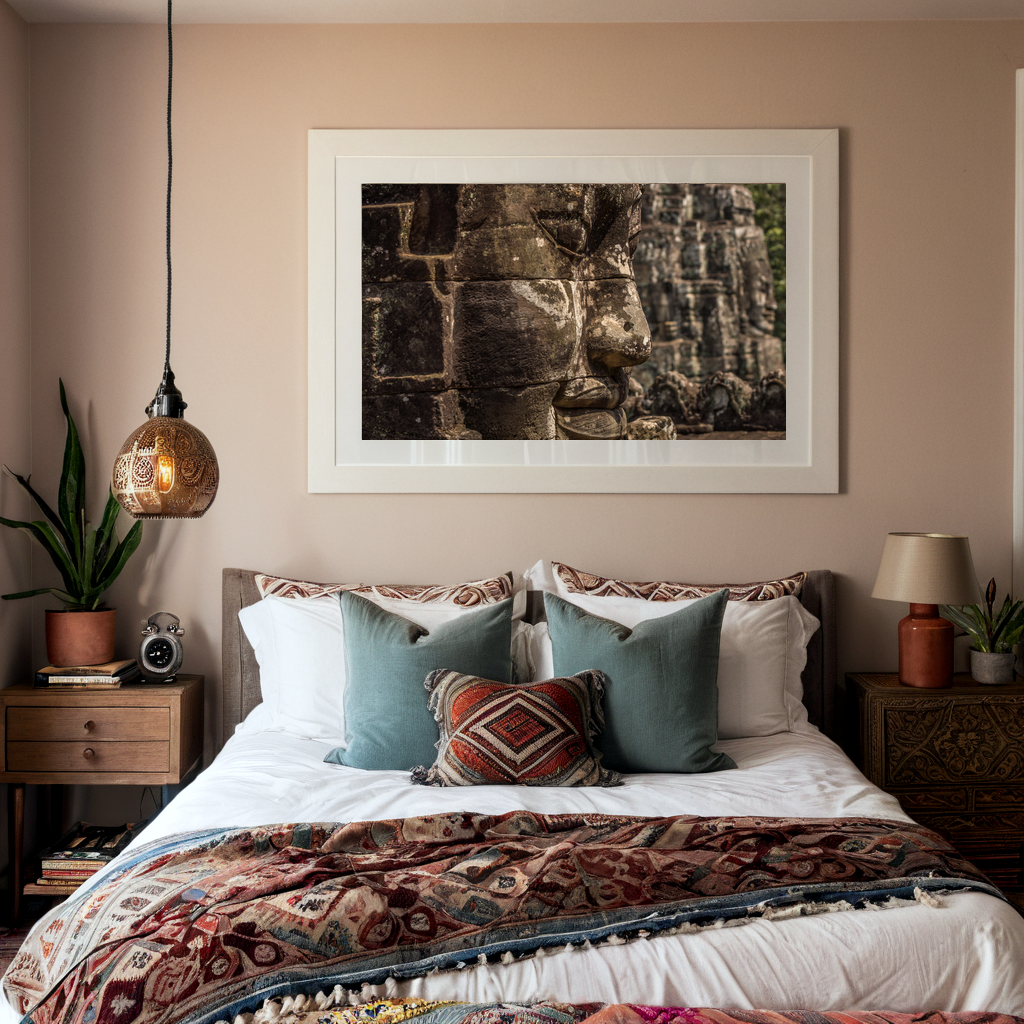
Showcasing Versatility: Easily present your art in various settings to appeal to a broader audience. Demonstrate how a single print can fit into multiple interior styles.
-
Creating High-End Brand Perception: Professional visuals instantly elevate your brand, making your shop appear more polished and trustworthy.
How It Works: Simplicity Meets Sophistication
We believe that your art deserves more than a generic, “one-click” filter. That’s why @sebsvisual combines cutting-edge AI with a commitment to high-fidelity quality.
-
Upload Your Artwork: Simply drag and drop your digital file (JPG or PNG) into our generator.
-
AI Staging & Quality Review: Our system analyzes the lighting, texture, and perspective of your piece to ensure a perfect fit in a high-end interior.
-
Receive Your Mockups: Within 24 hours, your professional, ready-to-sell room previews will be delivered to your inbox, perfectly rendered and optimized for your shop.
Why 24 hours? While “instant” tools often produce wonky perspectives or blurry shadows, our process ensures every mockup meets a professional standard. We trade a few hours for a result that actually converts browsers into buyers.
The Road Ahead: Custom Styles & Faster Delivery
We are constantly evolving to better serve the artist community. As noted in our FAQ, we are currently developing two major updates:
-
Instant Generation: We are optimizing our engine to bring you high-fidelity results in real-time.
-
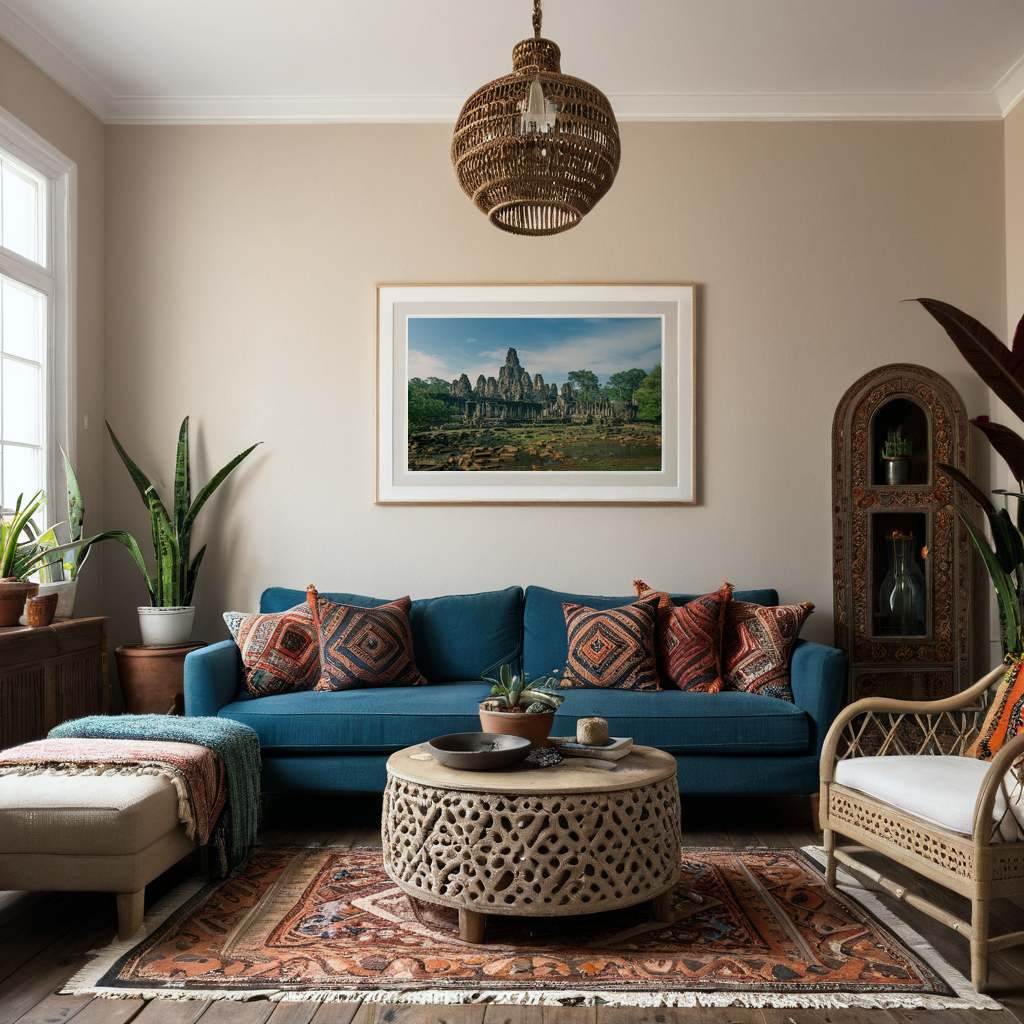
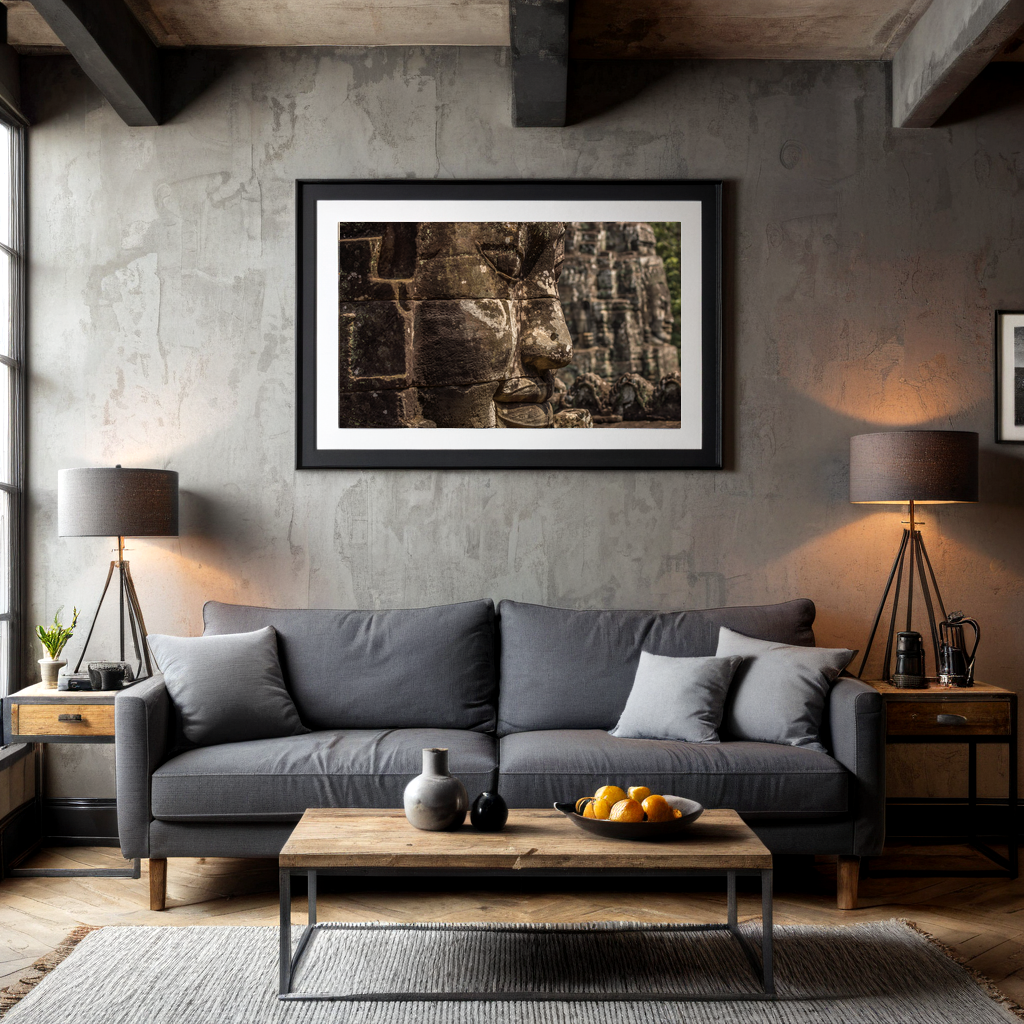
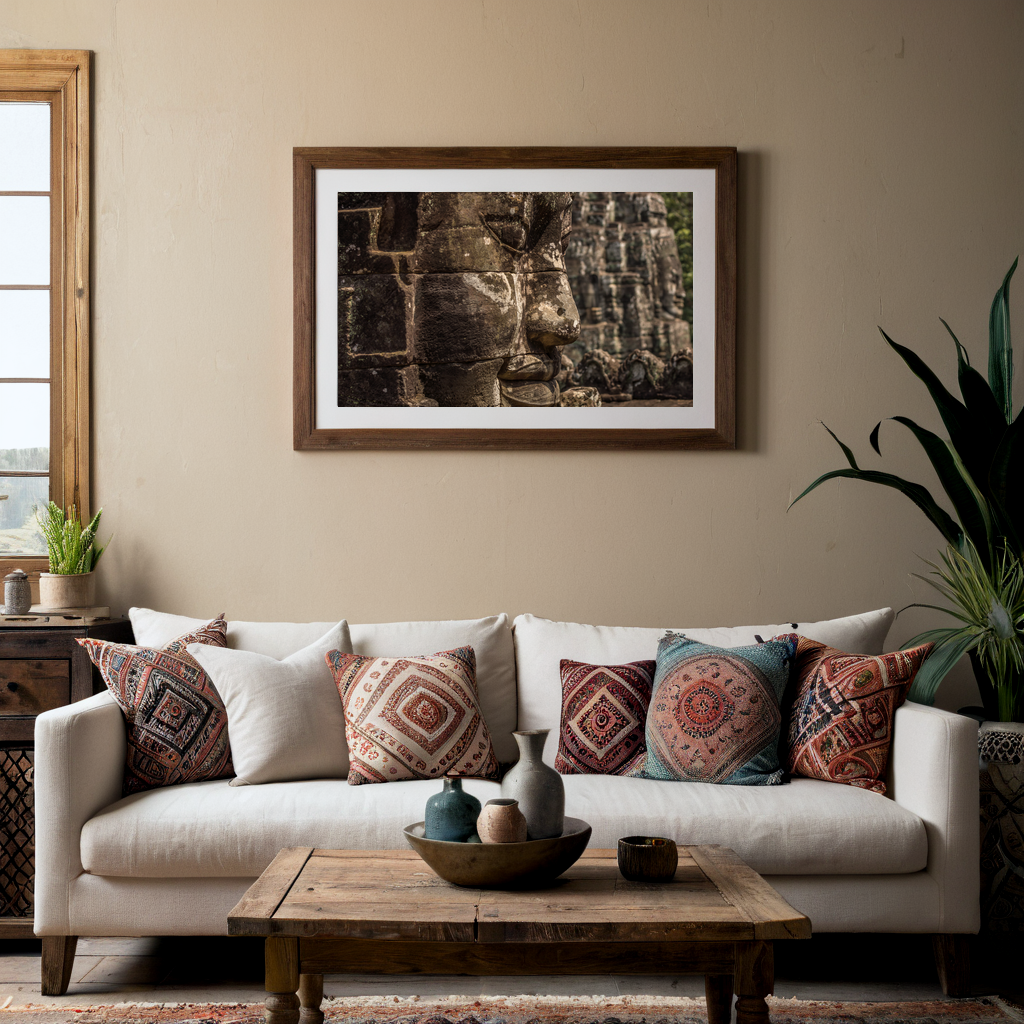
Custom Room Selection: Soon, you’ll be able to hand-pick the specific interior style (Minimalist, Industrial, Boho, etc.) that matches your brand’s aesthetic.

Image description with multimodal LLM in CrewAI
AI Multi-agents with Multimodal Model
Image description with multimodal LLM in CrewAI
In this article, we'll explore how to unlock powerful image description capabilities within CrewAI using the open-source Llava model running with Ollama. By creating a custom tool, we can seamlessly integrate image processing into our multi-agent workflows, enhancing the scope of what AI can achieve in automation tasks. Whether you're an AI enthusiast or a developer looking to push the boundaries of your projects, this guide will provide you with the insights and tools you need to get started.
The crewAI framework doesn’t support yet multimodal model, this article is explaining a workaround using custom tools to be able to use the image description feature from the Llava model inside of your multi-agent crew.
The Challenge: Multimodal Integration in CrewAI
CrewAI is a versatile multi-agent framework, but it currently lacks built-in support for multimodal models that can process both text and images. This limitation posed a challenge for my projects, where I often need to generate detailed descriptions of images. To overcome this, I designed a custom tool that interfaces with the selfhosted Llava model on Ollama, enabling CrewAI to harness its image description capabilities.
The Solution: Custom Image Description Tool
Using the Llava model hosted on an Ollama instance, I created a custom tool in CrewAI that processes images and generates textual descriptions. Here’s the code that makes it all work:
from crewai_tools import BaseTool

class ImageUnderstandingTool(BaseTool):
    name: str = "Image description Tool"
    description: str = "This tool acts as your eyes and will textually respond to your prompt about an image"

    def _run(self, prompt: str) -> str:
        import base64
        import requests
        import json
        image_url = "https://directus.cloudseb.com/assets/3524b4ca-9474-495d-9101-f1bb7d085751/IMG_6682.jpeg"
        #prompt = "Describe the image"
        image = requests.get(image_url, headers={"Authorization": "Bearer BaaXbu4RAwLjCE2EZtO6KVnoRCgI4uAR"}).content
        image_base64 = base64.b64encode(image).decode('utf-8')
        request_json = {"model":"llava:latest","prompt":prompt,"images":[image_base64],"stream":False}
        request_response = requests.post("http://192.168.68.71:11434/api/generate",json=request_json)
        response_json = json.loads(request_response.text)
        answer = response_json["response"]
        return answer

## TOOLS

# Instantiate the tool
ImageDescriptionTool = ImageUnderstandingTool()
Breaking Down the Code
- Importing Necessary Libraries:
base64: For encoding the image into a base64 string.requests: For making HTTP requests to fetch the image and communicate with the Llava model API.json: For handling JSON data.
- Class Definition:
ImageUnderstandingToolinherits fromBaseTool, a fundamental component in CrewAI for creating custom tools.- The tool is named “Image description Tool” and its purpose is described.
- The
_runMethod:- Fetching the Image: The image is downloaded from a specified URL using a GET request with authorization headers.
- Encoding the Image: The image content is encoded into a base64 string to be sent in the API request.
- Preparing the Request: A JSON object is created, containing the model type (
llava:latest), the prompt, and the encoded image. - Making the API Call: A POST request is sent to the Llava model API endpoint hosted on my Ollama instance.
- Processing the Response: The JSON response is parsed to extract the generated description of the image.
- Tool Instantiation:
- The custom tool is instantiated and ready to be integrated into CrewAI workflows.
Putting It All Together
By integrating this custom tool into CrewAI, I can now automate tasks that require image descriptions, enhancing the versatility and capability of my AI agents. This setup is particularly useful in workflows that involve processing and analyzing visual content, making it an invaluable addition to my AI toolkit.
Conclusion
Exploring the intersection of AI and multimodal capabilities opens up a world of possibilities. With the workaround presented here, you can extend the functionality of CrewAI to include image descriptions, leveraging the power of the Llava model. I hope this article inspires you to experiment with similar integrations and unlock new potentials in your AI projects.
Feel free to reach out if you have any questions or need further assistance with your AI explorations. Happy coding!
If you found this article helpful, consider sharing it with your network and subscribing to my blog for more insights into AI, photography, and innovative problem-solving techniques.

Automating AI Image Generation with n8n and ComfyUI
AI Image generation
Automate AI Image Generation with n8n and ComfyUI
This blog post explores integrating AI image generation into your n8n workflows using ComfyUI. Whether you’re looking to automate visual creation or streamline your content generation process, this guide comes from my differents trials and aims to provide a direct solution for integrating ComfyUI into an n8n workflow. In this n8n workflow, we set up an automated system that sends HTTP requests to ComfyUI, monitors the generation status, and retrieves the generated images for further use.
Introduction
For low-code users, this article will explain how to integrate AI image generation into an n8n workflow. This solution leverages the power of open-source and self-hostable setups. In my case, ComfyUI runs on my primary desktop equipped with a recent GPU, while my n8n instance, which I use as a backend for several applications, is self-hosted on my home server.
The ComfyUI documentation is not giving much details about how to set-up and reach the API through HTTP Request but they provide on their Github repository some socket scripts [GitHub – ComfyUI Repository] that give the basic information about how to format the HTTP calls
This blog post will first dive into the detailed setup and explanation of the n8n workflow, followed by a sort of ComfyUI API documentation.
Pre-requisites
- This post assumes that you have both ComfyUI and n8n already running properly on your systems, whether self-hosted or standalone, inside or outside of a Docker environment. This article will not cover installation details, as plenty of resources are available online for that.
- Activate ComfyUI remote access by adding the following launch parameters either at the end of the command use to launch ComfyUI or on windows by modifying with a text editor the file used to launch the application (run_nvidia_gpu.bat or run_cpu.bat at the root of the ComfyUI folder)
--listen. After restarting the application. ComfyUI will then be running on your computer [COMFYUI_IP_ADRESS] on the port by default 8188 [COMFYUI_PORT] - You have on hand the ComfyUI JSON workflow file of your image generation flow. This JSON file can be obtain from the ComfyUI interface, by clicking on the “Save (API Format)” button on the application menu
n8n workflow
This node allows you to manually start the workflow by clicking on the ‘Test workflow’ in the n8n interface. This node can be replaced either by a webhook call or included in another workflow of yours.
Node Type: Manual Trigger
A custom JavaScript code node is used to set up the parameters and configuration for the image generation process. This includes defining the prompts and settings for the AI model. The code generates a prompt structure necessary for the ComfyUI API to initiate image generation. AS mentioned in the Pre-requisites, you can extract this ComfyUI JSON workflow from the ComfyUI interface, by clicking on the “Save (API Format)” button on the application menu and opening the downloaded file content with a text editor.
We will slightly modified this JSON and define two variables at the top of the JS Script that will need to be recalled inside of the ComfyUI JSON
-
- positiveprompt: This define the prompt to be passed to the AI image generation process. We will use this variable inside of the ComfyUI JSON
- seednumber: We will generate a random seed number in order to randomize the AI image generation. If you use always use the same seed number and repeat the workflow you will always get the same image generated
Node Type: Code
Language: JavaScript
JavaScript code:
// VARIABLE DEFINITION
// 1. Positive prompt used for the image generation. If used you also need to manually edit the COMFYUI JSON workflow and insert the variable.
const positivePrompt = "A tech-savvy engineer working on a computer with a holographic display, showing AI-generated images and some automation workflow nodes, capturing the essence of integration and automation in a high-tech setting. Accent color should be a warm yellow orange";
// 2. Random seed generation. If you want to randomize the image generation process otherwise you will get the same image for a prompt generation
const seednumber = Math.floor(Math.random() * 1000000000000000);
const prompt =

//BEGINING - PASTE HERE THE COMFYUI JSON WORKFLOW (and insert the above variable call)
{
  "3": {
    "inputs": {
      "seed": seednumber,
      "steps": 50,
      "cfg": 8,
      "sampler_name": "euler",
      "scheduler": "normal",
      "denoise": 1,
      "model": [
        "4",
        0
      ],
      "positive": [
        "6",
        0
      ],
      "negative": [
        "7",
        0
      ],
      "latent_image": [
        "5",
        0
      ]
    },
    "class_type": "KSampler",
    "_meta": {
      "title": "KSampler"
    }
  },
  "4": {
    "inputs": {
      "ckpt_name": "sd_xl_base_1.0.safetensors"
    },
    "class_type": "CheckpointLoaderSimple",
    "_meta": {
      "title": "Load Checkpoint"
    }
  },
  "5": {
    "inputs": {
      "width": 512,
      "height": 512,
      "batch_size": 1
    },
    "class_type": "EmptyLatentImage",
    "_meta": {
      "title": "Empty Latent Image"
    }
  },
  "6": {
    "inputs": {
      "text": positiveprompt,
      "clip": [
        "4",
        1
      ]
    },
    "class_type": "CLIPTextEncode",
    "_meta": {
      "title": "CLIP Text Encode (Prompt)"
    }
  },
  "7": {
    "inputs": {
      "text": "",
      "clip": [
        "4",
        1
      ]
    },
    "class_type": "CLIPTextEncode",
    "_meta": {
      "title": "CLIP Text Encode (Prompt)"
    }
  },
  "8": {
    "inputs": {
      "samples": [
        "3",
        0
      ],
      "vae": [
        "4",
        2
      ]
    },
    "class_type": "VAEDecode",
    "_meta": {
      "title": "VAE Decode"
    }
  },
  "9": {
    "inputs": {
      "filename_prefix": "ComfyUI",
      "images": [
        "8",
        0
      ]
    },
    "class_type": "SaveImage",
    "_meta": {
      "title": "Save Image"
    }
  }
}
//END - PASTE HERE THE COMFYUI JSON WORKFLOW
;

const jsonData = {"prompt": prompt};
return [{ json: jsonData }];
This node sends a POST request to the ComfyUI API, initiating the image generation process with the specified parameters.
Node Type: HTTP Request
Parameters:
- Method: POST
- URL:
http://COMFYUI_IP_ADRESS:COMFYUI_PORT/prompt - Body:
- Content-Type: JSON
- Specify Body: Using Fields Below
- Body parameters:
- Name: prompt
- Value:
{{ $('2. Set-up the ComfyUI workflow').item.json.prompt }The JSON payload generated in the previous step.
This node sends a GET request to the ComfyUI API to check the status of the image generation process using the prompt_id from the previous node response. We will create a loop with the 2 next nodes WAIT and IF, in order to repeat this status check until the generation process in ComfyUI is finished.
Node Type: HTTP Request
Parameters:
- Method: GET
- URL: Expression
http://COMFYUI_IP_ADRESS:COMFYUI_PORT/history/{{ $('3. ComfyUI HTTP Request').item.json.prompt_id }}
This node evaluates the status of the image generation process status.status_str coming from the response of the previous node If the status is ‘success’, it proceeds to the next step; otherwise, it waits and rechecks the status later awaiting for the ComfyUI image generation process to be finished..
Node Type: If
Condition:
- Left Value: Expression
{{ $('ComfyUI - Check Image generation status').item.json[$('3. ComfyUI HTTP Request').item.json.prompt_id].status.status_str }} - Operator: is equal to
- Right Value: success
This node pauses the workflow for a few seconds if the results of the previous status check is not yet completed before rechecking the status of the image generation process. I have set-up this temporization to 10 seconds, by experience as on my system an image generation in ComfyUI takes between 30sec to 50sec depending on the workflow.
Node Type: Wait
Parameters:
- Resume: After time interval
- Wait amount: 10
- Wait unit: Seconds
Once the image generation is successful, this node retrieves the generated image from the API for viewing or further processing.
Node Type: HTTP Request
Parameters:
- Method: GET
- URL:
http://COMFYUI_IP_ADDRESS:COMFYUI_PORT/view - Query Parameters: Using fields Below, parsed from the response of the previous step
filename: The filename of the generated image:{{$json[$node["3. ComfyUI HTTP Request"].json.prompt_id].outputs[Object.keys($json[$node["3. ComfyUI HTTP Request"].json.prompt_id].outputs)[0]].images[0].filename}}subfolder: The subfolder where the image is stored.{{$json[$node["3. ComfyUI HTTP Request"].json.prompt_id].outputs[Object.keys($json[$node["3. ComfyUI HTTP Request"].json.prompt_id].outputs)[0]].images[0].subfolder}}type: The type of the image:{{$json[$node["3. ComfyUI HTTP Request"].json.prompt_id].outputs[Object.keys($json[$node["3. ComfyUI HTTP Request"].json.prompt_id].outputs)[0]].images[0].type}}
The recovery of the filename, subfolder,type parameters from the previous node is a bit tricky as the structure of the returned JSON is dynamic depending on the prompt_id
Comfy UI – API HTTP Request documentation
Base URL: http://COMFYUI_IP_ADRESS:COMFYUI_PORT/ with COMFYUI_IP_ADDRESS the IP address of your ComfyUI instance running on COMFYUI_PORT (By defaut: 8188)
Parameters
| Request | Parameter name | Type | Value & Comments |
|---|---|---|---|
| BODY | prompt | JSON | A JSON ComfyUI workflow exported from the ComfyUI User interface by clicking on the "Save (API Format)" button (Or generated from another of your workflow) |
Response
| Code | Description |
|---|---|
| 200 (Success) |
Example:
{
  "prompt_id": "782a0bc6-cc9f-4c82-9043-914294a26f8d",
  "number": 0,
  "node_errors": {}
}
|
Parameters
| Request | Parameter name | Type | Value & Comments |
|---|---|---|---|
| URL | prompt_id | String | The unique workflow prompt_id created by ComfyUI and returned during the prompt creation request and returned in the request response |
Response
| Code | Description |
|---|---|
| 200 (Success) |
Example with prompt_id = “91fae807-ff1a-4bf0-a493-0c56b0f8fba2”
  {
    "91fae807-ff1a-4bf0-a493-0c56b0f8fba2": {
      "prompt": [WORKFLOW STEP DESCRIPTION - DELETED FOR MORE CLARITY ] ,
      "outputs": {
        "9": {
          "images": [
            {
              "filename": "ComfyUI_00492_.png",
              "subfolder": "",
              "type": "output"
            }
          ]
        }
      },
      "status": {
        "status_str": "success",
        "completed": true,
        "messages": [
          [
            "execution_start",
            {
              "prompt_id": "91fae807-ff1a-4bf0-a493-0c56b0f8fba2"
            }
          ],
          [
            "execution_cached",
            {
              "nodes": [
                "7",
                "5",
                "4",
                "6"
              ],
              "prompt_id": "91fae807-ff1a-4bf0-a493-0c56b0f8fba2"
            }
          ]
        ]
      }
    }
  }
|
Parameters
| Request | Parameter name | Type | Value & Comments |
|---|---|---|---|
| QUERY | filename | String | The generated image filename created by ComfyUI and returned by the status check request and returned in the request response |
| QUERY | subfolder | String | The generated image subfolder created by ComfyUI and returned by the status check request and returned in the request response |
| QUERY | type | String | The generated image type created by ComfyUI and returned by the status check request and returned in the request response |
Response
| Code | Description |
|---|---|
| 200 (Success) |
An image as a binary file |
Conclusion
This n8n workflow efficiently integrates AI image generation using ComfyUI, allowing for automation and streamlined content creation. By setting up an automated system to send HTTP requests to ComfyUI, monitor the generation status, and retrieve the generated images, you can leverage AI image generation in your projects seamlessly. The approach described in this post serves as a foundation for further customization and integration based on your specific requirements. You can also very easily reproduce this workflow in other automation tools like Make.com
Ressources
n8n: Automate Workflows Easily — n8n is an extendable workflow automation tool, that allows to build powerful workflows, really fast with a low-code approach. Insert code only when you need it. n8n is self-hostable, an extended version is also available on their online platform depending on your need.
- Github project link: https://github.com/n8n-io/n8n
- n8n official website: n8n Website
ComfyUI: A very powerful and modular stable diffusion GUI and backend to personalize, test image and video AI generation workflow. Alternative to AUTOMATIC1111, self-hostable and with a large and active community developing custom nodes for all kind of extra feature support: controlnet, CLIP Encoder…
- Github project link: https://github.com/comfyanonymous/ComfyUI
Try it out and share your experience in comments. Thanks.
Timelapse - Holy grail sunset over Sukhumvit skyline, Bangkok
Holy grail sunset timelapse over Sukhumvit, Bangkok, Thailand


Exploring AI - My pictures through Midjourney eyes
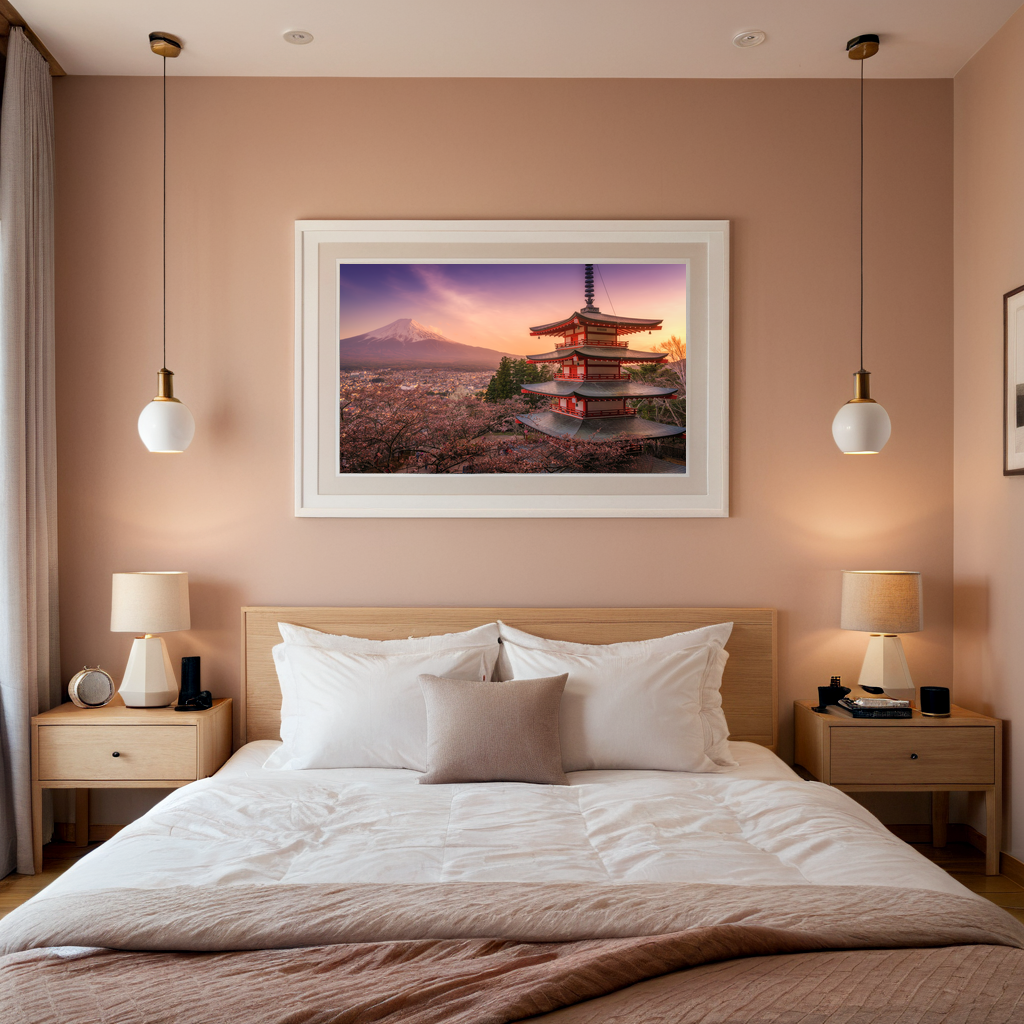
Ep1 – Japan – Chureito pagoda and Mount Fuji under the sakura sunet Welcome to this blog post series, where I will jump into the fascinating world of photography and its dynamic relationship with cutting-edge technology. Today, I am excited to share my recent experience into the realm of AI-generated art using the powerful and impressive Midjourney AI image generator. In this type of post that I hope to turn into a series of articles, I will showcase different of my photographies and the stunning clones achieved through the application of artificial intelligence. For my first experiment, I selected one of my favorite photography that I captured in Japan: the breathtaking scenery centered around the Chureito Pagoda set against the backdrop of Mount Fuji during the Sakura season at sunset. This particular image holds sentimental value for me, with its striking blend of red, pink, and purple hues from the sky, and the delicate Sakura blossoms adorning this landscape. I fed this original photograph into the Midjourney AI image generator, aiming to explore its ability to describe the scene [Using the /describe prompt command] and generate an AI-created counterpart from this description. To my amazement, the AI accurately depicted the core elements of the image, amplifying the colors and intensifying the dreamlike atmosphere. The result was a visually stunning interpretation that enhanced the original scene’s beauty and evoked an even stronger emotional response. This captivating experiment highlights the immense potential of AI in the field of artistic creation. The Midjourney AI image generator demonstrated its capability to collaborate seamlessly with human creativity, producing mesmerizing imagery that expands the horizons of visual expression. As I continue to explore the intersection of photography and AI, this series will serve as a platform to share my experiences, insights, and discoveries. Together, we will unravel the possibilities and celebrate the fusion of artistry and technology that lies at the heart of this captivating journey. Stay tuned for future installments in this series as we embark on new adventures, witnessing the dynamic synergy between photography and artificial intelligence. Join me in embracing the evolution of our craft, and let us push the boundaries of creative exploration.


Services
Category
Access
Sub-Domain
Information and Use Cases
Postiz
Social
postiz
All-in-one social media scheduling and management platform to automate content distribution on your social netowrk: X, instagram,Facebook,Pinterest…
🔗 Official postiz website | 🔗 GitHub | 🔗 DockerHub
Matomo
Audience
matomo
LinkStack
Social
link